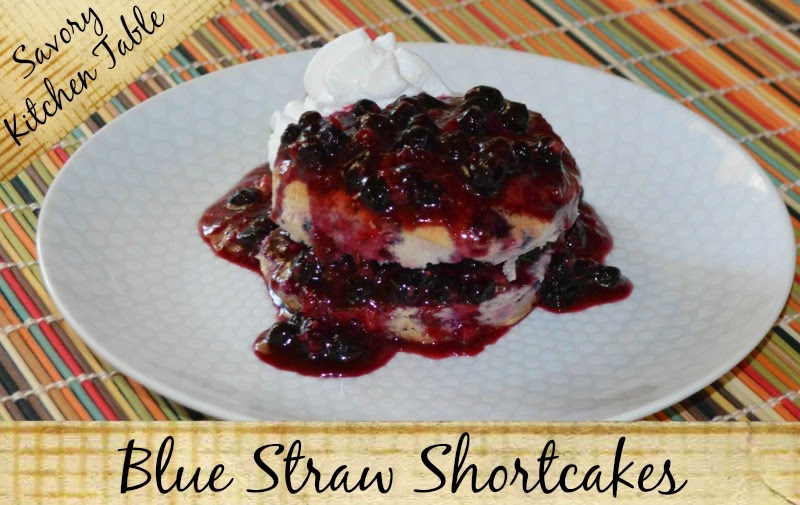
Baking Partners are making Berry Shortcakes this month. Perfect timing for the 4th of July Holiday and the warm summer days. Reeni from Cinnamon Spice & Everything Nice suggested this recipe from David Lee of King Arthur Flour for his biscuits. This recipe was absolutely perfect! I added a few blueberries to the shortcake portions and they made it more flavorful and colorful too. I also used heart and start shaped cutters to make the shortcakes more festive. I served it for company and received many compliments.
for fruit:
2 pints of your favorite berries (blueberries, strawberries, raspberries, blackberries, etc…) I used a combination of mashed strawberries and blueberries.
2 tablespoons sugar
for biscuits:
2 cups (8 1/2 ounces) Perfect Pastry Blend or King Arthur Unbleached All-Purpose Flour*
1 teaspoon salt
1 tablespoon baking powder
2 teaspoons coarse sugar (I used cinnamon sugar YUM!)
1 to 1 1/4 cups heavy cream, enough to make a cohesive dough
1 to 2 tablespoons melted butter
2 cups (8 1/2 ounces) Perfect Pastry Blend or King Arthur Unbleached All-Purpose Flour*
1 teaspoon salt
1 tablespoon baking powder
2 teaspoons coarse sugar (I used cinnamon sugar YUM!)
1 to 1 1/4 cups heavy cream, enough to make a cohesive dough
1 to 2 tablespoons melted butter
*David called for “soft Southern flour;” that’s why we like to use our Mellow Pastry Blend, a lovely “soft” flour whose protein level falls right in between all-purpose and pastry flours, giving you the best of both worlds: tender texture, and ease of handling. If you use unbleached all-purpose flour, substitute 1/4 cup (1 3/8 ounces) cornstarch for 1/4 cup of the flour.
- Sift together the flour, salt, baking powder, and sugar.
- Stir in enough heavy cream to moisten the dough thoroughly. You’ll probably use about 1 cup in the summer, 1 1/4 cups in the winter, and 1 cup + 2 tablespoons at the turn of the seasons. You want to be able to gather the dough together, squeeze it, and have it hang together, without dry bits falling off.
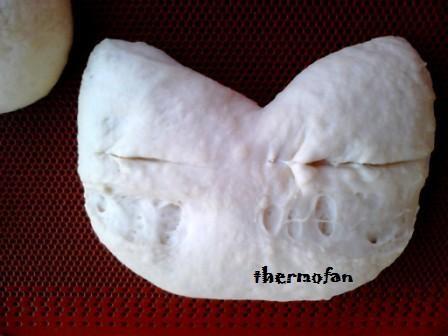
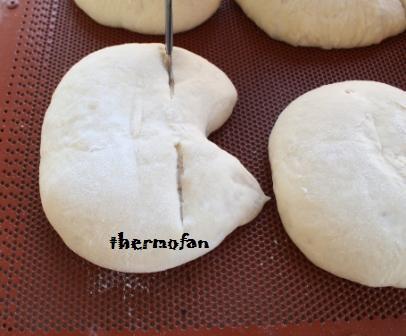
- Turn the dough out onto a lightly floured work surface, and very gently pat it into an 8″ circle about 3/4″ thick.
- Use a sharp biscuit cutter (we use a 2 1/4″ cutter) to cut rounds.
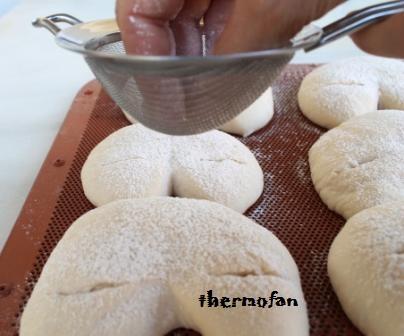
- Dip the rounds into melted butter, and place them on a lightly greased baking sheet.
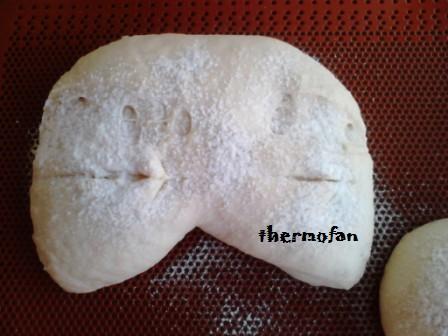
- Sprinkle with coarse sugar, if desired; this is a nice touch if you’re going to use the biscuits for shortcake.
- Bake the biscuits in a preheated 425°F oven for 15 to 18 minutes, till they’re golden brown.
- If you have any melted butter left over, brush it on the baked biscuits.
- “Serve hot!,” says David. Yield: 10 large (about 2 1/2″), ultra-tender biscuits.
To make Maine-style strawberry shortcake:
- Trim and slice 1 quart fresh strawberries. Sprinkle with 2 tablespoons sugar, stir, and set aside at room temperature for several hours; or refrigerate overnight.
- Whip 1 cup (8 ounces) heavy cream till it barely holds its shape. Sweeten to taste with granulated sugar.
- Split oven-warm biscuits in half. Top the bottom half of each with whipped cream, strawberries, more whipped cream, then the top half of the biscuit. Add a dollop of whipped cream and a slice of strawberry on top, as a garnish. Yield: 8 to 10 shortcakes.

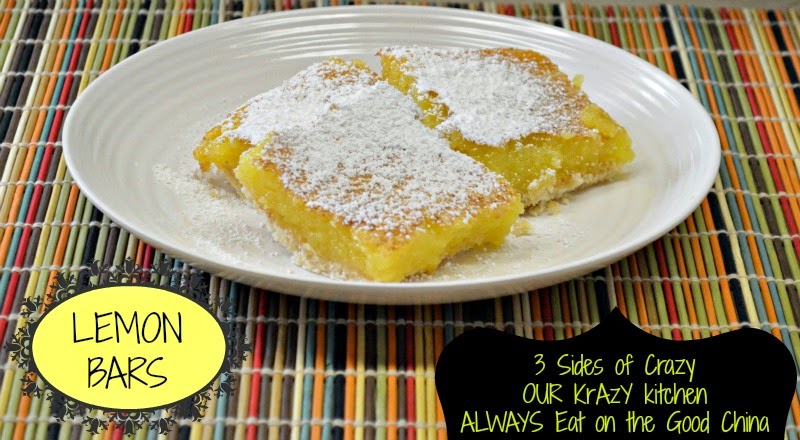
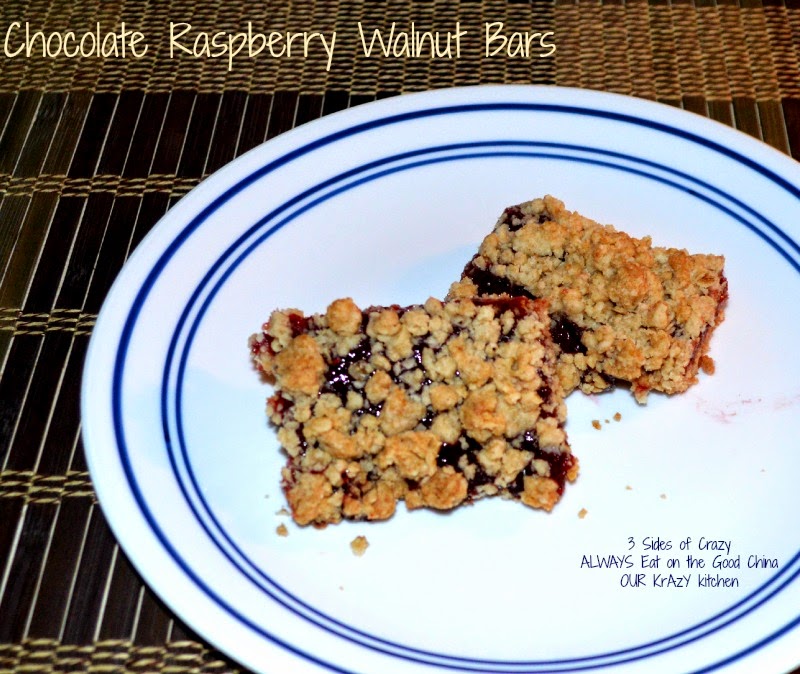 This month our Baking partners challenge is “Bar” recipes. The recipes are for Lemon Bars, an all time favorite! and I adored the Chocolate Raspberry Walnut Bars too.