How was your weekend? Mine was productive and quite pleasant weather wise. I went to my first craft festival of the season on Saturday where I ran into a couple friends and received a wonderful Christmas Eve party invitation.
I am working on a 2 year update on the HOUSE FROM HELL that will be up in a few days. Other than that I am just doing EVERYTHING I can to prepare for selling the house and move on ASAP which we are hoping to do just after the doctor gives me the ALL clear after surgery.
OUTSIDE MY WINDOW & THE WEATHER OUTSIDE
We appear to be having a few days of fall weather finally with cool evenings and pleasant days, but they are going to be short lived it appears.
ON THE BREAKFAST PLATE
English muffin with Peanut Butter and coffee
AS I LOOK AROUND THE HOUSE / WEEKLY TO DO LIST & HOUSE PROJECTS
- LAUNDRY… just a couple loads
- LIVING AREAS… mostly tidy, but need to do floors like always
- KITCHEN… quite clean actually
- STUDIO… now a storage room
- YARD… nothing as we head into November
- BLOG… still doing some recipe updating and planning for future posts
CURRENTLY READING & TELEVISION / DVR
I’m still reading the Bridge to a Better Life by Ava Miles. Just can’t seem to stay awake long enough to finish a book.
The Holiday Baking Championship(11/9) and Guy’s BIG Project(11/5) both start in the next couple weeks.
- BIG BANG THEORY and the new YOUNG SHELDON when it returns later this week
- NCIS, NCIS NEW ORLEANS and NCIS LA, CRIMINAL MINDS, S.W.A.T. starts this week
- MADAM SECRETARY, SCANDAL, DESIGNATED SURVIVOR
- CHICAGO FIRE, CHICAGO PD, CHICAGO MED later this season
- BRAVE, VALOR, SEAL TEAM
- LAW & ORDER SVU, BLUE BLOODS, HAWAII 5-0
- MACGYVER, SCORPION, BLINDSPOT, ORVILLE, WISDOM OF THE CROWD
- Z NATION, WALKING DEAD, FLASH, DC LEGENDS, INHUMANS
- THE GOOD PLACE, AMERICAN HOUSEWIFE, SPEECHLESS, GREAT NEWS
- THIS IS US, ONCE UPON A TIME, THE GOOD DOCTOR
- GUY’S GROCERY GAMES, BEAT BOBBY FLAY, BOBBY AND DAMARIS
CRAFTS / PROJECTS
I’m saving this category for recuperation time!
MENU PLANS FOR THE WEEK
|
MONDAY
|
TUESDAY
|
WEDNESDAY
|
THURSDAY
|
FRIDAY
|
SATURDAY
|
SUNDAY
|
|
BREAKFAST
|
ENGLISH MUFFIN with PEANUT BUTTER & COFFEE
|
SCRAMBLED EGGS
|
FRUIT SMOOTHIE
|
FRUIT & COFFEE
|
SCRAMBLED EGGS
|
FRENCH TOAST
|
BACON & EGGS
|
|
LUNCH
|
FRUIT & CHEESE
|
SOUP
|
MEAT ROLL-UPS
|
SALAD
|
MEAT & CHEESE
|
C.O.R.N.
|
??
|
|
DINNER
|
BROWN SUGAR PORK CHOPS
|
C.O.R.N.
|
OUT
|
OUT
|
OUT |
OUT
|
LOADED GARLIC BREAD
|
|
DESSERT
|
|
|
|
|
|
|
|
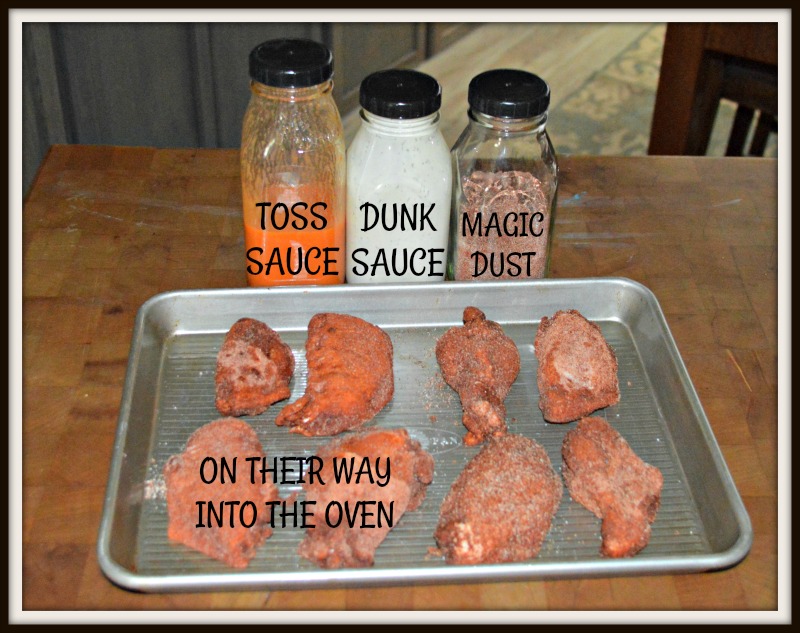
SUCCESSFUL RECIPE LINKS FROM LAST WEEK
HEALTH & BEAUTY TIPS

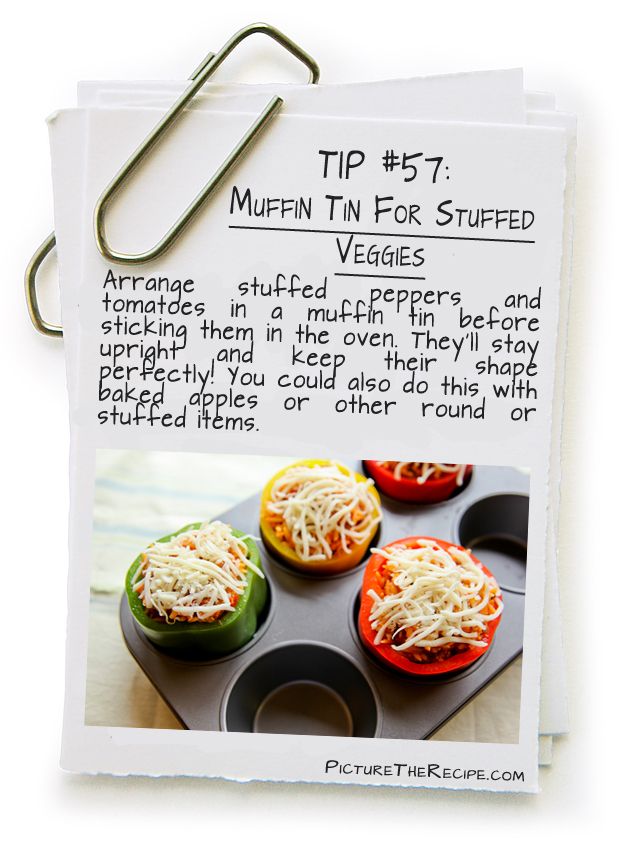
HOMEMAKING/COOKING TIP

ON MY MIND / THINGS THAT ARE MAKING ME HAPPY
We are FINALLY moving forward!!! Looks like surgery will be in the next 2-3 weeks (they are working out a schedule with the hospital which I should know later today hopefully) and will only limit Thanksgiving! DR. said that I can do Christmas as long as everything is in teeny tiny bites! YAY Christmas is my favorite. The biggest drawback will be that it is a 6 hour surgery to fix what the previous doctor had done, I’ll be in the hospital for 2 days and ZERO lifting or straining of ANY kind for 8 weeks or so. I am so not a sit around girl, but am amassing a list of sit still projects to TRY and keep me occupied.
When we met with the doctor we discussed all the pros and cons of both surgeries and determined the best course of action. There are always concerns and risks, but after talking it all over with the doctor I’m feeling pretty good about the decisions. I never thought I’d be a statistic for late night lawyer commercials, but apparently I now am. Evidently the “BIO MESH” previously used is now being routinely found to be faulty. The surgeon was wonderfully explicit and even drew easy to follow diagrams about how he was going to do a permanent fix. I’m all for NEVER going through this again. I’m going with the adage that third time is a charm. Originally, pretesting, the surgeon didn’t think he’d be able to do a 3rd fix, but after testing he found that the bio mesh is all but missing, or so he suspects from what he saw on the EGD. I’m very happy my surgeon has gotten rave reviews from patients and doctors alike and what he has to say about this more permanent fix. The only drawback is that it will be a lengthy surgery so he can make sure it’s all done right.
Here’s how it this all started. In 2011 I had my cancer surgery which went wonderful and I began the long trek back to health and fitness. All in all, I was already pretty healthy and fit – I mean I cook from scratch, perimeter shop without the junk food and eat extremely little fast food. I don’t really drink, have never smoked or done drugs. The oncologist said that those things probably helped save my life as the cancer had nothing to feed on in my body.
But, the length of surgery caused another problem. Turns out I had a Hiatal hernia that my cancer doctor didn’t fix while she was in there and the stomach acid seeped up and started eroding my esophagus as I laid on the operating table for such a lengthy surgery. So, a year later I had to have another operation to remove part of the shredded esophagus and rebuild the valve. Then 9 months later an allergic reaction to a prescription they gave me for my Fibromyalgia started lowering my potassium levels and shutting down my heart. I collapsed, literally close to death. Fortunately, hubby insisted they take me to the hospital despite the idiot ambulance driver who was convinced I’d been drinking (strongest thing I EVER drink is iced tea) and tried to get me to sign a waiver so he didn’t have to transport me. The hospital staff worked quickly to revive my potassium to a safe level and life went on. When I came to though out on the street I became violently ill. A few weeks later I knew something was wrong (I had torn open the repair) and several weeks after that, I had surgery to repair my stomach and esophagus, AGAIN.
Fast forward a few years later and guess what? Here we are again. Turns out I appear to be a statistic, a part of those late night commercials for the class action suits against products that fail. I have been doing research and it appears from the last article I read that the type of mesh used to previously repair my stomach failed 17 out of 24 times – not very good odds in my opinion. I cannot eat most foods, I cannot sleep flat in a bed and I’m still having issues with syncope/balance so I’m going to do what is necessary to get back to a regular life. I know this ALL happens for a reason, but I’m READY for it to be over!!!
We do know I will be a liquid diet for quite a few weeks , but now know that I will only miss Thanksgiving and Christmas will be an extremely small meal, but real food. Have I mentioned that I’m looking forward to 2018 and the start of a new season of life?
I have begun again amassing cooking magazines and simple projects like changing over the address book, password book, etc… for when I’m laid up. Unfortunately, this surgery will leave me with ZERO lifting, stretching or straining for 8 weeks – literally cannot lift anything heavier than a bag of flour. I will be unable to do much more than walk, MAYBE LIMITED SLOW TREADMILL – ABSOLUTELY no lifting, no stretching, etc… I figured I would use the time to read, develop some ideas for new recipes and work on updating the blog compilation. I might be able to do a few simple craft projects too.
FAVORITE PHOTO FROM THE CAMERA
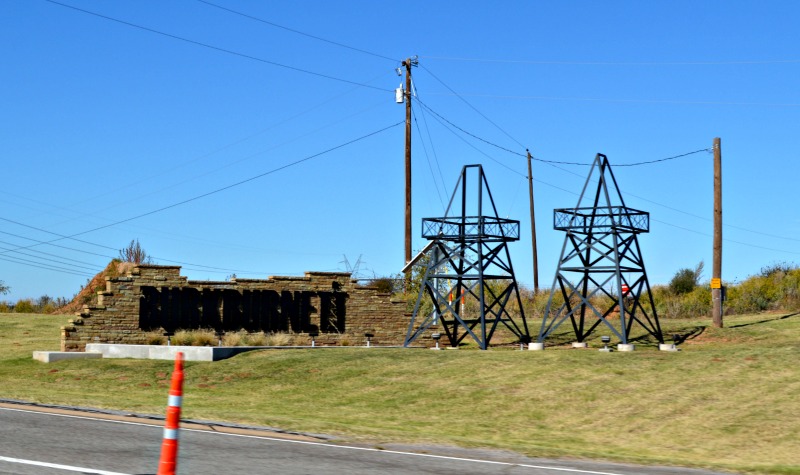
We did take a little adventure last week…

INSPIRATION

Be sure to link up with Sandra at Diary of a Stay at Home Mom for Happy homemaker Monday, Terri at Darling Downs Diaries and with Laura at I’m an Organizing Junkie for Menu Plan Monday.

Save
Save
Save
Save
Save
Save
Save
Save
Save
Save
Save
Save
Save
Save
Save
Save


 These are PERFECT for tailgating, race days or backyard picnics.
 These are perfect for a cool fall or winter evening.
 Another perfect fall or winter evening bowl of yumminess.


 These Oklahoma cotton fields called to me A LOT. I didn’t even realize cotton grew in Oklahoma.
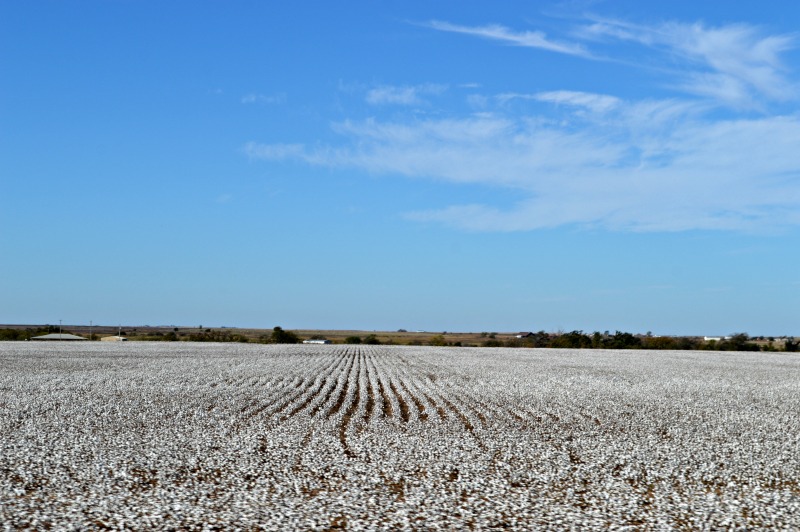


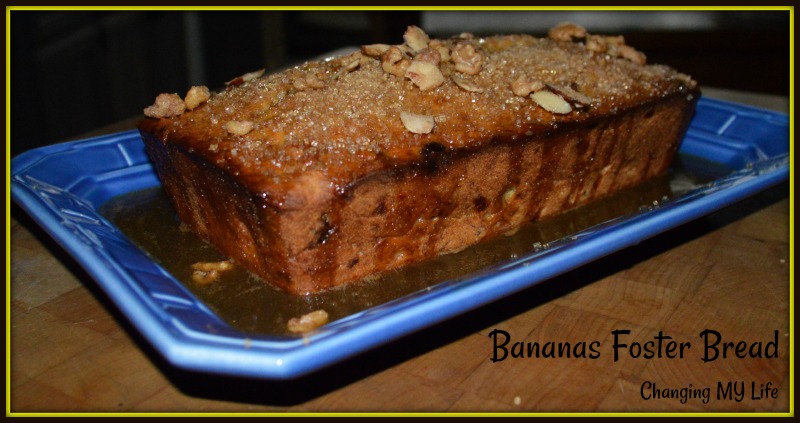 BANANAS FOSTER BREAD adapted from