I’m sure you’ve heard of it on your favorite cooking show, even if you have no idea what it really is. I know I had and even though it was explained, it just wouldn’t register and stay in my brain.
I’m entering a charcuterie board contest on New Year’s Even and chose the desert category. I’ve been looking for not only tried and true recipe ideas, but some new and unusual ones too. I ran across a recipe for chocolate covered cheese. YEP, you read that right, chocolate covered cheese!
I decided to try it three ways, milk, dark and ruby covered with a flake salt. I skipped white as I’m just not a fan – worst discovery of 1930 in my book! I also decided to try it with multiple flavored cheeses. I’m using Jack, sharp white cheddar and a champagnes Havarti. These are the pre-event taste tests> 😀
I figured I should do the research to really understand what Ruby chocolate it. I didn’t believe the cotton colored hue of the chocolate could be natural, but for the most part I was seriously wrong!
Ruby chocolate magically appeared in 2017 after a 13 year development process in Switzerland by the Barry Callebaut company. I say magically because the details of how it is produced are kept closely guarded, but they have noted that the color and unique flavor are products of the bean’s fermentation process.
Nestle released a limited edition KitKat overseas and another version again in 2019 in the UK leaving many companies scrambling to develop their own version.
Ruby chocolate is made from Ruby Cacao Beans which are found in South America; Ecuador and Brazil as well as the Ivory Coast (West African coast). Like specific grapes grown for specific wines, the ruby cacao beans are directly influenced by their growing environment so are cultivated in very specific climates.
So far in my taste testing I’m finding that far more women appreciate the flavor than men do. MEH seems to be the overwhelming consensus of the men I know and even many women can take it or leave it. BUT, it will still be a stunning addition to my charcuterie board 😀
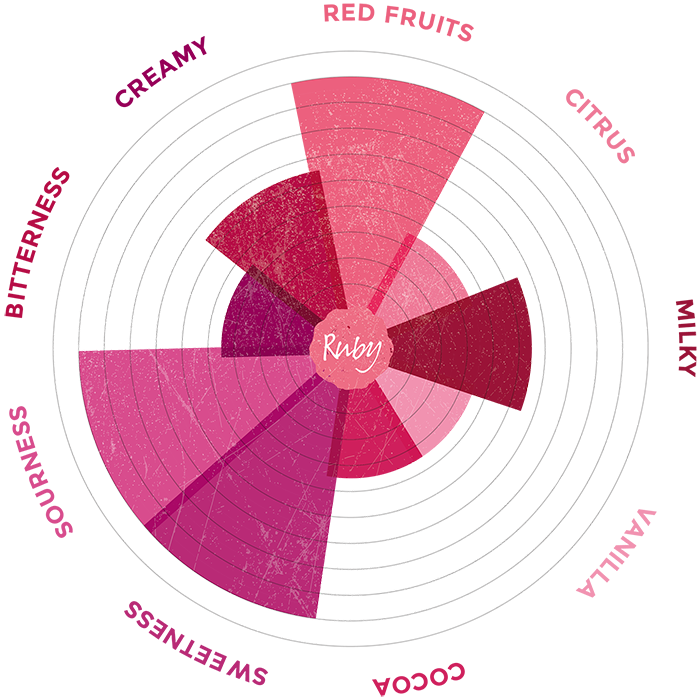
There are NO added berries, flavor or dyes, yet ruby chocolate tastes berry like. The fruity flavor has hints of strawberry and raspberry and is quite smooth in texture, but not milky. While it’s NOT bitter, it does have a slightly tart after effect taste. I did find this image on the company’s website that may explain it better.
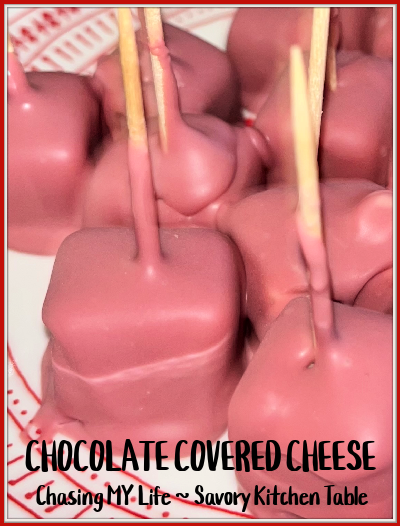
CHOCOLATE COVERED CHEESE
8 ounces aged cheddar or Monterey Jack cheese
6 ounces bittersweet chocolate, chopped
Flake sea salt
- Cut cheese into 1/2-in. cubes.
- In a microwave, melt chocolate in 30 second increments; stirring until smooth.
- Dip cheese cubes in chocolate, allowing excess to drip off.
- Place on waxed paper.
- Sprinkle with a few grains of salt.
- Let stand until set.