It’s week 7 of 2017 and I have to say week 6 was so horrible I want a MULLIGAN! We had a lot of family tragedy this past week with multiple new cancer diagnoses, one of which is very grim, my favorite BIL being entered into hospice for his cancer, the very sudden passing of a dear friend and just plain malaise because of it all. since I still feel so poorly. I’m ready for a GOOD week.

OUTSIDE MY WINDOW & THE WEATHER OUTSIDE
It has been quite gray and cloudy and extremely warm again, but we’re supposed to cool off the next several days and actually have some rain too. If it’s going to be gray and cloudy anyway, I WANT rain!
ON THE BREAKFAST PLATE
A scrambled egg, toast and coffee.
AS I LOOK AROUND THE HOUSE
The house is quite put together considering how out of it I have been recently.
WEEKLY TO DO LIST & HOUSE PROJECTS
- The new tile guy came (45 minutes late) to give us an estimate to complete the master shower this past weekend and it was OUTRAGEOUS!! He’s not even licensed or bonded! and his bid was 3 times as high as any of the licensed and bonded contractors! So, I did some research and we found a product available at home depot that will refresh the existing grout. I’ve been working for several days on cleaning the individual grout lines (and there are a ton of them with the tiny tiles) which I should finish this morning and then I will use the POLYBLEND GROUT RENEW in DELOREAN GRAY. If all goes well, Friday morning we will be showering in there again instead of the spare bathroom!
- I also spent some time working in the studio last week and believe it or not am making headway!
- Standard cleaning, vacuuming, and laundry.
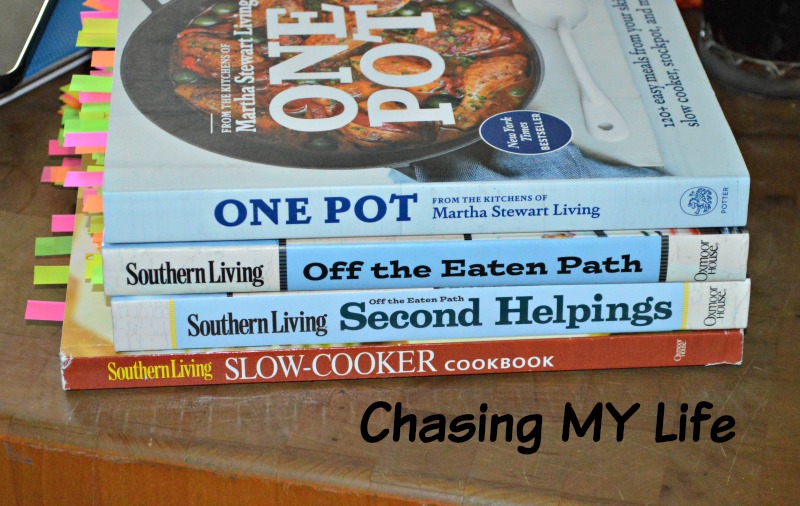
CURRENTLY READING & TELEVISION / DVR
I’ve been catching up on my cooking shows. I LOVE Guy’s Grocery Games, Guy’s BIG Bite, Valerie’s Home Cooking, Diners Drive-ins and Dives.
I’m also still reading the OKLAHOMA BRANDS series by Maggie Shayne.
CRAFTS & PROJECTS
Hubby actually helped me with several parts of some Christmas presents that are FINALLY in the works. They were supposed to be ready for 2016, but obviously they will be 2017 instead. I’ll be sharing some pictures soon as the ieces come together.
MENU PLANS FOR THE WEEK
|
MONDAY
|
TUESDAY
|
WEDNESDAY
|
THURSDAY
|
FRIDAY
|
SATURDAY
|
SUNDAY
|
|
|
BREAKFAST
|
SCRAMBLED EGGS & CHEESE
|
SCRAMBLED EGGS & CHEESE
|
FRUIT SMOOTHIE
|
YOGURT & FRUIT
|
MAPLE OATMEAL & RAISINS
|
EGGS in the CLOUDS
|
BACON & EGGS
|
|
LUNCH
|
FRUIT & CHEESE
|
SOUP & CRACKERS
|
SANDWICH
|
OUT
|
MEAT & CHEESE
|
LEFTOVERS
|
SANDWICHES
|
|
DINNER
|
LEMON SPAGHETTI with SHRIMP
|
SLOW COOKER CHICKEN CACCIATORE with BUTTERED PARSLEY NOODLES
|
C.O.R.N.
|
PAN SEARED LEMON PEPPER CHICKEN and PARMESAN GNICCHI
|
RECIPE EXPERIMENT NIGHT
|
OVEN BAKED TACOS and SAKAD
|
MEATLOAF with PARMESAN MASHED POTATOES & BROCCOLI
|
|
DESSERT
|
TIRAMISU PUDDING CAKE | TIRAMISU CAKE | CHOCOLATE CHIP CANNOLI |
SUCCESSFUL RECIPES and their links FROM LAST WEEK
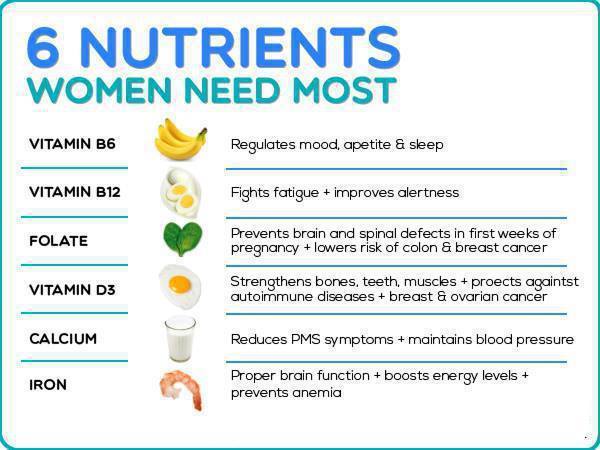
HEALTH & BEAUTY TIPS

HOMEMAKING/COOKING TIP

ON MY MIND
With all the sadness going on in my life right now I have really been thinking about trying harder to stay positive and appreciate life more.
FAVORITE PHOTO FROM THE CAMERA
I couldn’t decide which picture was my favorite. The sunset Wednesday night was absolutely beautiful, but I also loved Tuxedo in the neighbor’s palm tree.


INSPIRATION

Be sure to link up with Sandra at Diary of a Stay at Home Mom for Happy homemaker Monday and with Laura at I’m an Organizing Junkie for Menu Plan Monday.

![]()