The key to this recipe is to use a QUALITY PURE maple syrup!
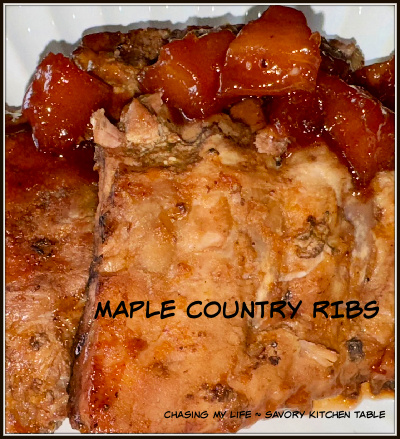
MAPLE COUNTRY RIBS
3 pounds pork ribs
1 cup QUALITY PURE maple syrup
1/2 cup applesauce
1/4 cup ketchup (see note*)
Juice of 1 LARGE lemon
FRESH ground sea salt and black pepper
3 cloves garlic, minced
pinch paprika
- Cut ribs into 3-4 rib sections and place in large dutch oven.
- Cover ribs with water and bring to a SLOW boil.
- Simmer 10 minutes and then drain well.
- Preheat oven to 300°.
- Line baking sheet with heavy duty foil and spray with non-stick spray.
- Arrange rib sections on baking sheet in single layer.
- Whisk together remaining ingredients until smooth.
- Pour over ribs.
- Cover with foil and seal tightly.
- Bake 2 hours until meat is tender.
- Baste with sauce frequently and serve with drained sauce.
NOTES: *If you like it a bit spicier use a jalapeno ketchup.