DRUM ROLL PLEASE…

CSN stores has been exceptionally generous to all of us here in the blogosphere.  It is my pleasure to announce the winner of the CSN stores giveaway here at 3 Sides of Crazy is…..

Congratulations!  I have forwarded your email address to them and they will be contacting you.

aprons 3

APPLE RAISIN NOODLE PUDDING

NOODLE PUDDING

2 cups dry wide egg noodles

2 beaten eggs
1/2 cup sugar
8 ounce crushed pineapple, drained well
1/4 cup golden raisins

1/4 cup golden rum
3/4 teaspoon vanilla
2 tablespoons butter, melted

1 teaspoon cinnamon
1 cup milk

1 GALA apple, peeled, cored and grated

  • Cook and drain the noodles
  • Combine all other ingredients together
  • Fold into warm noodles
  • Generously spray an 8×8 baking dish with PURE
  • Gently spread entire mixture into dish evenly
  • Bake at 325 degrees for 45 minutes
I remember the first time I had NOODLE PUDDING – my little Jewish neighbor brought it over as a welcome to the neighborhood back in 1986. She called it noodle pudding. It was so delicious. I wanted to ask her for the recipe, but I’d just met her and I was young and shy. I made her my floating fruit cake in the same pan she’d brought over and returned it to her to ask for the recipe. I remember how hard she laughed at me. She said it was a Jewish custom to always return a plate, bowl or dish full and of course I could have the recipe.   

I’ve adapted it to suit my families tastes over the years and cut back on the amount of sugar but it is still a favorite!  I’ve also found other versions that have helped me repeatedly adapt it into what it is today.  My neighbor and I  became fast friends and shared LOTS of cherished family recipes before I moved from the neighborhood in 15 years later.

aprons 3

STRETCHING a side dish for two to a SNOW PEA MEDLEY FOR FOUR

Greetings again…  Occasionally, I have a dish that is so good, I can not wait for Thursday to roll around so that I can share this with all the OUR KRAZY KITCHEN folks.  This dish was the best thing I made this week.  And the surprise came because it was a “need to do something” dish.

OK, let’s start with my problem… I screwed up.

Not uncommon.

This week, we had friends from home visiting.  It has been a week of menu planning, showing off a bit and dining out a couple of times!  But, one evening, I discovered I had screwed up… I planned on a simple sautéed snow peas as a compliment to a Rum Braised Mahi Mahi (the fish so nice they named it twice).  I thought the contrasting colors would make for a nice plate.  My problem was the brain fart I made when shopping.  I can buy these by weight instead of pre-packaged.  When I was shopping, I am so used to shopping for just Jackie and myself, I only bought 1/3rd of a pounds worth.  Just enough for two.  But I had to feed 4 people, and the 4 mile round trip walk to get more was not really an option, due to time restraints and laziness (you decide).

I considered making a cornbread, but I had my heart set on snow peas (a favorite).

So, after spending several minutes staring into an open refrigerator (for the cool breeze, I know what is in my fridge), I pulled out some extra veggies to make a melange…

So, another “not really a recipe”, more of a technique post…

Here’s what I did…

I had…

 1 Red Pepper (diced to the size of the snow peas)
1 Sweet Vidalia Onion (diced to the size of the snow peas)
1/3rd pound of Mushrooms (diced to the size of the snow peas)
1/3rd pound of Snow Peas
5 cloves of Garlic (minced)
2 TBS Olive Oil 

First step is to heat your oil with the minced garlic.  Olive Oil will burn easily, you do not want this too hot.  I set my electric burner to 5.  It takes about 10 minutes for the garlic to infuse the oil.

Now, I was lucky enough to find true Vidalia Onions recently.  they are sweet as is, and when gently sautéed, they get even sweeter.  If I used a “standard” onion, or a red onion as I prefer, I would have sautéed the onions for as long as 40 minutes to caramelize them.  With the sweet Vidalias, there is no need to sweeten them up.

The onions and the peppers are a bit more dense than the peas and mushrooms.  It would take a bit more time to get them heated throughout than the peas and mushrooms.  So I put them in first and flipped them around to get them coated with the oil for only about 5 minutes…

Then I added the snow peas and the mushrooms and continued to flip and coat for another 5 minutes.

Gentle heat and a short cooking time, and they have a great snap to them.  Do not over cook, or they get mushy soft.

No seasonings, didn’t need to add any extra tastes… just the veggies in oil… and the verdict was…

WOW, did this all work well together.  Some night soon, Jackie and I will just dive into a big bowl of this as a main course.  Snappy al dente texture, different vegetable tastes, plenty of flavor from the garlic oil.  I watched everyone eat, and this was the dish that disappeared from everyones plate first.

It was an accident and a rush to compensate for a shopping mistake.

What a lucky accident!  No one knew I was making it up as I went along.

Dave here from MY YEAR ON THE GRILLWhat a shock … I CAN COOK THAT! Anyone can!!! And anyone can make this winner…

1-2-3 Chocolate Mousse without Eggs

Get loads of recipes at Comfy Cook and My Sweet and Savory

Don’t miss Giveaway at Comfy Cook – CSN – choice of  4 items

For the longest time, I looked for a chocolate mousse without raw eggs and could not find one.  Recently, I am seeing some popping up, and I will have to try them.  The first one I came across was from Nigella Lawson and I adapted that not only to be a chocolate mousse but to transform into many flavors.  There is no end to the variety of desserts you can get from this recipe.

Instant Chocolate Mousse or Ice Cream
This recipe takes minutes to make and it has no raw eggs which is very important to me. The secret of its success is the Marshmallow Creme or Marshmallow Fluff and a few miniature marshmallows.
Ingredients

  • 3 cups mini marshmallows (I used 2 cups marshmallow fluff and 1 cup marshmallows since kosher marshmallow retain their shape. In the end, it looks nice, this way.
  • 1/2 stick margarine softened
  • 9 ounces semisweet chocolate, chopped into small pieces
  • 1/4 cup hot water from a that had recently been boiling
  • 1 non dairy whipped topping or whipping cream  (8 ounces)
  • 1 teaspoon vanilla extract
Method
Put the marshmallows, marshmallow fluff, margarine, chocolate and water in the microwave.
Stop your microwave every 30 seconds and stir. I used a low to medium setting.
Meanwhile whip the cream with the vanilla until thick and then fold into the cooling chocolate mixture until you have a smooth, cohesive mixture.
Pour or scrape into 4 or 6 glasses or small dishes and chill until you want to eat. The sooner the better!

IT’S GIVE AWAY TIME!

I was recently made aware that there is a wonderful online shopping experience available right from your desk top. Whether you are looking for TV stands, dining room furniture or cookware, they have it all.
Remember all these wish list posts I did about all the wonderful quality kitchen dreams and wishes I have? Well, all the items I’m dreaming about to complete my dream kitchen are available from these sites from CSN stores and so are yours!


Seriously, you really need to go check out these sites
www.racksandstands.com
www.allmodern.com
www.diningroomsdirect.com
www.cookware.com
www.moremailboxes.com

Maybe you need a new spice rack like this one? How can you get it for free? By joining in on this giveaway of course!

The winner receives a $60 gift certificate to use
as they wish on any of the CSN.stores websites.

Kamenstein 16 Jar Acadia Wood Spice Rack

THE RULES
  • Answer one questionWhat is your favorite kitchen tool?
  • You can earn an extra entry by blogging about this contest. Come back and leave a 2nd entry with the link.
  • You can earn another entry each by becoming a follower here at 3 Sides of Crazy, at ALWAYS EAT ON THE GOOD CHINA and/or OUR KRAZY KITCHEN. Come back and leave a comment for each.
  • No entries after 11:30 pm Pacific Time Tuesday, 4/27.
  • Winners will be selected at random and announced Wednesday.
  • Good luck!
aprons 3

Disclosure: I did not receive any type of compensation for this post. CSN stores is sponsoring this giveaway and will handle prize fulfillment. All opinions are my own and I was not influenced to post them.

BUNLESS BURGER SERIES #1 ~ GOLDEN FUNGUS BURGER

Over at THE Motivation Station I’m going to be doing a series of posts about eating on $1 a day per person.  Trust me it can be done.  One of the awesome things though is that it can be done and make you feel like you’re eating like a gourmet while doing it.

This is my first recipe in the BUNLESS BURGER SERIES.  Bread in general is expensive and can be timely to make.  It also doesn’t help on my diet so thought I would try going “bunless” and we are soooooooooooooooo glad we did.  With planning to eat the burger with a knife and fork I was able to add so many more ingredients that would have otherwise made the bun mushy and slippery.  I hope you enjoy this as much as we did.

So simple, but oh so yummy too.

GOLDEN FUNGUS BURGER
2 1/3 # burger patties
1/2 large Vidalia onion, sliced thin
4-5 large button mushrooms, sliced thin
1 large Roma tomato or 4 baby Roma tomatoes, sliced thin
1/4 cup Chablis
1/3 cup grated sharp cheddar cheese
  • Grill burgers inside or out. I add just a touch of Worcestershire sauce, salt and pepper to the meat and hand form the patties.
  • In a large sauce pan melt butter.
  • When sizzling add onions and saute’ until translucent.
  • Add mushrooms and saute until tender.
  • Add wine and continue sauteing until moisture has sizzled away.
  • Add tomatoes until heated through.
  • Plate burger.
  • Top with onion mixture and then cheese.  I use the pan lid over the plate for a minute to melt the cheese.

aprons 3

ARE YOU LISTENING TO YOURSELVES? OTHERS ARE.

At the risk of sounding “old fashioned” I have to ask, don’t you care how you present yourself to the world?  (Now I know this doesn’t pertain to most of my readers, but I bet a few of you know someone like this) Personally I prefer NOT to look like an idiot to the masses. Of course this is just my opinion, but I believe the world could be a kinder, better place.
All families have words and issues.  These are some of my favorite TV families that had issues at times, but presented a cohesive family unit without profanity, sexual innuendo every other word or cattiness.  They were wholesome and taught their children the value of manners, etiquette, kindness, fairness, right from wrong and how to live by setting an example.

One of the things that irks me most is that kids today, girls in particular, don’t seem to care how they present themselves to the world.  Just a couple of examples would be how they dress.  Now, I’m not a prude by any means, but if I were even 20 pounds over weight I would not be wearing a skin tight tank top in public allowing the rolls of fat the “hang” out.  I also know that tattoos are “IN”, but  think about it girls, where it is now isn’t where it will be after a kid or two or gravity catches up with you in 20 years. Are you someday going to want to wear that strapless wedding dress?  Do you really want that skull and cross bones in your wedding pictures?
Next would be their speech.  Hey I cuss sometimes, we all do in certain instances, usually anger.  But, using the “F” word in their everyday conversations in loud voices is just plain vulgar.  Using it in print on social networks is just stupid!  Do they not realize what the permanency of looking like an idiot, a gossiper or back stabber on social networking sites can do to them, their families or their futures. 

Then there would be their lack of respect for their families, friends, themselves and their elders as well as those around them in a public forum.  Last time I checked it was still polite to say thank you, please and excuse me when appropriate.

I recently read about a girl who was whining about how she hated her job on facebook.  Her superiors read about it too.  Then they fired her.  Now before you say they didn’t have the right, think about it.  What she did was bad PR for her employer in a public forum. Then there are the job candidates who are never even hired because HR researched them on social networks and just didn’t think they would be good representatives of their company based on how they carry themselves in public.  I also read a “friends” rants and raves on facebook about a customer and it didn’t take much of an imagination to know who she was “hypothetically” talking about.  I remember reading a story about an insurance agent who was fired after discussing a case in an elevator.  She didn’t use names, but she did happen to describe the exact symptoms of another passenger on the elevator.  That passenger filed a complaint with the insurance company and the agent was let go.  There is a sense of privacy that no longer exists in today’s world.  We all need to be responsible for our words and expressions, freedom or not to say them or express them.
I’ve also read about potential college candidates whose college applications were declined because of my space pages or facebook entries.  You can talk about freedom of speech or freedom of expression, but have we as a society taken it a bit too far?
I’m all for teaching kids right from wrong, good from bad, how to be independent and think for themselves, but I’m also all about teaching them when they should be kind, thoughtful, generous, helpful and when to hold back a bit and show compassion and understanding.  It’s not always all about us as individuals.  In fact, most of the time it isn’t, but today’s generation truly seems to be a “ME” group with an inflated sense of entitlement, a serious lack of manners or sense of etiquette and a lack of compassion.
Being conservative in our thoughts and actions is a way to protect what’s right about our families.
Now being called June Cleaver does not offend me, I just say thank you and politely walk away.
aprons 3

LOVE OF BARNS

I’ve always loved barns – no real reason why, but I do. I ran across these pictures tonight of some barns I photographed a couple winters ago and thought I’d share. They are all so different and yet so welcoming.

BARN RAISING

I’ve always loved barns – no real reason why, but I do. I ran across these pictures tonight of some barns I photographed a couple winters ago and thought I’d share. They are all so different and yet so welcoming.
aprons 3

Queen of Sheba Cake – Save Room for Dessert

I was feeling a bit ambitious one day and decided to tackle a recipe which had been haunting me for quite some time, ever since I heard of its use in the movie Julie & Julia.  Then I watched the movie and saw the Reine de Saba (Queen of Sheba) cake and knew I had to make it happen.

Fast forward a few months to the day when it actually DID happen.  This cake is quite unlike anything I have ever eaten before.  That extraordinary taste and texture totally made up for the extra bit of time it took to make the cake happen.  I can only imagine that the use of egg whites lends that lighter-than-air texture, and you can really taste the almond extract.  Heaven!

If you have a little time and a little patience, I beg of you: Please, make this cake.  It completely lives up to its reputation as one of Julia’s best recipes!

I’m going to go lighter than usual on the pics since this is a rather long process and I don’t want to make the post even longer!


Reine de Saba (Queen of Sheba)

3 ounces sweet baking chocolate
1 ounce unsweetened chocolate (I used a total of 4 ounces of semi-sweet chocolate)
2 tablespoons dark rum or strong coffee (I used water for this – no rum on hand and a coffee hater in the house)
4 ounces (1 stick) softened unsalted butter, at room temperature
1/2 cup sugar
3 egg yolks
The egg whites
3 room temperature egg whites (a scant 1/2 cup)
1/4 teaspoon cream of tartar
A pinch of salt
2 tablespoons sugar
1/3 cup blanched almonds pulverized with 2 tablespoons sugar
1/4 teaspoon almond extract
1/2 cup plain bleached cake flour
First I pulverized the almonds in the food processor along with 2 tablespoons of sugar.  The sugar helps keep the natural oil in the almonds from making everything stick together.  By “pulverized” I mean I chopped and chopped and chopped until I couldn’t chop no more.  They were as small and crumbly as they were going to get and were just flying around the processor so I decided enough was enough.
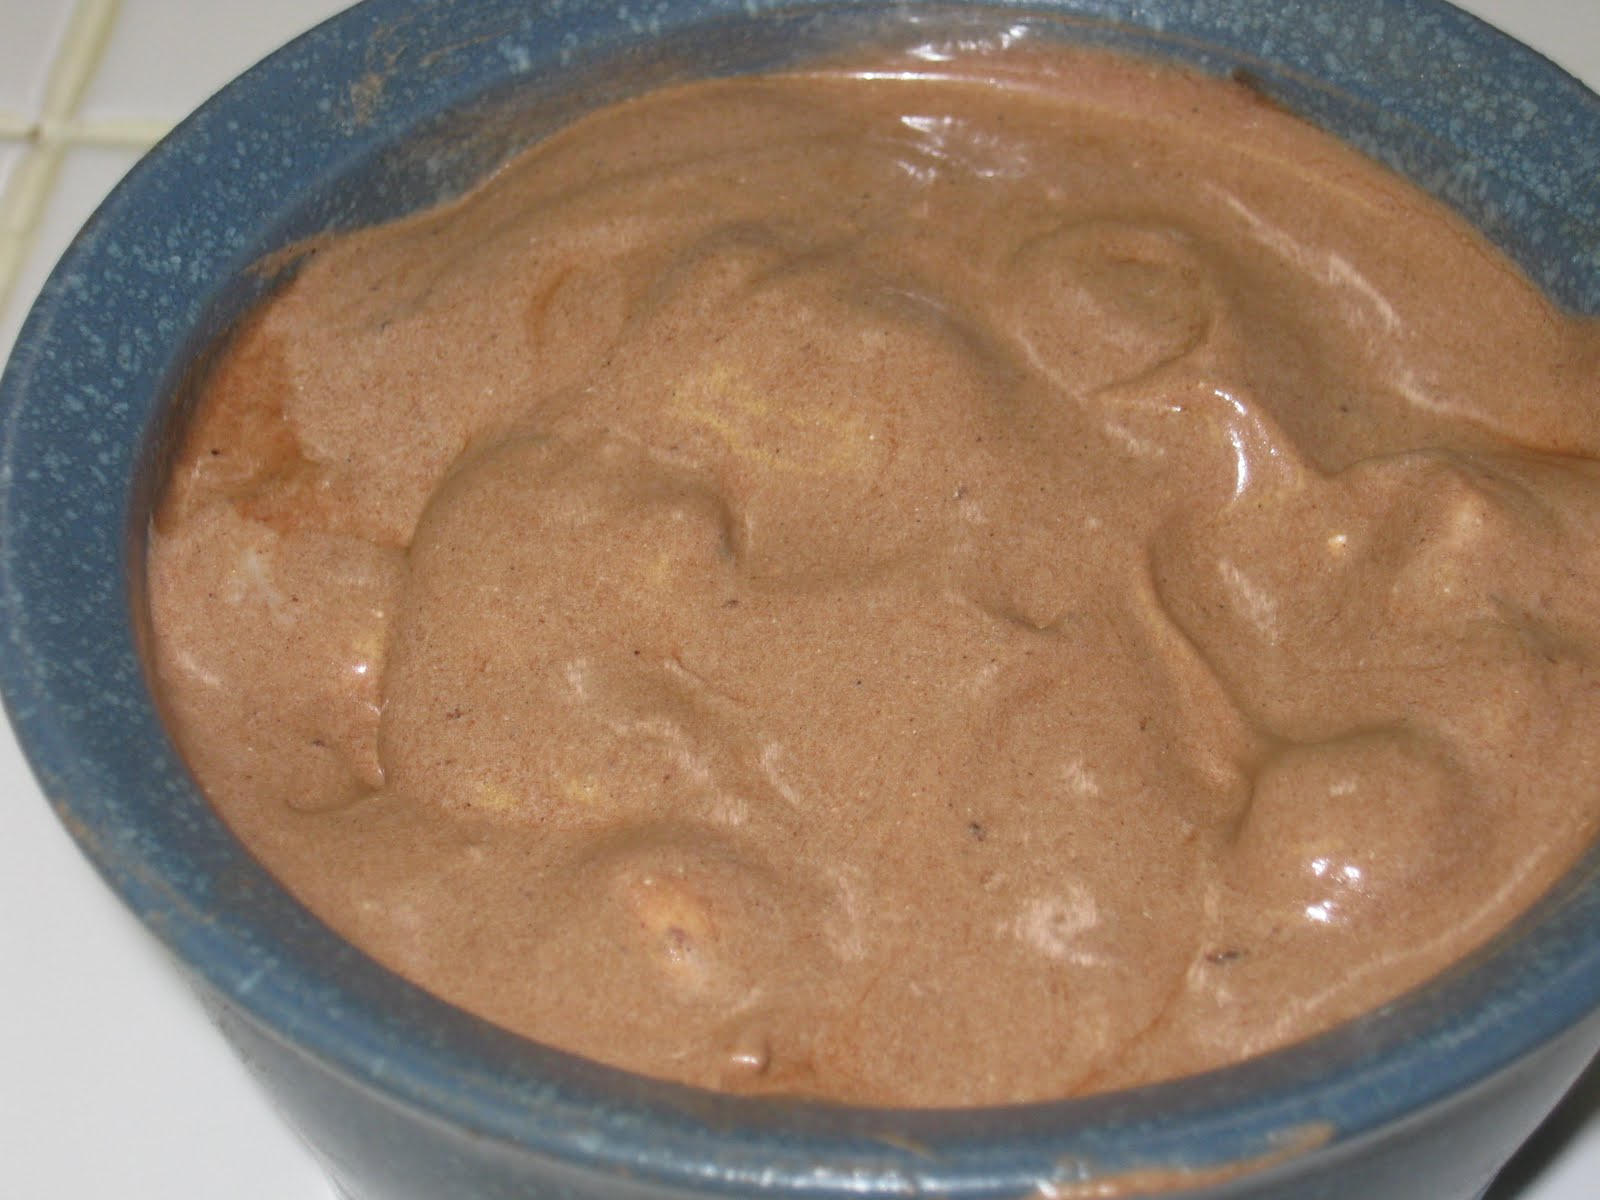
Once this was done, I beat the butter in the stand mixer until it was light and fluffy, then added the sugar and beat it for another minute.  Then the egg yolks joined the party and everything got all mixed up and transferred to another bowl in order to make room for my egg whites once their time came.
Julia’s method for melting the chocolate and rum/coffee involves a double boiler system where water is heated until it simmers in a large saucepan, into which a smaller saucepan with the chocolate and liquid is lowered and allowed to rest for 15 minutes until it is all melted and smooth.  I did things her way.
Once melted, the chocolate gets mixed in with the egg yolk mixture.  Along with that goes the pulverized almonds and almond extract.  
Sidenote: I love almond extract and I don’t care who knows it.
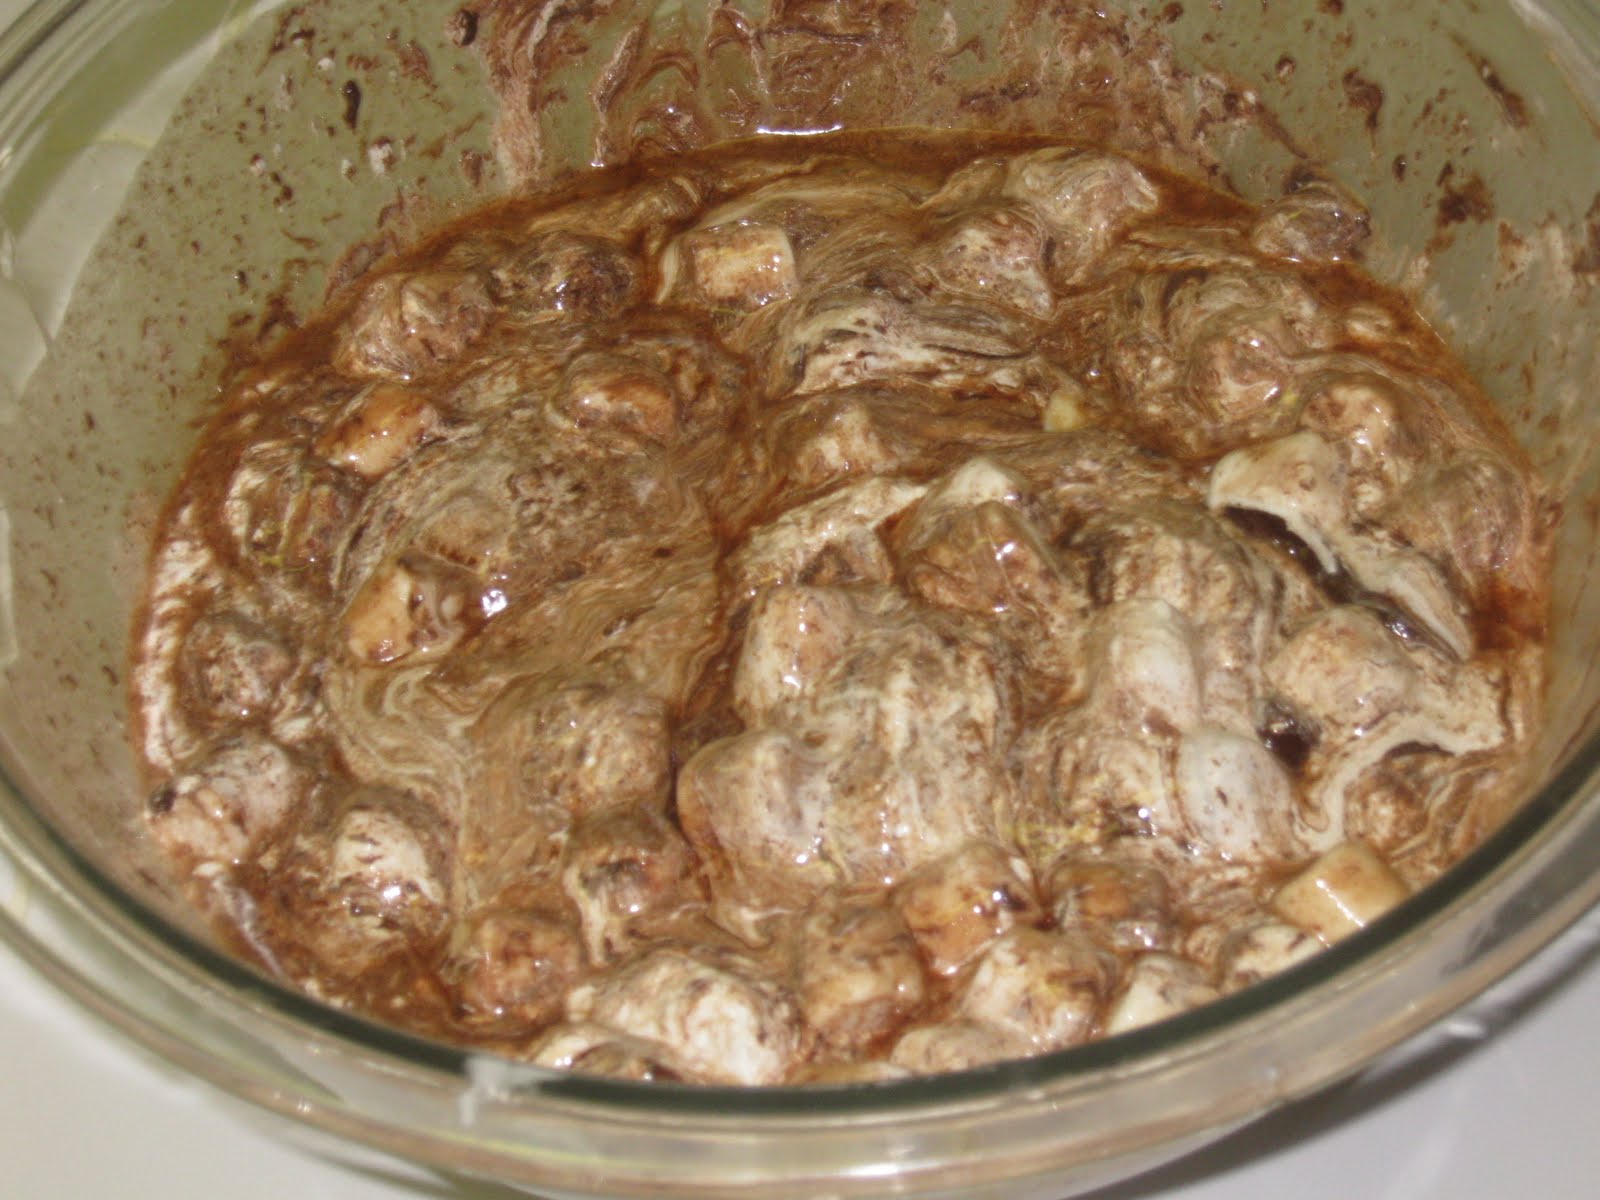
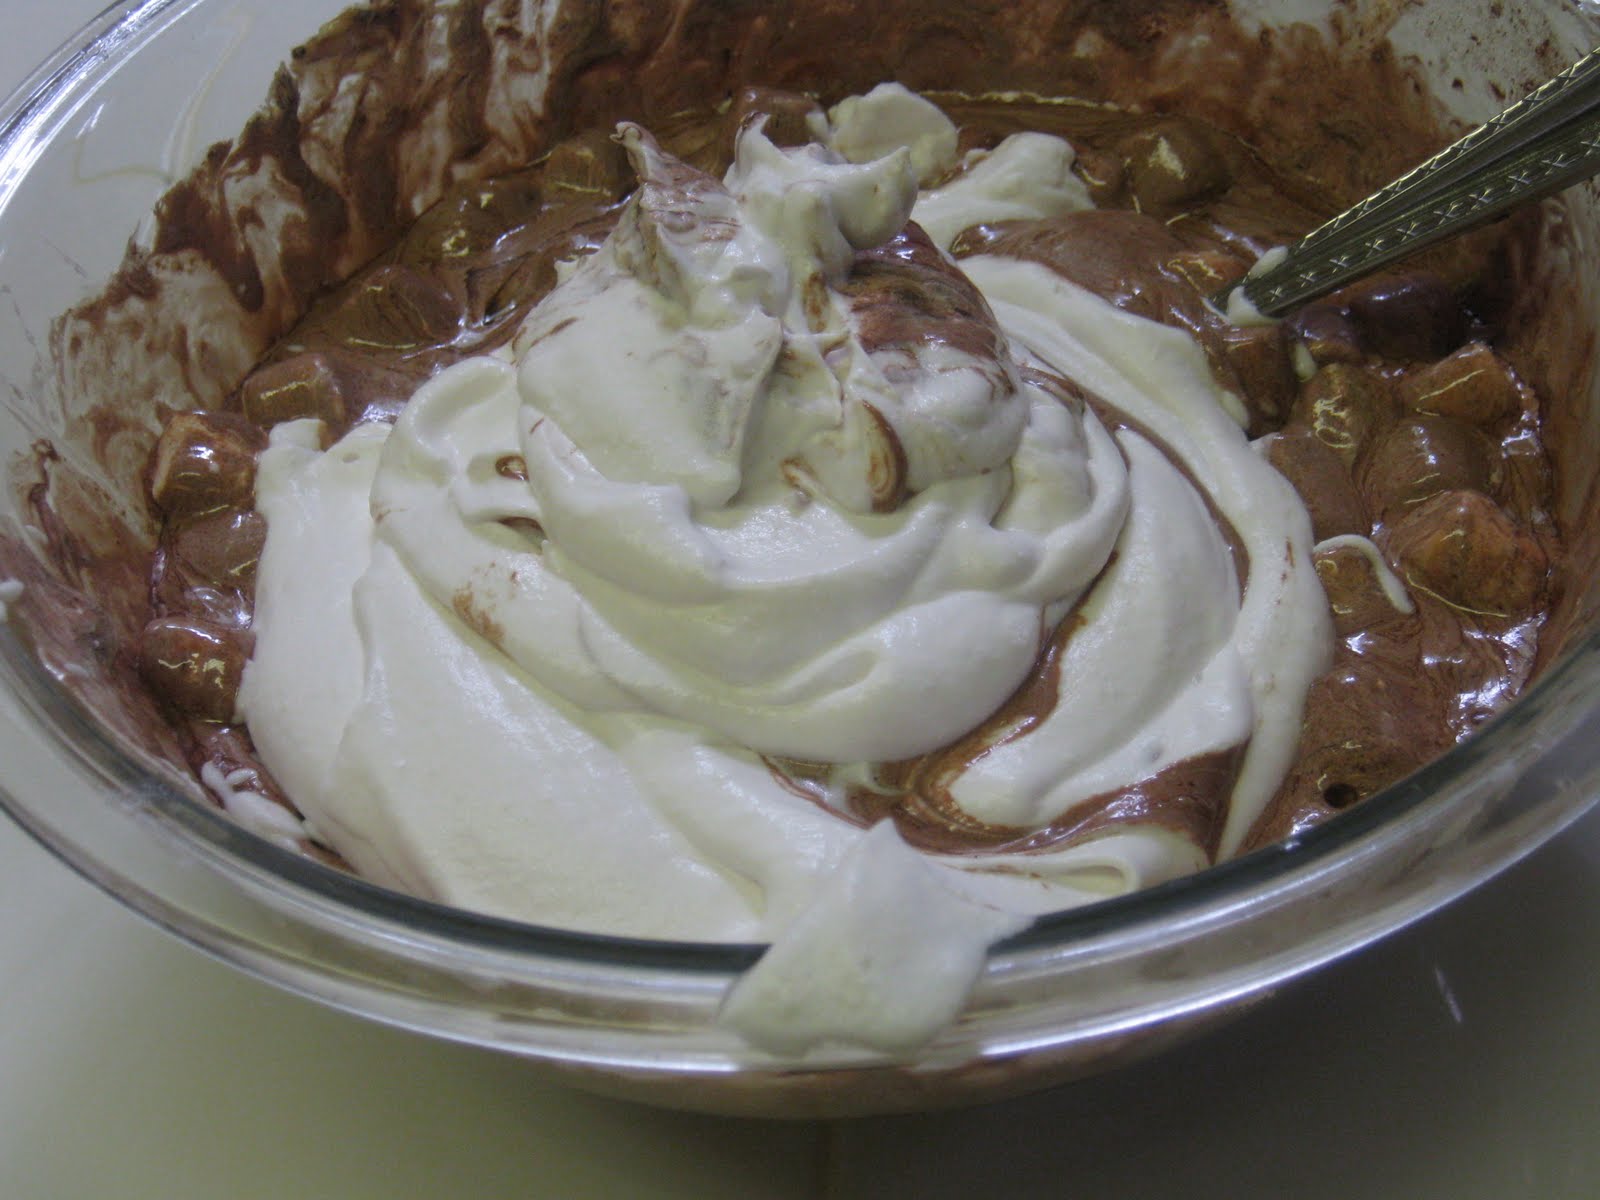
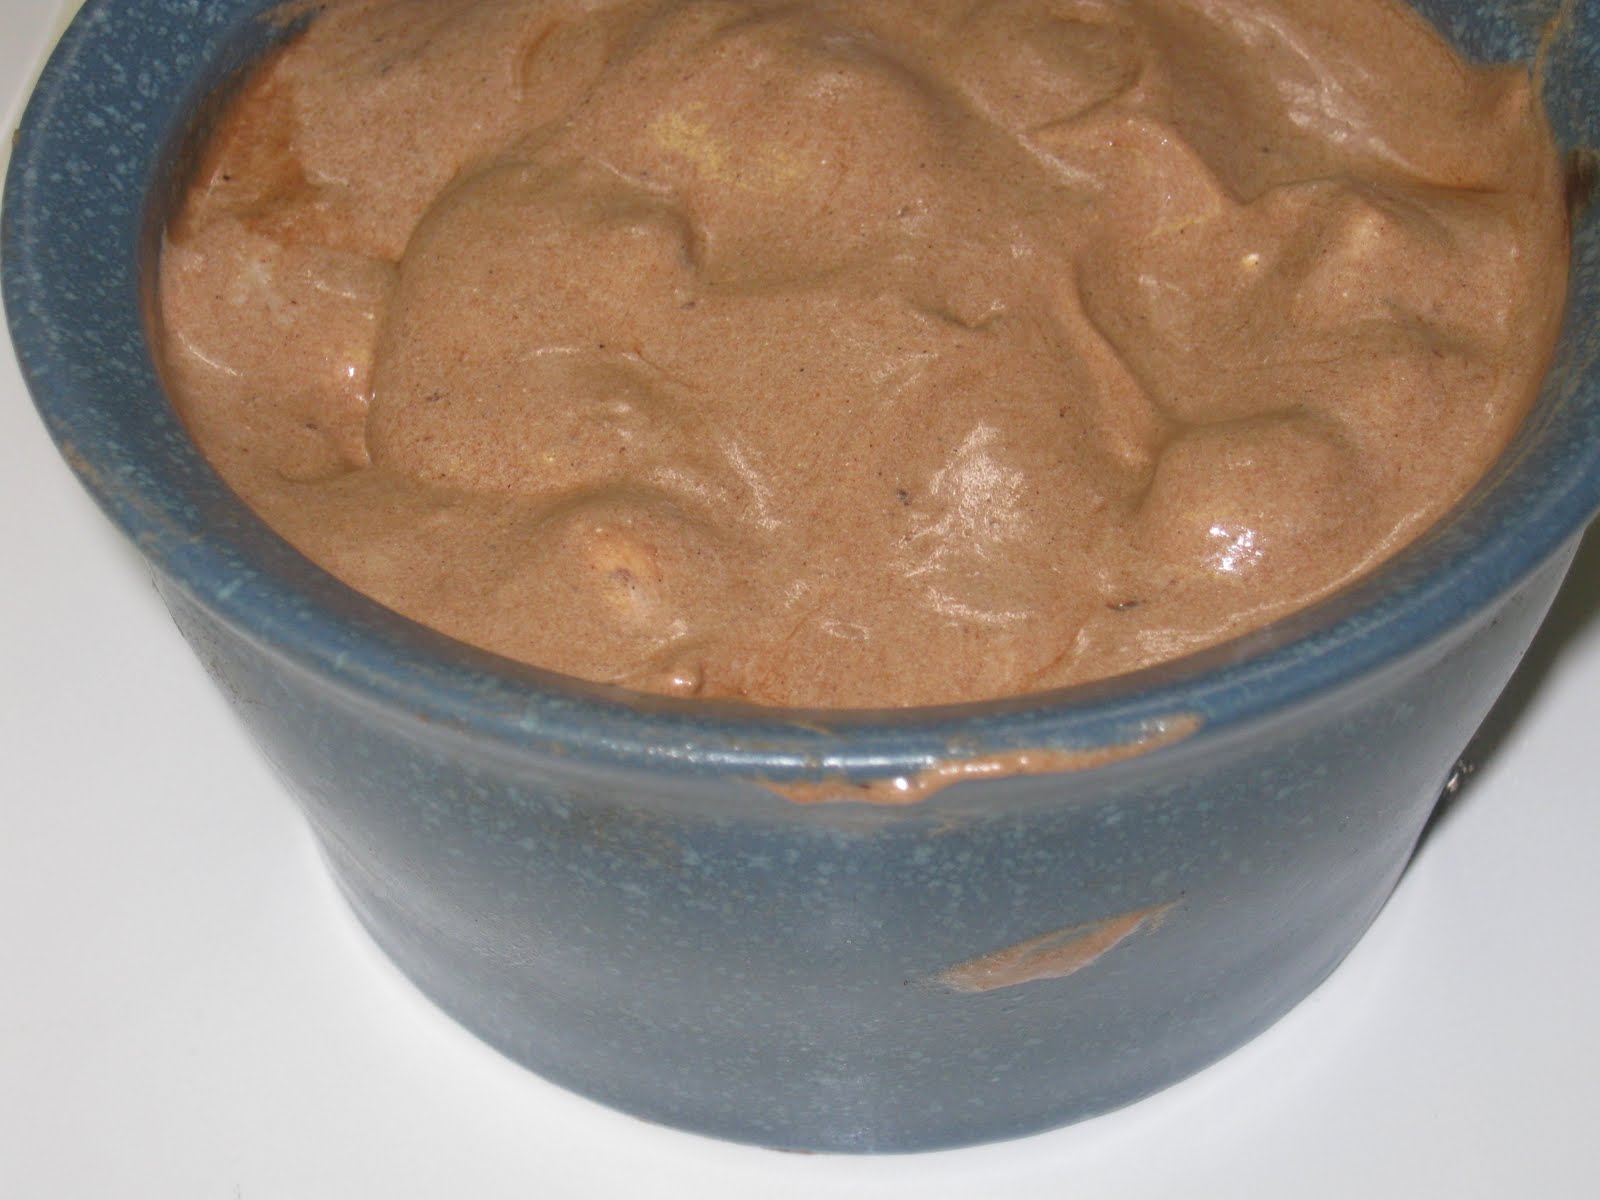
THEN it’s time to whip the egg whites in your nice, clean bowl.  First beat them for only a minute or two until they are foamy.  Add the cream of tartar and pinch of salt, then continue to beat at a higher speed.  When you’ve reached a soft-peak stage, add the sugar and whip until stiff peaks form.
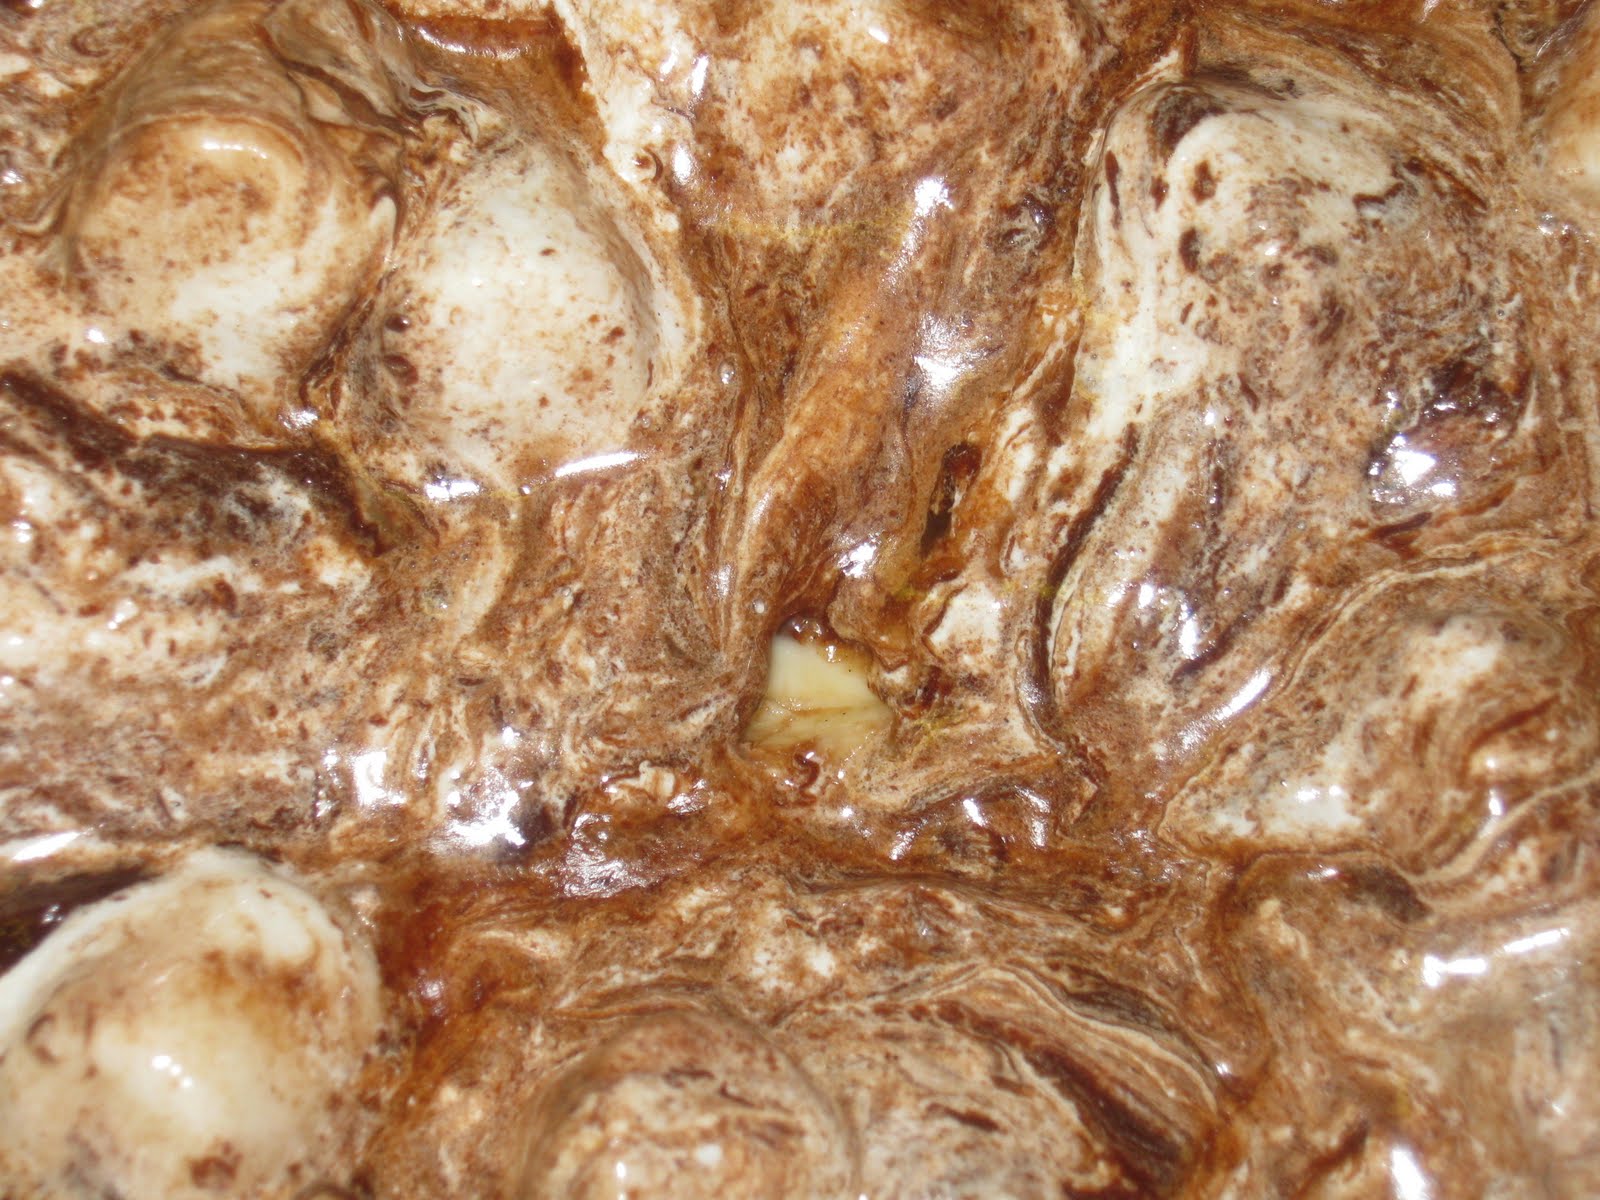
Take about 1/4 of the stiff egg whites and mix them into the chocolate mixture.  Then fold in the rest, alternating with sprinkles of cake flour, until everything is incorporated.
Whew.  This chocolaty mess goes into an 8 inch buttered and floured cake pan and into your 350 degree oven for 25 minutes.  Then it needs to cool for at least 2 hours.
Time for frosting!

2 ounces sweet chocolate
1 ounce unsweetened chocolate (again, I used all semi-sweet)
1 1/2 tablespoons rum or strong coffee (this time I used milk instead)
A pinch of salt
3 ounces (6 tablespoons) unsalted softened butter
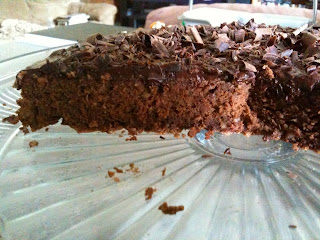
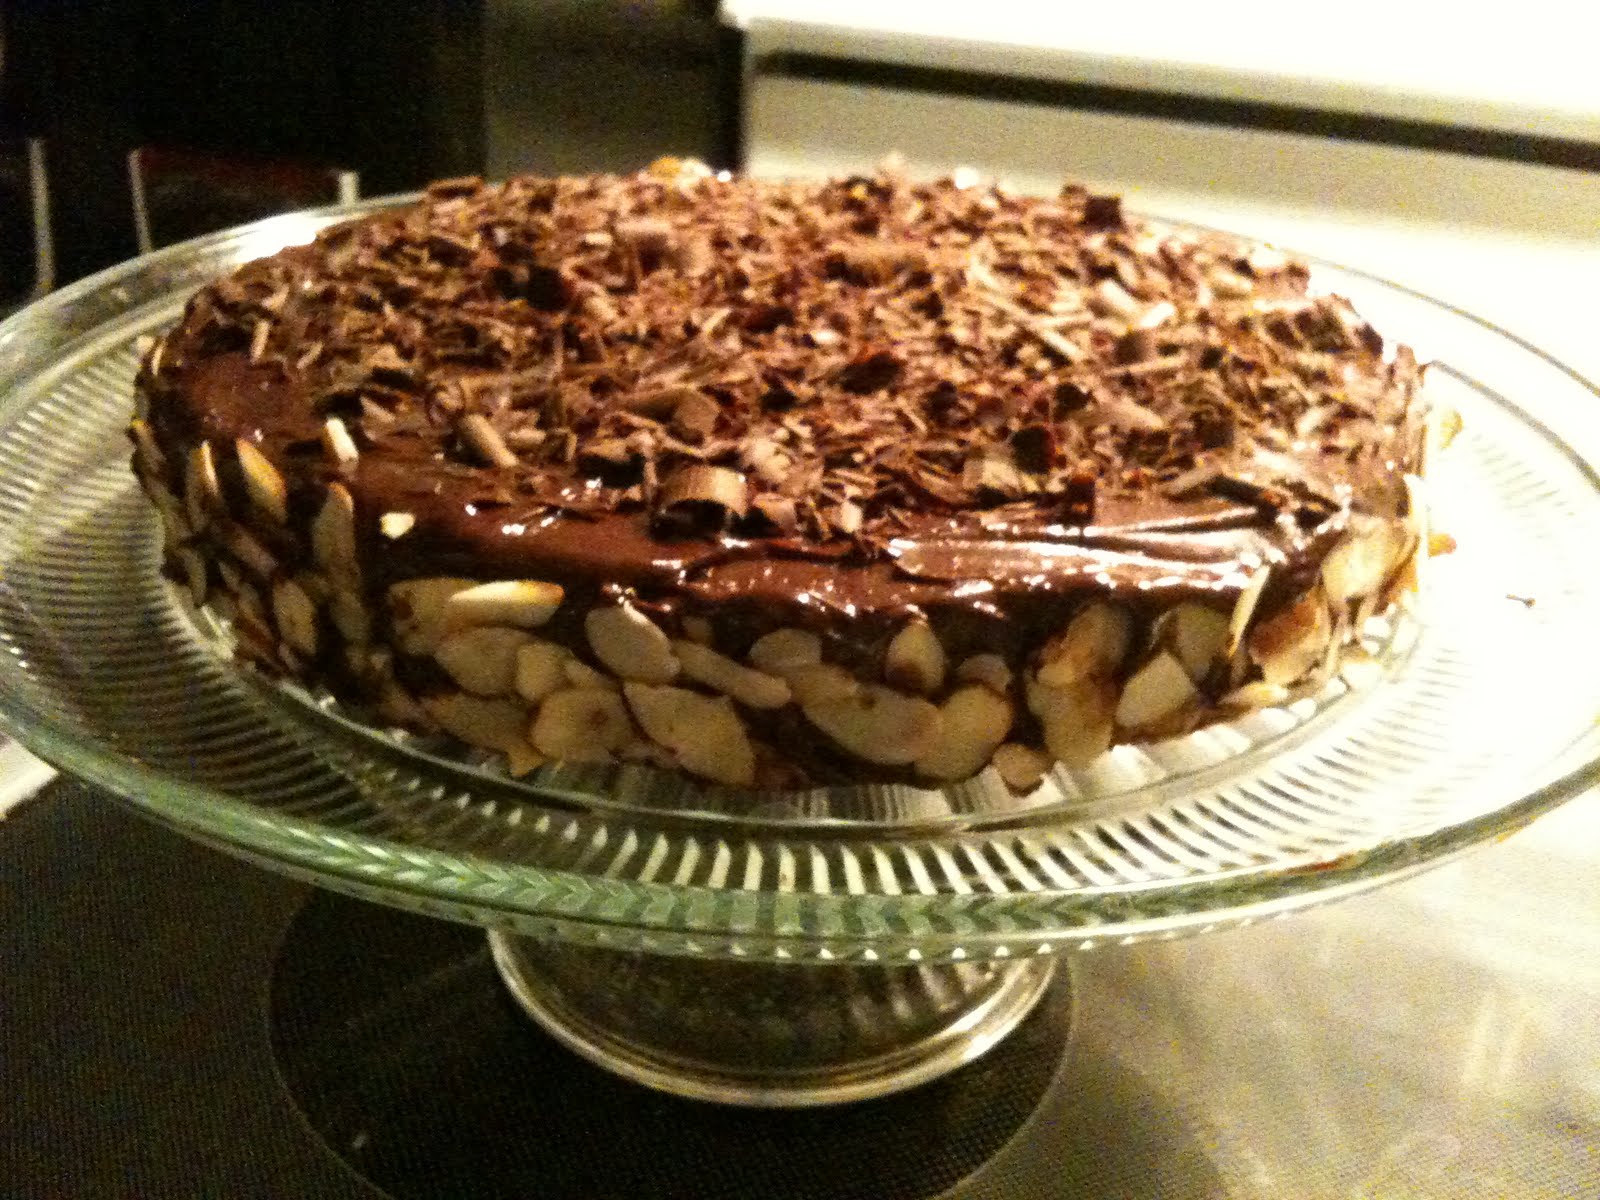
Pretty easy, this part.  Melt the chocolate and liquid of your choosing, using a double boiler system (this time I used a glass bowl over a pot of simmering water) and once that’s melted, add the butter one tablespoon at a time and incorporate.  Don’t forget that pinch of salt – it does wonders!  After this is cool, beat until thick enough to spread.  It will be quite thin prior to cooling, but once it has cooled it transforms into a lovely, smooth frosting.


I used sliced almonds and chocolate curls to decorate – use your imagination!


Make.  This.  Cake.  It’s exquisite and well worth the time.  It would be great as an impressive dessert for a special gathering!