THE WEATHER OUTSIDE
It has been super pleasant this past week with beautiful spring weather and a gorgeous breeze, but today appears to be breaking that pattern and the rest of the week will be warm and humid.
AS I LOOK OUTSIDE MY WINDOW
I see gray skies and drizzle, but am hoping for a sunny afternoon without humidity. LOL a girl can dream can’t she?
ON THE BREAKFAST PLATE
COFFEE, more coffee and a bowl of oatmeal.
AS I LOOK AROUND THE HOUSE
I’m becoming a bit more settled as I look around the house each morning. We’ve been working long hours to try and get things done before my mom’s visit which has now been moved forward 3 weeks with the impending funeral for my aunt.
TO DO FOR THE WEEK
This week will be Monday/ Tuesday heavy and then as needed with my mom visiting.
- A trip to Lowes for a faucet for the spare bathroom.
- Call electrician to fix the last problem from the electrician my uncle hired that has really messed up the living room as well as fix the back porch light.
- Cleaning the bathrooms and kitchen.
- Laundry.
- Paperwork.
CURRENTLY READING
TELEVISION / DVR
We watched a few season and series finales this past week, but I’m just really not into TV much lately with ALL the hours we’ve been spending on this house.
CRAFTS & PROJECTS
Nothing new this week.
MENU PLANS FOR THE WEEK
|
MONDAY
|
TUESDAY
|
WEDNESDAY
|
THURSDAY
|
FRIDAY
|
SATURDAY
|
SUNDAY
|
|
|
BREAKFAST
|
YOGURT & FRUIT
|
SCRAMBLED EGGS & CHEESE
|
FRUIT SMOOTHIE
|
YOGURT & FRUIT
|
MAPLE OATMEAL & RAISINS
|
QUICHE
|
SAUSAGE & EGGS
|
|
LUNCH
|
FRUIT & CHEESE
|
SOUP & CRACKERS
|
SANDWICH
|
OUT
|
MEAT & CHEESE
|
LEFTOVERS
|
SANDWICHES
|
|
DINNER
|
RECIPE EXPERIMENT NIGHT
|
OUT
|
C.O.R.N.
|
MEATLOAF & SALAD
|
??
|
||
|
DESSERT
|
HOMEMAKING/COOKING TIP
I thought I would show you how well the apple cider vinegar is working at collecting gnats and fruit flies. There are 7 or 8 EVERY day so this bowl has become a permanent fixture on my shelf.

THINGS THAT ARE MAKING ME HAPPY
I received a WONDERFUL text from my psuedo daughter/niece for Mother’s Day that made me smile and cry all at once. Amber fills my heart with love. She has turned out to be a beautiful woman and fantastic mother that I am SOOO proud of. She is the epitome of one of my favorite quotes.

FAVORITE CAMERA PHOTOS & HOUSE PROJECTS

These are totes full of all the bubble wrap from unpacking waiting for their turn up the ladder to the attic. I couldn’t just throw it all out. What if we move again?

I planted a few drought resistant Lantana in yellow and variegated pink and Mexican Heather with the pretty purple flowers in the front planter to brighten things up. And look at how big that Christmas tree has gotten.

It took me 4 coats between caulking and paint to turn the brown center beam in the ceiling white and then it took us 3 coats between sealer, primer and paint to cover the walls.


The living room still needs some work in a few areas, but it will wait until after my mom’s visit to get done. We ran into a bit of a problem when we took down that gold fan and put up the new one. It is really hard to get a good electrician these days and sad that we are going to have to spend money to fix what my uncle thought he got fixed just a year ago.

I did get another quilt hung, but the rest of the room is a bit sparse until we get carpeting and some furniture.

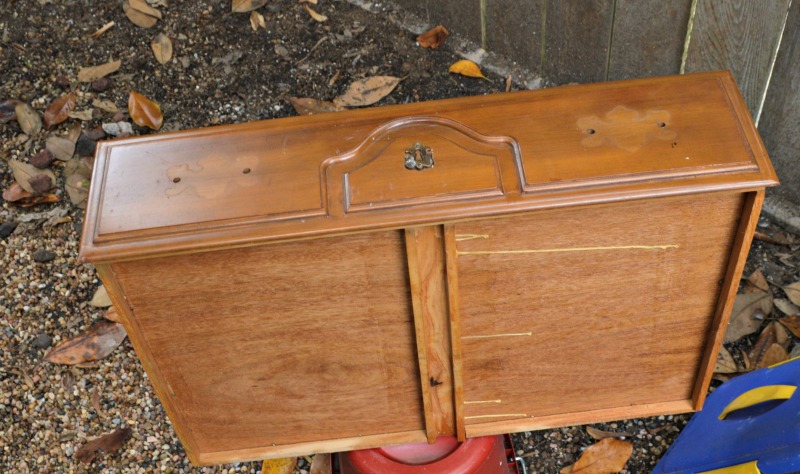
We decided to let me try my hand at Giana stone countertops. I also decided to add an extra challenge by starting with wood and not Formica. We added a cute molding along the edge and pre-cut the hole for the sink. I got a bit scared when the first step was a black onyx primer and spent a few minutes thinking what have I gotten myself into? Especially since I had to wait a minimum of 8 hours to move onto to step 2.


Step 2 was all the sponge and designing. I felt A LOT better after this step. Step 3 was 3 coats of the actual marble sealer and was a 4 hour wait between coats so this project didn’t take long for each step. but took over 3 days to complete.

I still need to finish the mirror and clean it up, but all in all I’m quite pleased with the results of the paint kit.
INSPIRATION

Be sure to link up with Sandra at Diary of a Stay at Home Mom for Happy homemaker Monday and with Laura at I’m an Organizing Junkie for Menu Plan Monday.