Good Morning!
I’ve been under the weather for a couple days, but I still seemed to manage having a VERY productive weekend. NOW I am feeling much better and am ready for a great new week!
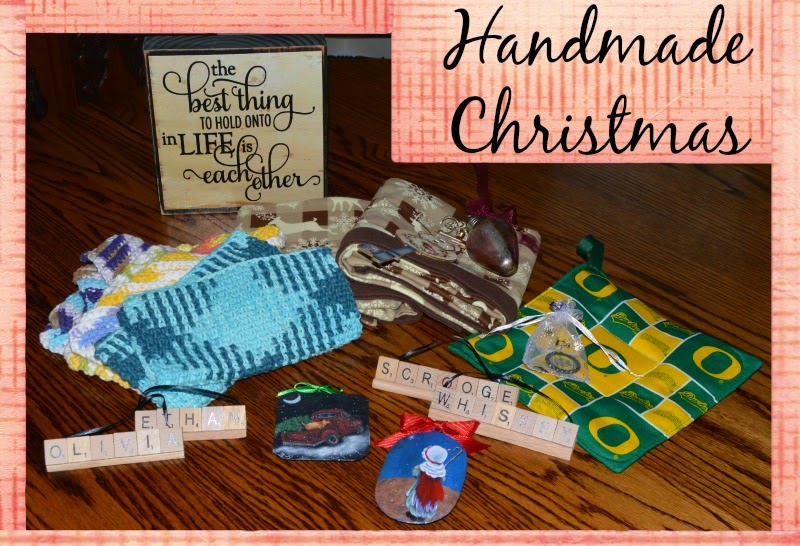
I will finish my shipping by the end of the week. This way I will be able to enjoy the entire Holiday season without tearing my hair out.
It’s Monday morning so be sure to join in with Sandra at Diary of a Stay at Home Mom for Happy Homemaker Monday. Go check it out to see what it’s all about!
ON THE BREAKFAST MENU:
- A big cup of coffee, maybe 2 or 3 and pancakes on the new griddle.

- Phone Calls
- Errands
- Grocery Shopping
- Applesauce
- Last minute shipping if not today then at least this week.
CURRENTLY (STILL) READING:
TV SHOWS THIS WEEK:
- Christmas Movies
- FOOD Channel
WEATHER OUTSIDE MY WINDOW:


| DATE | BREAKFAST | DINNER | ||
| MONDAY | 12/8 | Pancakes | C.O.R.N. | |
| TUESDAY | 12/9 | YOGURT | BBQ Pork Loin | |
| WEDNESDAY | 12/10 | OATMEAL | Chicken Chile Relleno | |
| THURSDAY | 12/11 | YOGURT | Grilled Pork Chops w/ Rainbow Potato Pancakes | |
| FRIDAY | 12/12 | CHEERIOS | Texas Fried Chicken w/ Fried Smashed Potatoes | |
| SATURDAY | 12/13 | French Toast | Cream of Asparagus Soup | |
| SUNDAY | 12/14 |
Bacon and Eggs
|
Farmer’s Casserole |
PLAY TIME (if I can find any ~ yeah right)
As always do a little quilting and finish a few older projects though I have yet to have a few minutes to myself LOL like that’s going to happen.
NEW RECIPES TO TRY:
Almost everything on this week’s menu is an experiment LOL
IN THE YARD & GARDEN
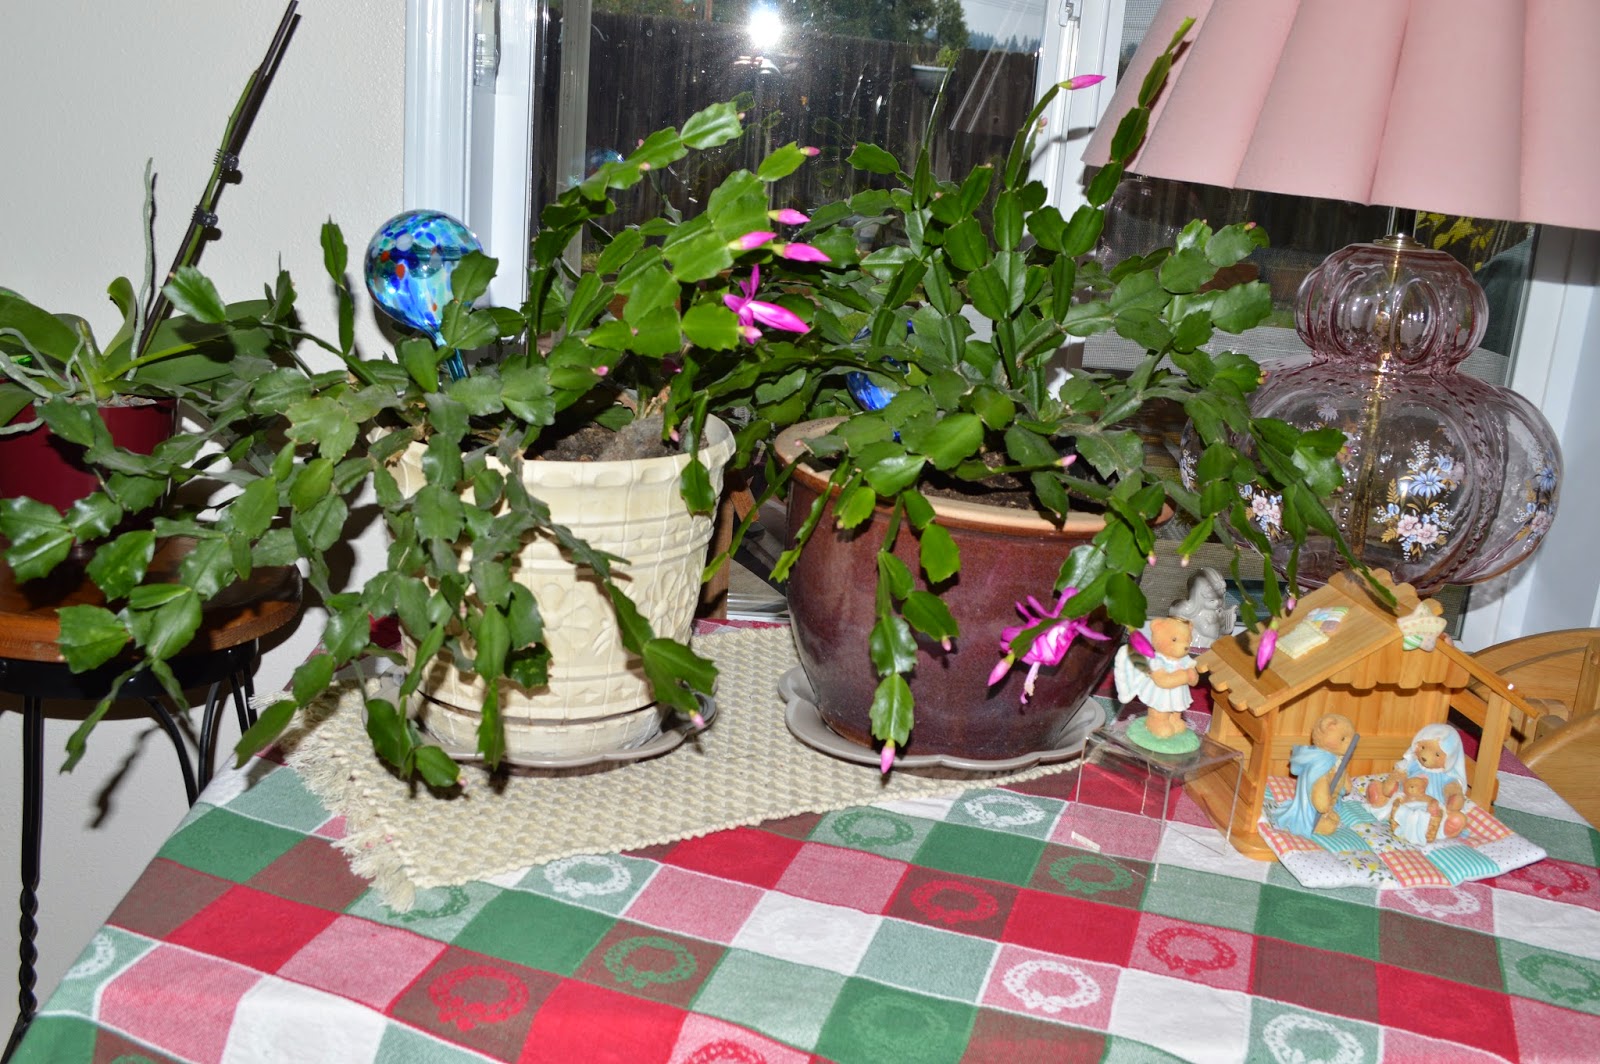
Replanted the Christmas Cacti and they are thriving.

New Stove in time for holiday cooking.
HOMEMAKING TIP OF THE WEEK:


If you don’t have an herb keeper, a tall glass and ziploc sandwich bag work well as a green onion keeper.
Cut part of the ends off so they stand in the glass well. Add about 3/4 inch of water and keep in the fridge. Your green onions will last for weeks!
I finally broke down and bought myself some herb keepers recently.
JUST TRYING TO STAY ORGANIZED, have a good attitude and do prep for the holidays.