GLAZE
2 baskets fresh strawberries, sliced
2 kiwis, chopped
1 cup pureed strawberries*
1 cup sugar
2 tablespoons KARO light corn syrup
3 tablespoons cornstarch
½ cup water
*I use the less than pretty berries for the puree.
Mix together sugar, corn syrup, cornstarch and water in a 2 quart sauce pan, cover and bring to a slow boil.
When you reach a boil remove the lid. Add the 1 cup pureed strawberries and boil a few minutes more and then chill 10 minutes.
After chilled pour over sliced berries and toss gently.
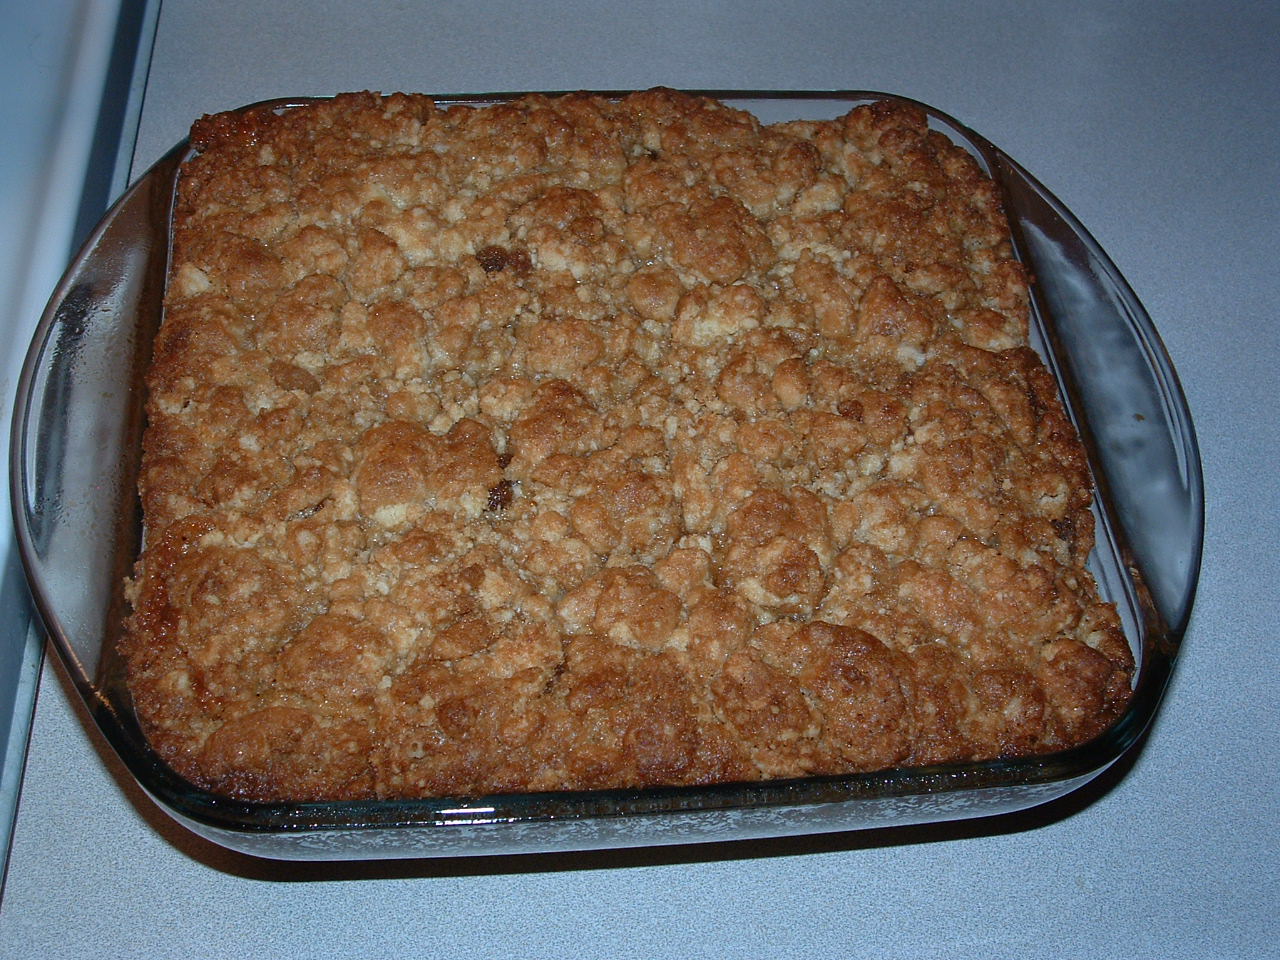
BUTTERMILK SHORTCAKE
2 cups flour
1½ teaspoons baking powder
½ teaspoon baking soda
dash of salt
4 tablespoons sugar
¼ teaspoon cinnamon
½ cup butter, softened, but not melted
¾ cup buttermilk**
Sift the dry ingredients together. Add the milk and butter and mix well into a soft dough. DO NOT over knead – it will become tough.
Bake at 400° for 15 to 20 minutes or until toothpick done and golden brown.
**As a substitute, Buttermilk can be made by adding 2 tablespoons of vinegar to regular milk.
I was recently made aware that there is a wonderful online shopping experience available right from your desk top. Whether you are looking for
tv stands, dining room furniture or cookware, they have it all.Remember all these wish list posts I did about all the wonderful quality kitchen dreams and wishes I have? Well, all the items I’m dreaming about to complete my dream kitchen are available from these sites from CSN stores.
www.racksandstands.com
www.allmodern.com
www.diningroomsdirect.com
www.cookware.com
www.moremailboxes.com