
I’ve missed you all and look forward to catching up.


I love my cast iron skillet too! There is nothing better for even cooking heat! I like to roast my chicken in there so the sides are always radiating an even heat to whole chicken.


| DATE | breakfast | lunch | supper | |
| MON 5/24 |
MONTE’ CRISTO | |||
| TUES 5/25 |
MEXICAN MEATLOAF | |||
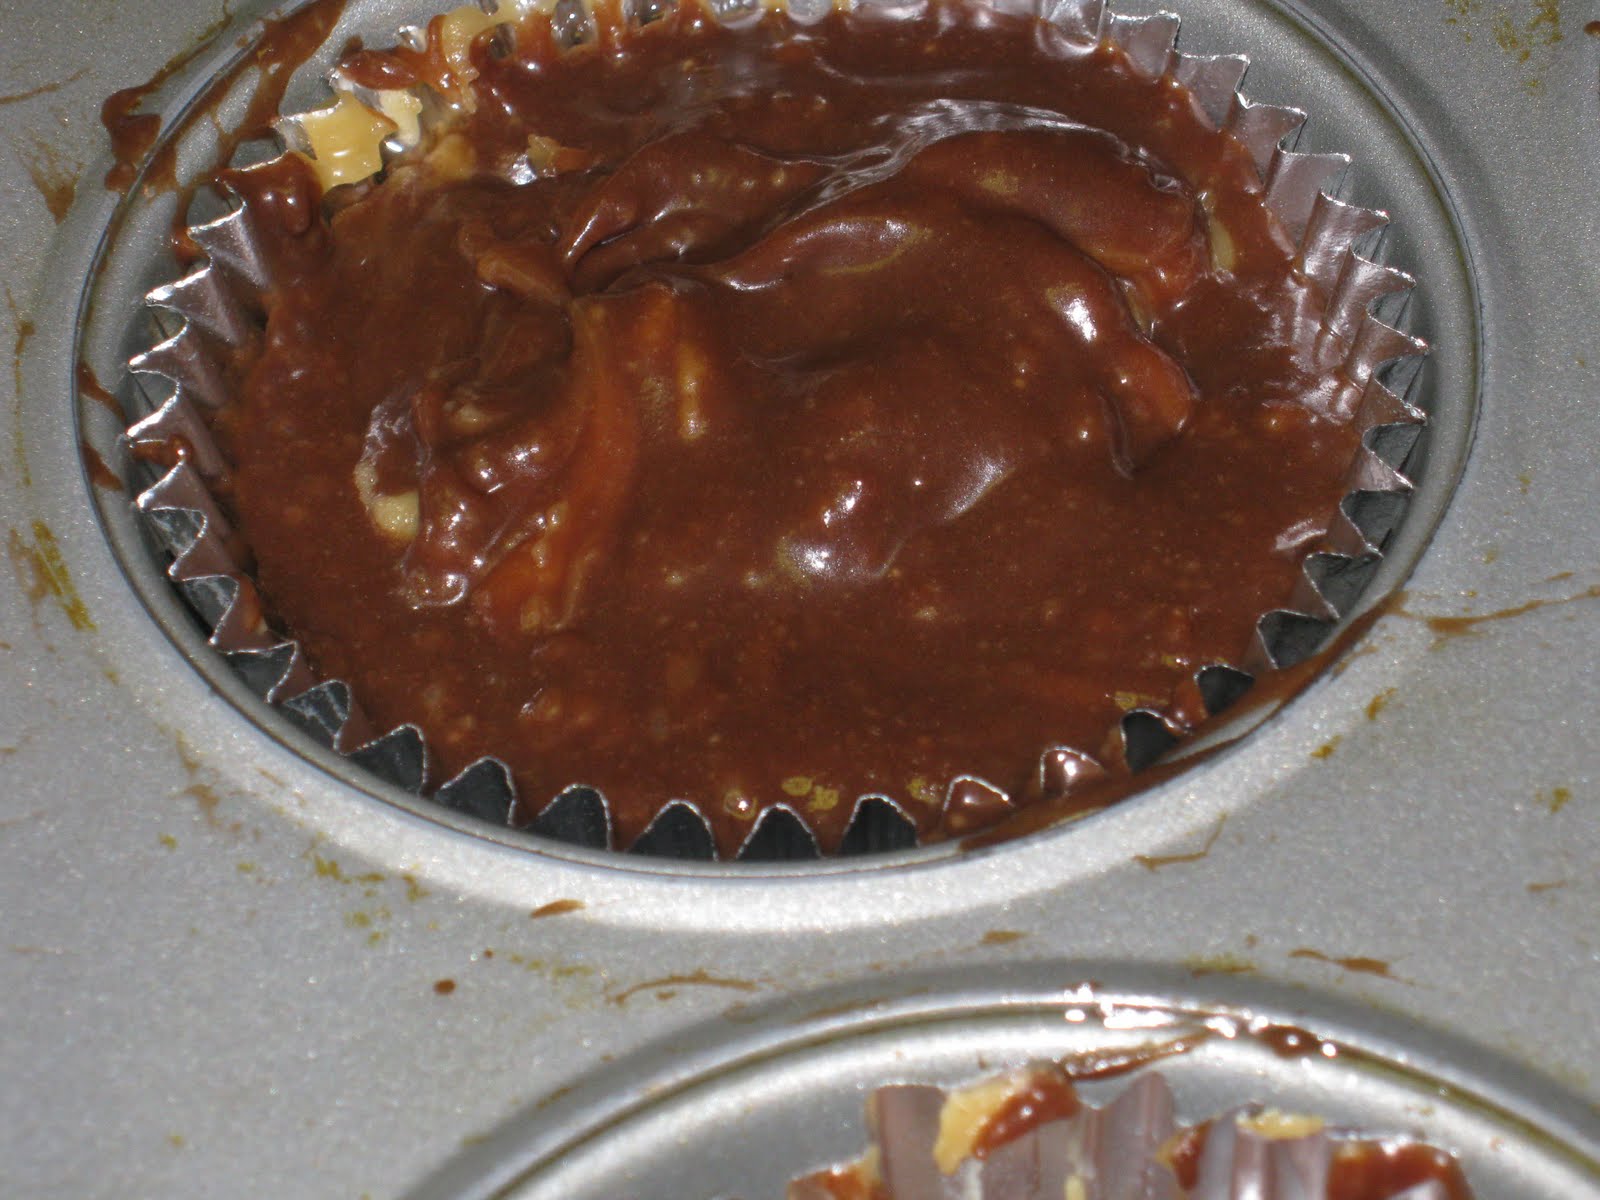
| WED 5/26 |
CHEESEBURGER CUPS | |||
| THU 5/27 |
COUNTRY CHICKEN & RICE | |||
| FRI 5/28 |
|
STEWED TOMATO CASSEROLE | ||
| SAT 5/29 |
EGGS ala ROOSEVELT aka DEPRESSION EGGS | OUT | ORANGE HONEY CHICKEN | |
| SUN 5/30 |
FARMER’S BREAKFAST | OUT | CHICKEN FRIED CHICKEN with PEPPERED GRAVY |
 Well hello there! My name is Kris, you may know me from Behold the Metatron, Where to Vegan?, AND/OR The Motivation Station. If you don’t, get to know me! I’m just a click away! ;o)
I am a vegetarian flirting with the Vegan lifestyle ever so slightly. But I’m not going to dive deep into a 100% Vegan dish with you lot just yet. For my first post, I’d like to share a sweet and savory salad with you that is absolutely perfect for summer. Enjoy it with a delicious sparkling rose like this one on a steamy Friday afternoon, and you’re starting off the weekend just right!

What you’ll do:
Prep you grapefruit by peeling the skin and pith, and cut into wedges. Prepare your arugula by placing it on a lovely platter or bowl. Heat a skillet on medium with a little cooking spray. Add in the halved asparagus and sautee for about 2 minutes. Add some salt and pepper and the juice of 1/2 the lemon. Let cook until tender, yet crispy for no more than 5 minutes. When the asparagus is done, remove from heat and place it atop the bed of arugula. Top the salad with the other lemon half, the dressing, the grapefuit wedges, and the cheese. Add a little more salt and pepper. Toss right before serving.

If I recommended cooking a meatloaf on a grill, you might ask me to “let you sleep on it” or you might run away like a “bat out of hell”, right?
I thought it sounded weird too when I first heard of doing it that way, but I tried it two years ago and it is my favorite way to prepare meatloaf now. You just prepare your favorite meatloaf recipe and instead of cooking it in your oven, turn your grill into a fire roasted oven by cooking with indirect heat (fire or burner on one side, food on other side, lid closed).

“I Would Do Anything For Loaf” Meatloaf recipe
adapted from Underground Deli’s Meatloaf Sandwich
Ingredients
1 cup panko bread crumbs
1 1/2 teaspoons Dry mustard
1 teaspoon Black pepper
1 teaspoons Garlic powder
1/2 teaspoon garlic minced
2 tablespoon basil, fresh chopped
1 tablespoon Dried oregano
3 Eggs
3/4 cup Ketchup
1/2 teaspoon Hot pepper sauce
1 1/2 teaspoons Worcestershire sauce
1 1/2 teaspoons Dijon mustard
1 1/2 teaspoons Horseradish
1 cup Onion; chopped
2 1/2 pounds Ground beef; 80/20 mix
Instructions
In a bowl, combine bread crumbs, mustard, black pepper, garlic powder, basil and oregano. In a large bowl, combine eggs, ketchup, hot pepper sauce, Worcestershire sauce, Dijon mustard and horseradish. Mix in the onion and ground beef, then add the bread crumb mixture.
TIP: One reason people don’t like meat loaf is because they’ve been served one that is greasy because it cooks in it’s own grease in the loaf pan. Only use the loaf pan for a mold to shape the loaf and let it chill for an hour in the fridge.
Then when ready to cook, invert the loaf pan onto a raised drip pan set up like this and all the grease will drip away from the loaf while cooking in the oven or the grill.
Cook the loaf at 350f.
After 45 minutes, brush with a glaze of your choice.
–Typical meatloaf glaze: 1/2 cup ketchup, 1/4 cup brown sugar, 1 oz apple cider vinegar
–Sweet glaze: commercial BBQ sauce like Blues Hog.
–Spicy glaze: 1/2 cup ketchup, 1/4 cup Chok On Dis Blaze n’ Glaze, 1/4 cup brown sugar
Cook until the loaf hits an internal temp of 160f. This should be a total cooking time of 1 to 1 1/2 hours.
Try that inverted meatloaf technique the next time and I think you’ll like your standard meatloaf a little bit better. The final product is just moist enough but not greasy at all. PERFECT for meatloaf sandwiches, my favorite.
And consider cooking it on the grill too. Since I started cooking it on the grill, anytime I think about cooking one in the oven, I think, “I would do anything for loaf, but I won’t do that!”
(All apologies to Michael Lee Aday)

I know a lot of you are diligent about menu planning. And that is a very good thing to do. It saves money, it saves LOTS of time. For a very long time, I thought it just meant a long shopping list. Figure what you were going to cook, and make sure that you have the ingredients on hand. But there is one more aspect to menu planning that I am finally learning… Waste not, want not, be a steward of the earth, PLAN how to use everything you buy. Buy fresh, eat healthier, but PLAN how to use everything you buy before it goes bad.
Oh yeah, and be cheap, save money. Honest, my main concern is saving the planet, has nothing to do with me being cheap, nothing… honest (have you ever been lied to by a man, of course not). This post is all about being a good steward, eating healthy fresh and planning to not waste.
From bread that you let get moldy because you don’t make a single serve bread pudding, to bananas because you don’t mix a killer Funky Monkey frozen chocolate rum drink (or banana bread if you must, but the funky monkey is a better use for soft bananas… but I digress), to that Pineapple you buy for a garnish for your wife’s Painkiller rum drink recipe… If you buy it, plan how to use it all. If I clean out my refrigerator and I have to throw away a single produce item, I have failed to be a good steward of the Earth (and I wasted money… one of those two things REALLY bothers me).
Are you paying attention, last week I posted a ROTISSERIE CHICKEN STOCK recipe. I will use that recipe to clean out my produce drawer once a week… Carrots, celery, onions, fresh herbs, almost anything can be tossed in the pot to help flavor the stock. A great way to “use up” what would have been thrown away. I do make that stock once a week. It does freeze, but I like to keep a bag of it in the fridge for use during the week. I always end up using the entire bag. It can be used in so many things. Think about all the things you cook with water and consider substituting the chicken stock if you were to have some handy.
Like RICE!
And let me interrupt this rice post with scenes from coming attractions… See all the things in the photo above… there is a sea food enchilada made with blackened tilapia, and some fresh made Caribbean Salsa… Come back in the next couple of weeks to see those recipes. But, since I am being a good steward of the Earth (cheap), using everything I can, I need to show some things that I will explain better next week…
Like this…

I made my rice in the same pan that I made my blackened tilapia, that I used to make my seafood enchiladas. All that butter and spices that I blacken the fish with worked GREAT to season the rice. Waste not, want not, eat better, make better tasting food… What a concept.
So, just imagine you have a pan of flotsam from cooking the fish.
Add 1/2 cup of diced onion to the flotsam, and 1/2 cup of diced red bell pepper. Heat the mixture till you can see the onions start to become clear. Add some fresh herbs of choice… Cilantro, Herbs de Provance, dill, chives, whatever you have on hand…
Add 2 cups of chicken broth to the pan and get the liquid boiling… Add 1 cup of rice and cook til the liquid is absorbed…


And there you go… Better tasting food, less (no) waste, save money…
And come back next week for an amazing Caribbean Salsa Recipe!
 Dave here from MY YEAR ON THE GRILL. It really is just this easy!
… I CAN COOK THAT!
And so can you!


NOODLE PUDDING
2 beaten eggs
1/2 cup sugar
8 ounce crushed pineapple, drained well
1/4 cup golden raisins
1/4 cup golden rum
3/4 teaspoon vanilla
2 tablespoons butter, melted
1 teaspoon cinnamon
1 cup milk
1 GALA apple, peeled, cored and grated
