We found the most amazing bakery, The Baker’s Table, on our last trip and they made the BEST Cranberry White Chocolate Macaroons! I just had to recreate these delectable bites! I added the chocolate dip bottom as an option 😀 Just saying you can never have too much chocolate!And you can change the color to coordinate with holidays.
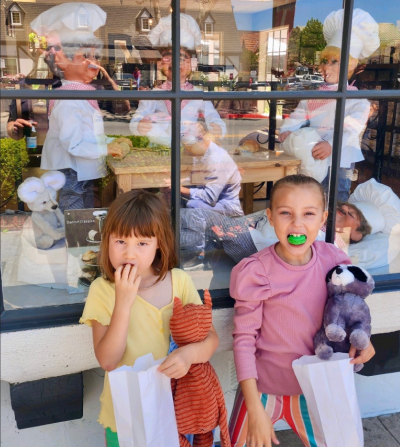
Funny story though is that they had very few left. I bought all they had and was telling my nephew about them at lunch. I told him I’d quarter them and bring them to dinner so everyone could try a piece. After lunch he took his daughter and niece into the village and was so proud that he found a bakery selling them. LOL he sent me this picture of my nieces eating MACARONS which led to a discussion at dinner about the difference between a macaron and a macaroon 😀
So, for those who don’t know the difference, a macaron is a sandwich-like cookie filled with jam, ganache, or buttercream.A macaroon is a drop cookie made using shredded coconut. Preparation for each of these cookies is incredibly different, even though they start out with many of the same ingredients. Not to mention the mouth feel and texture of the cookie itself.
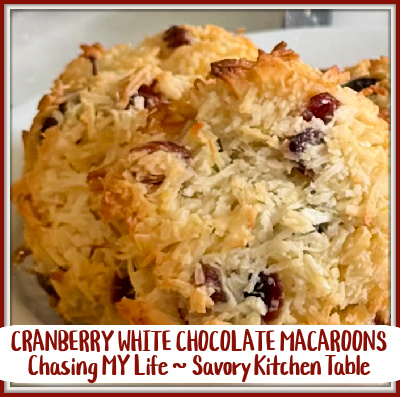
CRANBERRY WHITE CHOCOLATE MACAROONS – yields 2 dozen
3 LARGE egg whites at room temperature
½ cup granulated sugar
½ teaspoon PURE vanilla or almond
½ teaspoon orange extract
pinch of salt
½ cup dried cranberries, FINELY chopped
1 tablespoon finely grated orange OR lemon zest
3 cups unsweetened shredded coconut
4 ounces PURE white chocolate, grated (see notes)
Dipping chocolate (almond bark), melted (optional)
- Preheat oven to 325°.
- Line two baking sheets with parchment paper or silicone liners.
- Beat egg whites until frothy, then add sugar, extracts and salt, beating 2-3 minutes.
- Gently fold in cranberries, zest, coconut and white chocolate.
- Using a cookie scoop, press firmly into the scoop and carefully drop mounds onto baking sheets about 2 inches apart, making sure you have them nicely mounded.
- Bake at 325°F for 12- 15 minutes until golden, watching carefully as they brown quickly. Cool for 10 minutes on the baking sheet.
- Transfer to a wire rack to cool completely.
- Melt almond bark in microwave at 30 second intervals until melted.
- Dip cookie bottoms in chocolate.
- Cool until firm on wax paper.
Note
- Not all brands of white chocolate will melt. Be sure and check the label. In order to melt, the ingredients must include cocoa butter.
- These cookies freeze really well, so you can make them ahead of time which makes them a holiday favorite. Store them in an airtight container and freeze for up to 3 months.
Now, if you’re in a hurry here is a short cut recipe!
This recipe for coconut Macaroons made with condensed milk are moist, sweet, chewy and delicious. And when you add the white chocolate and cranberry bits your taste buds will thank you!
Prep Time 10 minutes mins
Cook Time 15 minutes mins
Total Time 25 minutes mins
Servings 30-60 depending on size
28 ounces sweetened coconut flakes
1 can sweetened condensed milk
1 teaspoon PURE orange extract
1 tablespoon orange zest
1 cup FINELY chopped white chocolate chips
1 cup FINELY chopped raisins
Melting chocolate
- Preheat oven to 350°F.
- Line a baking sheet with parchment paper or a Silpat Mat. If using parchment paper lightly spray with non-stick cooking spray.
- In a large bowl combine coconut, white chocolate pieces, cranberry pieces, zest and extract, stirring to combine.
- Pour condensed milk over top.
- Mix with silicone spatula until the coconut and milk are completely mixed and all of the milk combines with the coconut.
- Scoop and press the mixture into the scoop to make sure it is tightly packed.
- Place on the baking pan about a finger apart. They should not spread, so you can place them pretty close together.
- Bake 15 minutes until the tops are golden brown.
- Remove from oven and allow to cool for 5 minutes, if you can wait that long.
- Serve and enjoy!


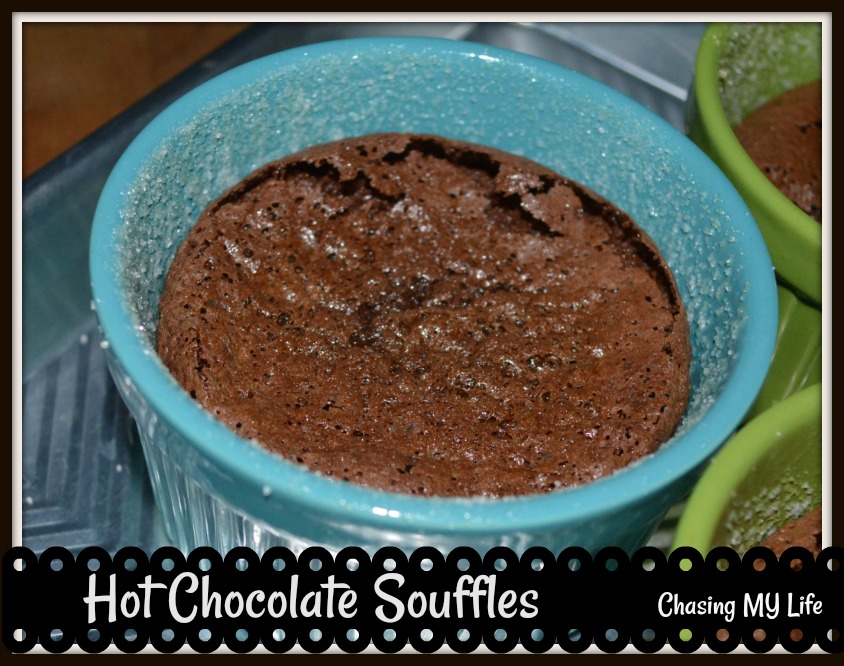 HOT CHOCOLATE SOUFFLES makes 8-6 ounce servings
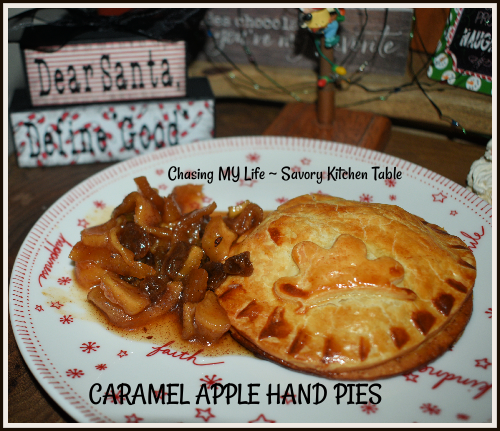
 4 large Granny Smith apples (I used Honey Crisp, but they’re only available for such a short window of time)