IT’S getting close to THAT TIME OF YEAR AGAIN!

In the Fall I’m usually stocking up for winter in the wild and snowy north.  I start with LARGE bulk packs of meat.  I then break them down by size and meat right down to cutting certain recipes into bite sized pieces.  Then I wrap them in freezer paper because I really hate freezer burn!  And I package them into pre-labeled ziploc bags for the freezer.

I didn’t get a secondary picture, but I then wrap the center of each one with a strip of duct tape.  Yep, you read that right, duct tape.  Just a small strip.  Enough so when they’re stacked in the back of the freezer you can identify the meat.  I buy it in colors – red for beef, green for chicken and blue for pork.  It makes it soooooooo much easier when you’re searching in the freezer for the right meat.
Many times this prep includes rotisserie chickens.  My market at home has buy one, get one free on Tuesdays.  Can you figure out when I did my shopping? By the time I get home and put away the groceries, the rotisserie chickens are cool enough to pick off the bone.  The bowl below is the skin, congealed juices and bones I collected as I stripped 2 birds.
I think Martha (MM) and I met over some post about buying in bulk and we found a common ground – saving money!  Talk to your butcher.  Many times you can save even more than the advertised sale prices.  For example, recently my local market was running a sale on chuck roast.  None of the roasts were as large as I really needed for company so I asked the butcher if they had one the size I wanted and instead she offered up a manager’s daily sale (in the bulk section just a few feet away from the ones I was looking at) where I could buy twice as much for half as much saving me $8 over what I intended to spend and gave me enough for 3 meals.  I made ALL the chuck roast as Pot Roast & Veggies for company and then used the leftovers to make Ortega Chile Bake and Black Eyed Pea Chili.
I then use a large stock pot and cover the “debris” with water.  I set it to simmer on a low temp and let it go for an hour or so.  I don’t add any seasonings since I’ve normally bought mesquite broiled or lemon herb, but adjust according to your tastes.

 Then I drain it into my large 8 cup measuring cup and allow it to cool.

I have several of these containers that I bought just for chicken stock in the freezer.  I haven’t bought chicken stock in over 10 years now.  It’s just so easy to make your own.  Even if I start with raw chicken and poach it for a recipe I add seasonings and by the time the chicken is done, there is several cups of broth ready for the freezer.

Today’s flavor was Mesquite broiled so it left us with a spicy red color also.

So what do you do to get ready for winter?  Have I motivated you to stock up? Have a wonderful Weekend! 

13 Golden Rules for ALL Cooks & CREAMY FRENCH ONION ARTICHOKE DIP

Recently I have been wrestling with a time crunch.  Trying to be everything to everyone takes sooooooooooooooo much out of you.  One of my coping mechanisms is to keep a notebook with me so I can jot down things as I think of them.  One of my newer tools is going to be NOT to stress about things as much and like today I’ll scan in my handwritten notes when necessary and save the typing time and make it a bit more personal too.
CREAMY FRENCH ONION ARTICHOKE DIP
The original recipe called for:
4 ounces cream cheese at room temperature
15.5 ounce container of french dip
15.5 ounce can artichoke hearts, drained and coarsely chopped
1/2 cup shredded Parmesan cheese
1/4 cup + 1 tablespoon scallions
1 tablespoon fresh chopped parsley
1/2 teaspoon garlic powder
1/4 teaspoon pepper

  • Whisk cream cheese until fluffy.
  • Stir in dip and artichoke hearts, cheese, 1/4 cup green onions, parsley, garlic powder and pepper.
  • Refrigerate until ready to serve.
My version calls for:
4 ounces cream cheese, softened
16 ounces sour cream
KNORR French onion soup mix
1 1/2 cups artichoke hearts, drained and coarsely chopped
1/2 cup shredded Parmesan cheese
1 large bunch green onions, chopped
2 cloves garlic
1/2 teaspoon sea salt
1/4 teaspoon pepper

  • In a small food processor pulse artichoke hearts, garlic, green onions and Parmesan cheese until smooth.
  • In a small mixing bowl blend together the sour cream, Knorr mix and cream cheese until smooth.
  • Add artichoke mixture and blend well.
  • Refrigerate until ready to serve.

13 TIPS for an easy to use kitchen…

These days I need all the motivation I can get.  One of the things that helps me most is an easy to use kitchen.  I thought I’d share a few of the more important items (at least to me).  I hope they help you get organized and motivated.
  • You don’t need tons of kitchenware, just some good quality multi-use pieces.  I love my Pampered chef stoneware and Emeril Stainless steel pans.
  • Make sure your serving dishes and utensils are handy.
  • Keep the spices you use most often handy!
  • Arrange pantry items in a logical, easy to use order (at least to you).
  • Rotate your flours, sugars and spices regularly.  These items do lose the strength and potency.
  • Arrange your pots and pans in a logical order so that your most used items are towards the front.
  • Arrange your small appliances, tools and gadgets so they are easy for YOU to use!
  • Quality is the keyword whether you’re talking about cookware, knives or recipe ingredients.
  • Prepare as many ingredients before you begin cooking.  Sometimes I’ll prepare all the ingredients for my weeknight recipes on Sunday to make it easier and quicker to put week night dinners together.
  • Make as many components of your meal in advance as you can – things like dips, vegetables or desserts for example.
  • Use the freshest ingredients available and plan your menus around the season’s available fruits and vegetables.
  • Prepare a small sink of hot soapy water before you begin so you can clean as you go.
  • Clean as you go!

ESSENTIAL KITCHEN cooking/ baking EQUIPMENT revisited…

Today I want to tell you my idea of the best equipment for a kitchen.  You don’t need all the fancy gadgets to be a successful cook and most kitchens don’t have the space to store them so here are my ideas.  Remember that many tools and equipment are versatile and can be used in many ways.
  • A cast iron pan is a MUST! And it MUST be well seasoned.  Cast iron retains the heat AND distributes is evenly.  Chris over at Nibble Me This has a great process for re-seasoning any cast iron that you might have.
  • Large stockpot or two.  I have a 6, 8 and 10 quart that nestle together well.
  • 5-6 quart dutch oven.
  • 1,2,3, AND 4 quart sauce pans.
  • 10 and 12 inch saute pans.
  • 8, 10 and 12 inch skillets.
  • Heavy Wire Racks for cooling.
  • 8 AND 9 inch square and a 9×13 ceramic stoneware baking dishes.
  • Stainless steel cookie sheets.
  • SILPAT baking mats for the cookie sheets.
  • Bundt pan.
  • Loaf pan – I prefer glass or ceramic.
  • Angel Food Cake pan.
  • Deep dish ceramic pie plate.
  • Regular and Texas Muffin pans.
Tomato Bisque

2 tablespoons butter
1 medium Vidalia onion, chopped
2 large carrots, chopped
1 celery stalk, chopped small
4 cloves garlic, minced
4 cups fresh Roma tomatoes, peeled
4 cups chicken broth
3 or 4 sprigs fresh parsley
5-10 fresh basil leaves
2 bay leaves
1/2 cup heavy whipping cream
Sea salt and white pepper to taste
Grated Parmesan cheese for serving

  • Melt butter in a large soup pot over medium heat. 
  • Add chopped onions, carrots, celery and garlic.
  • Cook stirring often until soft, about 8-10 minutes.
  • Add chicken broth and tomatoes, stirring well.
  • Tie herbs together in cheesecloth and drop into the soup. This makes it easy to remove later.
  • Season with sea salt and white pepper to taste.
  • Reduce heat to low and simmer covered for 30 minutes.
  • Remove herbs and discard.
  • Add whipping cream and blend until smooth.
  • Ladle into bowls and top with freshly grated cheese and fresh basil.
Pairs really well with Tuna Melts.
TUNA MELTS
1 large can white albacore tuna packed in water, drained and drained again!
8 sweet pickles, chopped fine
2 green onions, chopped fine
1/4 cup mayonnaise
1 tablespoon lemon juice
1/2 teaspoon salt
1/2 teaspoon white pepper
1 hard boiled egg, chilled, peeled and chopped fine
2-4 tablespoons butter
1 slice Muenster cheese
1 slice extra sharp cheese
4 slices frozen potato bread

  • Drain the tuna in a fine mesh sieve and then use a spoon to mash all the water out again! Drying out the tuna is crucial.
  • In a mixing bowl whisk together the mayonnaise, lemon juice, salt and pepper.
  • Chop the sweet pickles and green onions extremely fine.
  • Fold tuna, pickles and onions into Mayonnaise mixture.
  • Chop egg finely and fold into mixture.
  • Melt 2 tablespoons butter on griddle over medium high heat. Add more as necessary to keep from burning.
  • Toast all 4 slices of bread while still frozen*.
  • When butter is melted lay all 4 slices in butter and top 2 slices with muenster and the other 2 slices with the sharp cheddar. Allow them to heat through, melting the cheese.
  • Add the tuna to 2 slices and close them up.
  • Continue cooking until golden on all sides and heated through.

*Using frozen bread makes the bread lighter and more easily toasted golden.

KITCHEN UTENSILS ~ COOKING TOOLS OR GADGETS?

Kitchen utensils and/or gadgets is one of those subjective topics.  Each and every cook has “their” set of indispensable kitchen tools.  Let’s face it, they are tools, but in our case they are fun tools and everyone’s idea of fun is a bit different.  I’m going to give you my idea of “essential” tools, but you’ll have to develop your own list based on your own experience, perceptions and expectations.  I have been known to use many “tools” for other than their intended use with great results.  I’m a little like MacGyver in the kitchen ~ whatever works to get the job done is fine by me.   To me, gadgets are dust collectors though many other people may use their gadgets with great success.
  1. Cutting Boards ~ I have several and always use a fresh one when changing from meat to vegetable.
  2. Mortar & Pestle ~ Mortars and pestles were traditionally used in pharmacies to crush various ingredients.  Mortars are also used in cooking to prepare ingredients like grinding herbs into finer powders.
  3. Salad Spinner ~ I like my salads dry and love a good salad spinner from OXO.
  4. Juicer ~ I use a small manual juicer that works great.
  5. Colanders ~ I have 3 sizes of stainless steel colanders- small, medium and large and love having the choice!
  6. Kitchen timer ~ I’ve tried them all, but prefer my Pampered chef electronic one.  It’s the only one I seem to be able to hear all over the house.
  7. A couple of nice pairs of tongs.  I like my Williams Sonoma tongs with the locking hinge.
  8. A selection of slotted spoons in various sizes.
  9. A selection of non-slotted spoons in various aizes.
  10. A selection of flexible spatulas in various sizes.  As I replace them I select a silicone heat resistant version of what I previously had.
  11. A selection of pancake turner style spatulas.
  12. A selection of ladles in various sizes.
  13. Potato Masher.
  14. Vegetable Peeler.
  15. A good whisk and a couple of Pampered chef mini-whisks.
  16. Meat Thermometer.
  17. Candy Thermometer.
  18. Pampered chef pan scrappers.
  19. A rolling pin.
  20. Biscuit cutters.
  21. 2 sizes of hand held graters and a smaller rasp style for herb and spices.
  22. Garlic Press.
  23. Pastry Brush.
  24. Pastry Cutter/Blender.
  25. At least one set of stainless steel measuring cups.
  26. At least 2 sets of stainless steel measuring spoons.
  27. Several sizes (2, 4, 8 cup) glass measuring cups.
  28. 3 sizes sieves.
  29. Several silicone “wooden” spoons.
  30. Turkey baster.
  31. Pastry Bag and tips.
  32. Cookie Spatula.
  33. Pizza cutter.
  34. Vegetable/Steamer insert.
  35. And just for Martha K, good quality sharp knives which we will look at next week. 🙂

BLACK FOREST CUPS
1 sheet puff pastry
1 can Comstock cherries
2 tablespoons Rum
2 tablespoons sugar
1/2-1 teaspoon cinnamon
2/3 cup milk chocolate chips
3-4 tablespoons butter

  • Thaw pastry sheet for 40 minutes. 
  • Pre-heat oven to 400 degrees. 
  • Combine sugar and cinnamon. 
  • Unfold pastry sheet onto lightly floured surface. 
  • Top with floured sheet of wax paper and roll slightly larger. 
  • Cut into 12-3 inch squares. 
  • Press 1 piece into each muffin cup. 
  • Sprinkle with cinnamon sugar. 
  • In the microwave melt the butter and chocolate together – stir well. 
  • Place a spoonful of chocolate mixture in the center of each one, reserving enough for drizzle. 
  • Mix together the Comstock cherries and rum. 
  • Divide cherry mix in the center of each. 
  • Bake 12 minutes or until golden. 
  • Drizzle with remaining chocolate mixture. 
  • Cool in pan on wire rack for 10 minutes. 
  • Remove from pan and cool another 10 minutes.

KNIVES & CHOCOLATE CHIP OATMEAL RAISIN PEANUT BUTTER COOKIES aka KITCHEN SINK COOKIES

Knives are another of those subjective items.  Especially with knives it is extremely important to go for what feels good and is easy for you to use.  I have some Cutco knives that I love, but can’t afford (mine were a gift) to add on to as a set.  I also have some of the older Pampered Chef knives that I love, but their newer ones are just not the same quality. I have a couple from the restaurant that my dad and grandfather ran when I was a baby and I also have some old Wilkinson knives from my maternal grandmother that I love!  I have a lot of knives, like cutting boards I use a clean one with the change in food and use.
I prefer a French, German or Brazilian made knife, but that too is a personal preference.
I think that there are a few essentials that will get you by in any kitchen:
  • SANTOKU – I like this over a traditional chef’s knife because it is a bit shorter with a thinner and broader blade. The indentations on the side make it easier to cut through food by creating air pockets that reduce the friction to make for a smoother cut.
  • UTILITY –  this knife will become your best friend – it’s the ALL PURPOSE knife that does everything that the specialty knives don’t.
  • PARING – great for coring, peeling and trimming vegetables especially.  I have several of these. 
  • CLEAVER – This one doesn’t get used much, but is essential if you need to cut through bones.
  • BONING – The long, narrow, thin blade of this knife works to get into tight places when you’re trimming fat and tendons away.
  • BREAD – scalloped teeth of a serrated edge is great for cutting through bread and softer foods. 
  • SLICER – a long thin bladed knife that is ideal for slicing roast beef.
  • POULTRY SHEARS – these are essential if you want to cut up your own chickens.  Many times I can save a ton of money by buying the whole bird and cutting it apart myself for fried chicken.
  • MANDOLINE – okay I know it really isn’t a knife, but it has a sharp metal edge so I include it in this category.  Don’t skimp on this, get a good quality.
I recommend that you keep your knives sharpened.  A good quality sharpener is as easy to use as your most comfortable knife.

CHOCOLATE CHIP OATMEAL RAISIN PEANUT BUTTER COOKIES aka KITCHEN SINK COOKIES
1 cup butter, softened
1 cup peanut butter
3/4 cup sugar
1/4 cup maple sugar
1/2 cup brown sugar
1 teaspoon vanilla
2 Jumbo eggs
3 cups flour
1 teaspoon baking soda
1 teaspoon baking powder
1 teaspoon espresso powder
1 teaspoon cinnamon
1/2 teaspoon salt
1 cup oatmeal
1/2 cups minced walnuts
1 1/2 cups chocolate chips
1 cup golden raisins

  • Sift together the flour, salt, baking powder, baking soda, cinnamon and espresso powder.
  • Cream butter and peanut butter together.
  • Add the sugars and cream again.
  • Add the vanilla and eggs and cream until smooth.
  • Gradually add flour mixture until well blended.
  • Add oatmeal until well blended.
  • Add nuts and combine well.
  • Add chocolate chips and combine again.
  • Add raisins and mix well.
  • Drop by spoonfuls onto a greased cookie sheet.
  • Press down slightly.
  • Bake 12-15 minutes.

A PLACE FOR EVERYTHING AND EVERYTHING IN ITS PLACE

Several years ago I bought my mom one of those books, “What my family should know”.  She has been great about getting it all filled in though I already pretty much know where she keeps everything, but not everyone does.  It really doesn’t matter how old we are either.  If you have kids you need to be organized and prepared which brings me to my point today.  Have you seen the new Katherine Heigl and Josh Duhamel movie, “Life as we know it”?
I don’t think it got very good reviews, but I thought it was cute and it proves my point here.  As parents, having those ducks in a row, wills in place, insurances paid up, college funds in place, god parents chosen and prepared are essential.  OOPS, that’s kind of what this movie is about – the parents forgot to mention the plans to the god parents and get them prepared.  
In the end we can always work it out, but life moves so much smoother if we’re prepared.  So if you need a cute rental, I recommend this movie to lighten your mood and maybe it will help you get more prepared.

JELL-O TRICKS

I think most everyone knows this trick by now, but it always amazes me how much better it makes a bowl of Jell-O so I thought it was worth mentioning again.

Around our house we always put canned fruit (peaches or pears usually) in the Jell-O for a little bit of extra UMPH! When you drain those canned fruits, use a sieve and drain them into the measuring cup for the cold water first. Then just add enough water to bring the level to where you need it. I usually get about 1 1/4 cup of fruit juice. Doing this will make for a better, more substantial flavor to any Jell-O.

Just after I pour in the Jell-o I use a small salad fork to stir up the fruit in each bowl. The fruit is usually well distributed in the Jell-O. We also don’t like the film that forms on the top.

And I hated trying to stack all the bowls in the refrigerator, so I started using my Pampered Chef prep bowls for making Jell-O. Once you’ve made it, put the lids on and you can easily stack them in the frig. If I keep this made, we both tend to eat this at night when the munchies strike and stay away from the chips and ice cream.

Roasted Garlic, the easy way!

Once upon a time I had a cute terra cotta garlic roaster. It held one head of garlic. It was one of the many  kitchenware items that I owned, “needed” but did not use. Why? Well basically because it did only hold one head of garlic and you know the frugal side of me, was not going to heat up an oven to roast one head of garlic.

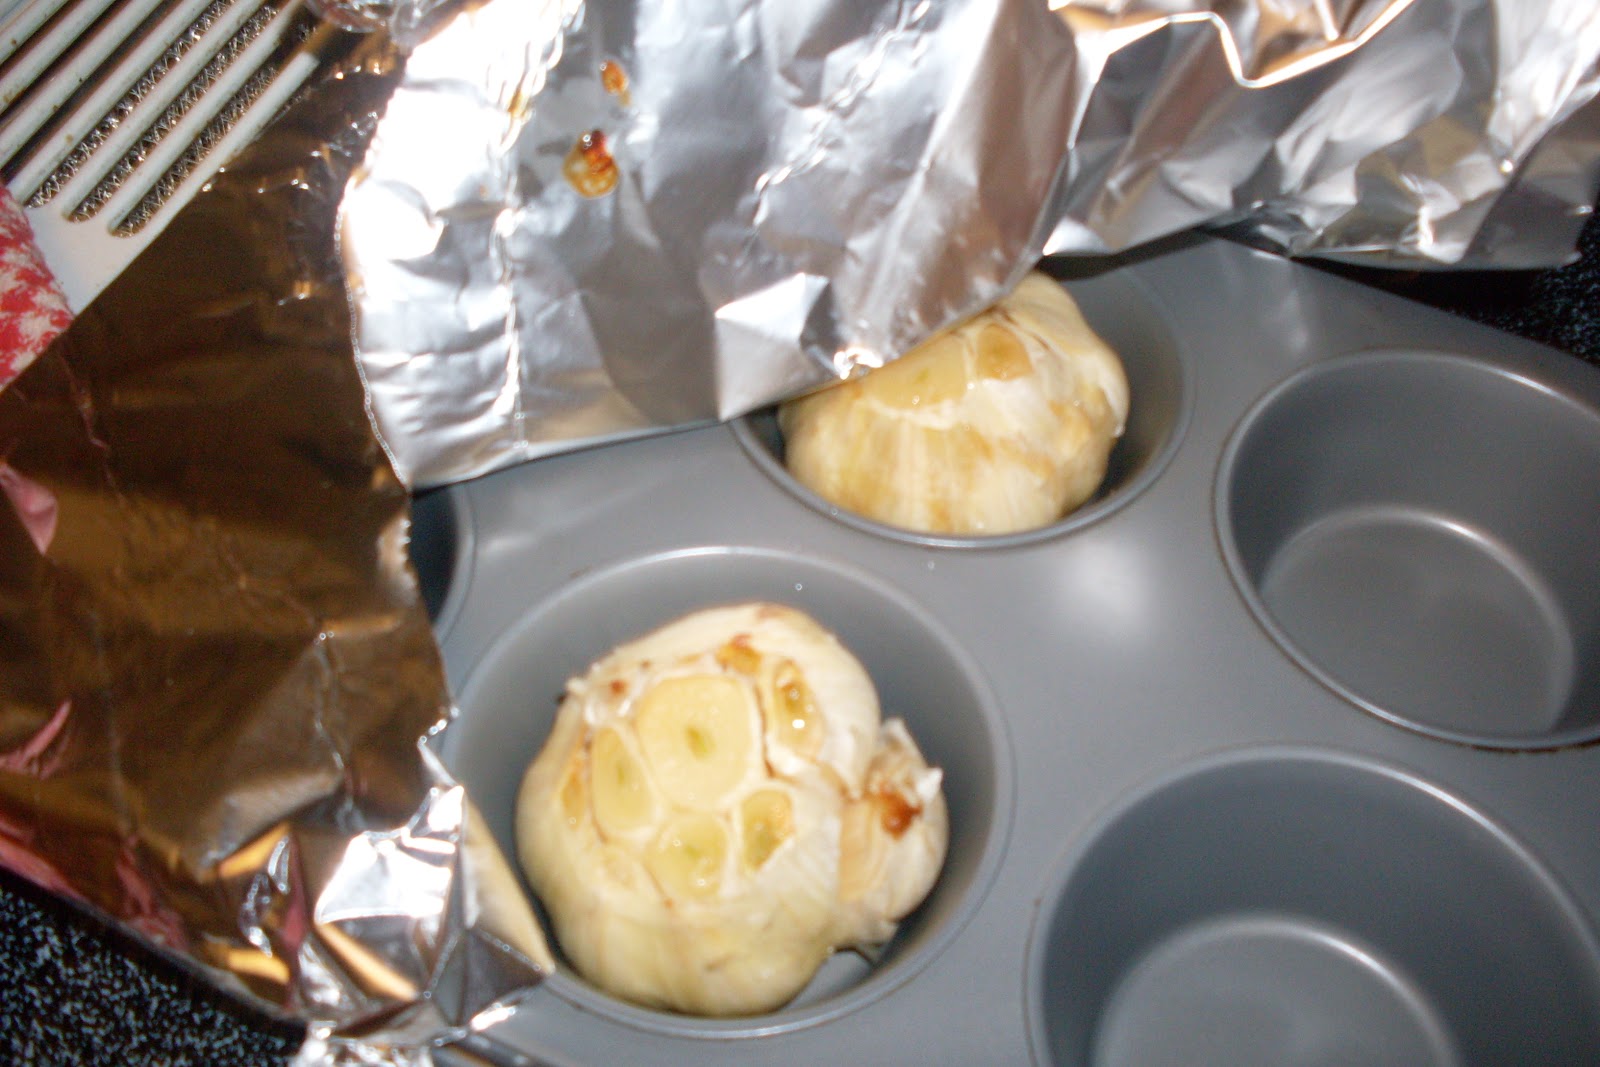
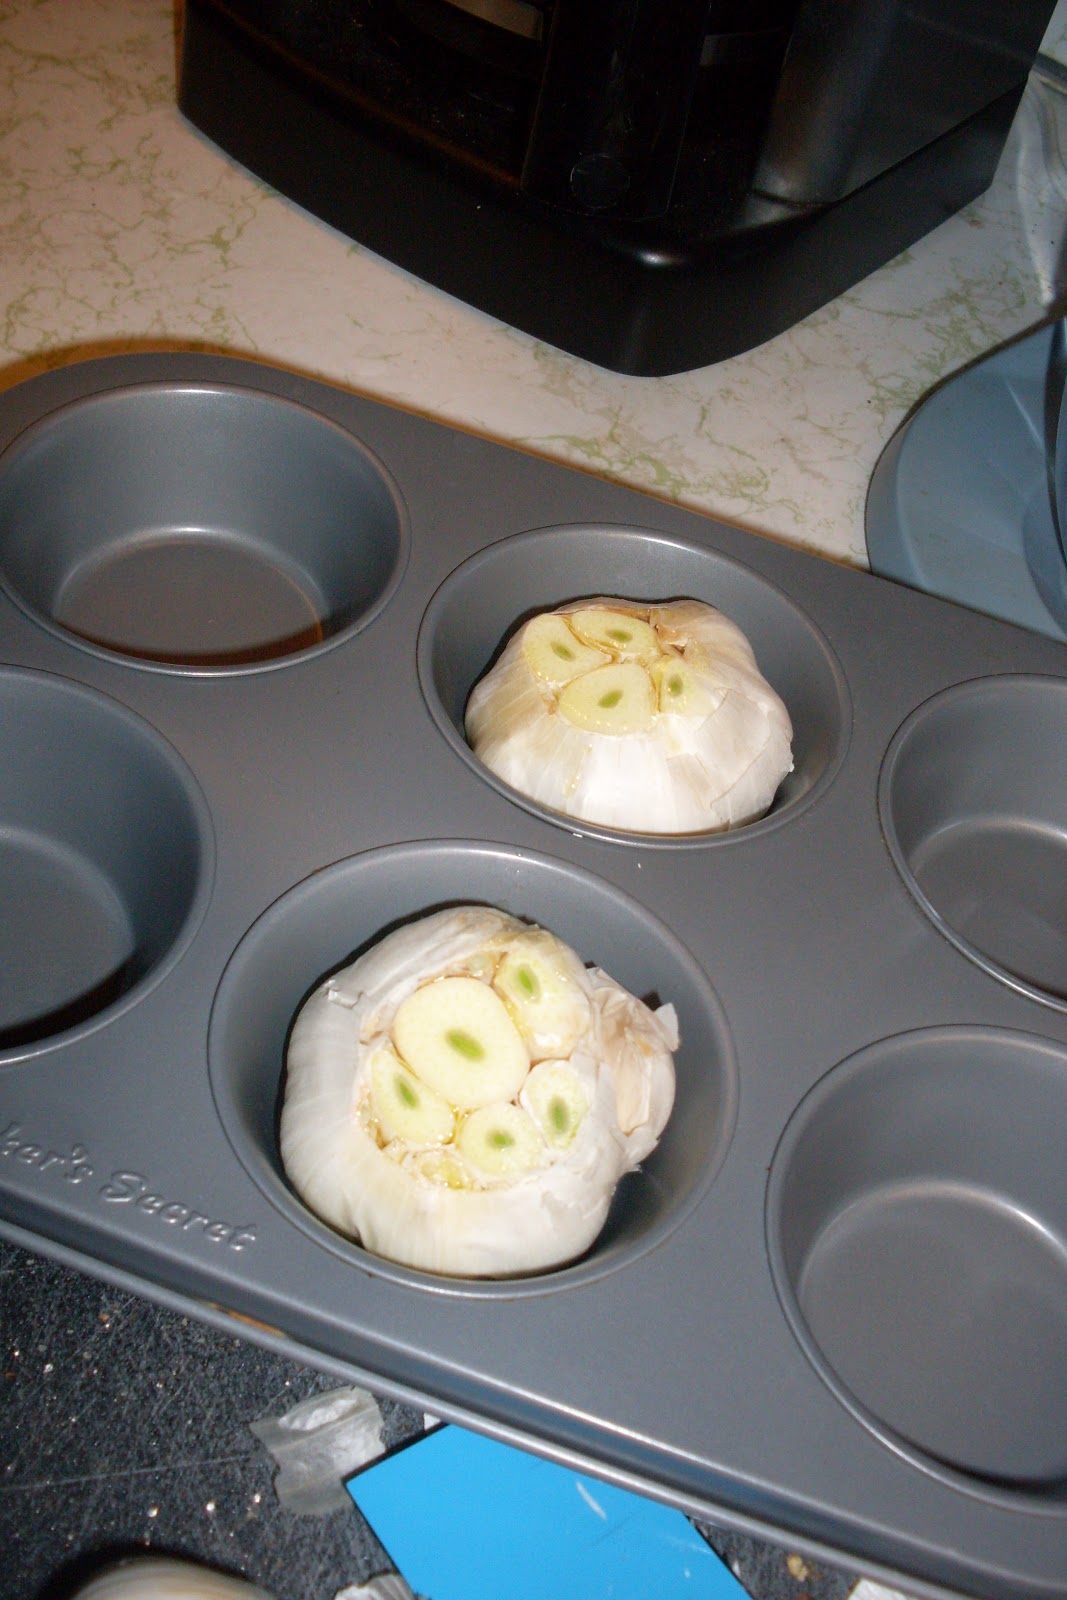
Enter the muffin pan. You can load up your pan with 6 heads of garlic, plus they stay upright. Obviously if you need more than six heads of roasted garlic, grab a 12 cup pan. Roasted garlic is a delicious way to eat more garlic, which is very good for us.

Roasted Garlic the easy way
adapted from Pinterest
350 degree oven

1 muffin pan
1 head of garlic for each “cup”
olive oil

Slice the point off to expose the tips of the garlic cloves. Place each each in a separate “cup”.

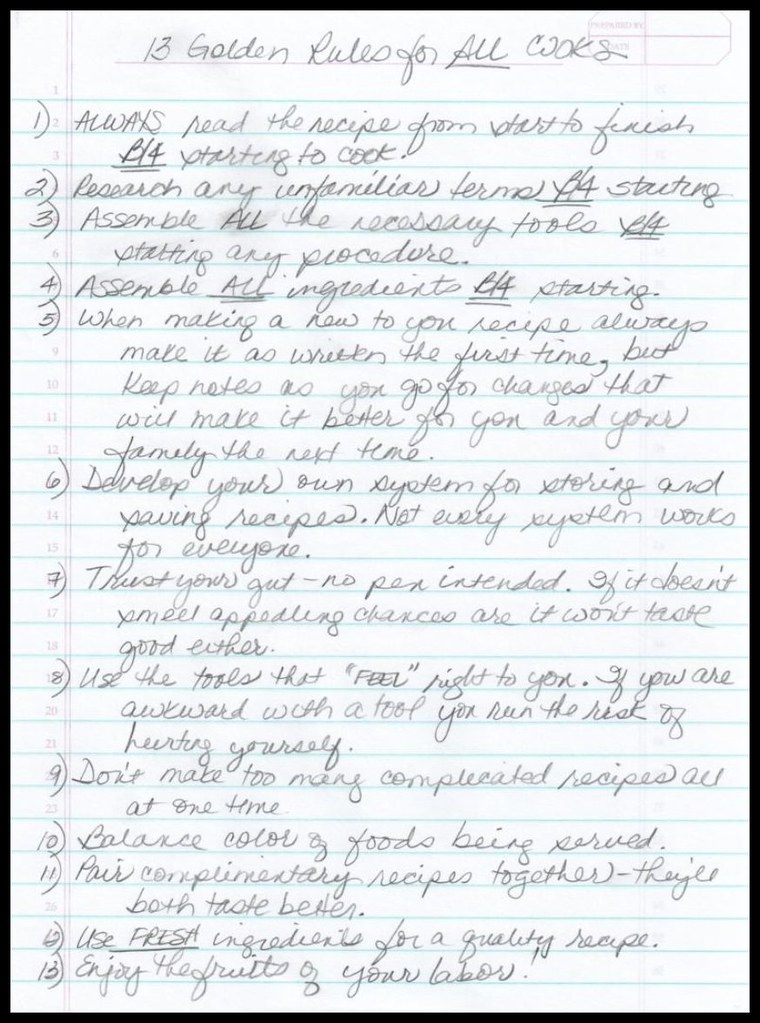
Drizzle with olive oil. Cover with foil, roast for 45-55 minutes. Or until soft and lightly brown in your oven.

Let cool and enjoy!

To use the cloves, when cool enough to handle, carefully break the head apart to separate the  cloves. When ready to use squeeze the roasted garlic out from the papery skin.

Warm roasted garlic is delicious “spread” on bread instead of butter.

You can also coarsely chop the (removed from the papery skin) garlic and toss it with hot pasta, additional olive oil and dry bread crumbs. Pass Parmesan cheese at the table for each to use.

Mash some cloves into soft butter, spread on cut bread, broil Heavenly!

I think you get the idea, it is really easy to enjoy roasted garlic, so get roasting already!

As always, thanks for taking a moment to stop and say hello. We appreciate your time and your wonderful comments!

For more great recipes, come and visit us at Our Sunday Cafe!

DELICATE BERRIES – HELPFUL EMAIL INFORMATION – REALLY WORKS

Berries are delicious, but they’re also kind of delicate. Raspberries in particular seem like they can mold before you even get them home from the market.  There’s nothing more tragic than paying $4 for a pint of local raspberries, only to look in the fridge the next day and find that fuzzy mold growing on their insides.

Well, with fresh berries just starting to hit farmers markets, we can tell you that how to keep them fresh!  Here’s a tip I’m sharing on how to prevent them from getting there in the first place:  Wash them with vinegar.

When you get your berries home, prepare a mixture of one part vinegar (white or apple cider probably work best) and ten parts water. Dump the berries into the mixture and swirl around. Drain, rinse if you want (though the mixture is so diluted you can’t taste the vinegar,) and pop in the fridge.  The vinegar kills any mold spores and other bacteria that might be on the surface of the fruit, and voila!  Raspberries will last a week or more, and strawberries go almost two weeks without getting moldy and soft.  So go forth and stock up on those pricey little gems, knowing they’ll stay fresh as long as it takes you to eat them.

HEALING BURNS

I checked this on multiple sites and it appears to be true in which case we should all know it and pass it on!

A young man sprinkling his lawn and bushes with pesticides wanted to check the contents of the barrel to see how much pesticide remained in it.  He raised the cover and lit his lighter; the vapors inflamed and engulfed him.  He jumped from his truck, screaming.  His neighbor came out of her house with a dozen eggs, yelling to another neighbor: “bring me some eggs!”  She broke them, separating the whites from the yolks.  The other neighbor woman helped her to apply the whites on the young man’s face.  When the ambulance arrived and when the EMTs saw the young man, they asked who had done this.  Everyone pointed to the lady in charge.  They congratulated her and said: “You have saved his face.”  By the end of the summer, the young man brought the lady a bouquet of roses to thank her.  His face was like a baby’s skin.
Healing Miracle for burns:
Keep in mind this treatment of burns which is included in teaching beginner fireman this method.  First aid consists to spraying cold water on the affected area until the heat is reduced and stops burning the layers of skin.  Then, spread egg whites on the affected are.

One woman burned a large part of her hand with boiling water.  In spite of the pain, she ran cold faucet water on her hand, separated 2 egg white from the yolks, beat them slightly and dipped her hand in the solution.  The whites then dried and formed a protective layer.

She later learned that the egg white is a natural collagen and continued during at least one hour to apply layer upon layer of beaten egg white.  By afternoon she no longer felt any pain and the next day there was hardly a trace of the burn.  10 days later, no trace was left at all and her skin had regained its normal color.  The burned area was totally regenerated thanks to the collagen in the egg whites, a placenta full of vitamins.

HOMEMADE CHICKEN BROTH & STOCK UP TIPS

At this time of year, I’m usually stocking up for winter in the wild and snowy north.  I start with LARGE bulk packs of meat.  I then break them down by size and meat right down to cutting certain recipes into bite sized pieces.  Then I wrap them in freezer paper because I really hate freezer burn!  And I package them into pre-labeled ziploc bags for the freezer.

I didn’t get a secondary picture, but I then wrap the center of each one with a strip of duct tape.  Yep, you read that right, duct tape.  Just a small strip.  Enough so when they’re stacked in the back of the freezer you can identify the meat.  I buy it in colors – red for beef, green for chicken and blue for pork.  It makes it soooooooo much easier when you’re searching in the freezer for the right meat.
Many times this prep includes rotisserie chickens.  My market at home has buy one, get one free on Tuesdays.  Can you figure out when I did my shopping? By the time I get home and put away the groceries, the rotisserie chickens are cool enough to pick off the bone.  The bowl below is the skin, congealed juices and bones I collected as I stripped 2 birds.
I think Martha (MM) and I met over some post about buying in bulk and we found a common ground – saving money!  Talk to your butcher.  Many times you can save even more than the advertised sale prices.  For example, recently my local market was running a sale on chuck roast.  None of the roasts were as large as I really needed for company so I asked the butcher if they had one the size I wanted and instead she offered up a manager’s daily sale (in the bulk section just a few feet away from the ones I was looking at) where I could buy twice as much for half as much saving me $8 over what I intended to spend and gave me enough for 3 meals.  I made ALL the chuck roast as Pot Roast & Veggies for company and then used the leftovers to make Ortega Chile Bake and Beef Chili.
I then use a large stock pot and cover the “debris” with water.  I set it to simmer on a low temp and let it go for an hour or so.  I don’t add any seasonings since I’ve normally bought mesquite broiled or lemon herb, but adjust according to your tastes.

 Then I drain it into my large 8 cup measuring cup and allow it to cool.

I have several of these containers that I bought just for chicken stock in the freezer.  I haven’t bought chicken stock in over 10 years now.  It’s just so easy to make your own.  Even if I start with raw chicken and poach it for a recipe I add seasonings and by the time the chicken is done, there is several cups of broth ready for the freezer.

Today’s flavor was Mesquite broiled so it left us with a spicy red color also.

So what do you do to get ready for winter?  Have I motivated you to stock up?