CAST IRON SKILLET ROAST CHICKEN with APRICOT MAPLE PINEAPPLE GLAZE

Do you like those rotisserie chicken from the market? I do, but on average they are only 2-3 pounds and cost anywhere from $5-$8 or even more. My local grocer ran a unadvertised special the other day and I got this 5.86 pound beauty for 97 cents a pound.

I love my cast iron skillet too! There is nothing better for even cooking heat! I like to roast my chicken in there so the sides are always radiating an even heat to whole chicken.

CAST IRON SKILLET ROAST CHICKEN
1 5-6 pound roasting chicken
4 tablespoons butter, softened
salt & pepper
1/2 onion, wedged small
1 cup apricot pineapple preserves
1/4 cup PURE maple syrup
  • Wash chicken and dry.
  • Spread butter along the inside of the cast iron pan and all over the chicken.
  • Generously salt and pepper the chicken.
  • Place onions along side the chicken.
  • In a small bowl whisk together the preserves and syrup. Set aside and allow to come to room temperature.
  • Roast at 350 degrees for 1 1/2 hours.
  • With a pastry brush spread preserve mixture all over the chicken every 10-15 minutes until skin is crisp and chicken is cooked through. This should be from 30-45 minutes based on the actual weight of your chicken.

Veggie Tales by Kris!

Well hello there! My name is Kris, you may know me from Behold the Metatron, Where to Vegan?, AND/OR The Motivation Station. If you don’t, get to know me! I’m just a click away! ;o)

I am a vegetarian flirting with the Vegan lifestyle ever so slightly. But I’m not going to dive deep into a 100% Vegan dish with you lot just yet. For my first post, I’d like to share a sweet and savory salad with you that is absolutely perfect for summer. Enjoy it with a delicious sparkling rose like this one on a steamy Friday afternoon, and you’re starting off the weekend just right!

Asparagus, Grapefruit and Arugula Summer Salad
(serves 2 as a main dish, or 4 as a starter- I could eat the whole thing though! haha)

What you’ll need:
5 cups fresh baby arugula (Organic please)
1 bunch asparagus (each stalk halved lengthwise)
Cooking Spray
1 grapefruit (just the wedges, peeled with no pith)
1/2- 3/4 cup shaved Parmesan cheese (remember to slice an extra piece for yourself while you slave over this! hehe)
1 lemon, halved (you’ll use each half’s juice separately)
1/4 cup your favorite Red Wine Vinaigrette Dressing (I like Newman’s Lite)
salt and pepper to taste

What you’ll do:
Prep you grapefruit by peeling the skin and pith, and cut into wedges. Prepare your arugula by placing it on a lovely platter or bowl. Heat a skillet on medium with a little cooking spray. Add in the halved asparagus and sautee for about 2 minutes. Add some salt and pepper and the juice of 1/2 the lemon. Let cook until tender, yet crispy for no more than 5 minutes. When the asparagus is done, remove from heat and place it atop the bed of arugula. Top the salad with the other lemon half, the dressing, the grapefuit wedges, and the cheese. Add a little more salt and pepper. Toss right before serving.

et voilà!

Fire Day Friday: Meatloaf On The Grill ? ! ? !

If I recommended cooking a meatloaf on a grill, you might ask me to “let you sleep on it” or you might run away like a “bat out of hell”, right?

I thought it sounded weird too when I first heard of doing it that way, but I tried it two years ago and it is my favorite way to prepare meatloaf now. You just prepare your favorite meatloaf recipe and instead of cooking it in your oven, turn your grill into a fire roasted oven by cooking with indirect heat (fire or burner on one side, food on other side, lid closed).


“I Would Do Anything For Loaf” Meatloaf recipe
adapted from Underground Deli’s Meatloaf Sandwich

Ingredients
1 cup panko bread crumbs
1 1/2 teaspoons Dry mustard
1 teaspoon Black pepper
1 teaspoons Garlic powder
1/2 teaspoon garlic minced
2 tablespoon basil, fresh chopped
1 tablespoon Dried oregano
3 Eggs
3/4 cup Ketchup
1/2 teaspoon Hot pepper sauce
1 1/2 teaspoons Worcestershire sauce
1 1/2 teaspoons Dijon mustard
1 1/2 teaspoons Horseradish
1 cup Onion; chopped
2 1/2 pounds Ground beef; 80/20 mix

Instructions
In a bowl, combine bread crumbs, mustard, black pepper, garlic powder, basil and oregano. In a large bowl, combine eggs, ketchup, hot pepper sauce, Worcestershire sauce, Dijon mustard and horseradish. Mix in the onion and ground beef, then add the bread crumb mixture.

TIP: One reason people don’t like meat loaf is because they’ve been served one that is greasy because it cooks in it’s own grease in the loaf pan. Only use the loaf pan for a mold to shape the loaf and let it chill for an hour in the fridge.

Then when ready to cook, invert the loaf pan onto a raised drip pan set up like this and all the grease will drip away from the loaf while cooking in the oven or the grill.

Cook the loaf at 350f.

After 45 minutes, brush with a glaze of your choice.
Typical meatloaf glaze: 1/2 cup ketchup, 1/4 cup brown sugar, 1 oz apple cider vinegar
Sweet glaze: commercial BBQ sauce like Blues Hog.
Spicy glaze: 1/2 cup ketchup, 1/4 cup Chok On Dis Blaze n’ Glaze, 1/4 cup brown sugar

Cook until the loaf hits an internal temp of 160f. This should be a total cooking time of 1 to 1 1/2 hours.

Try that inverted meatloaf technique the next time and I think you’ll like your standard meatloaf a little bit better. The final product is just moist enough but not greasy at all. PERFECT for meatloaf sandwiches, my favorite.

And consider cooking it on the grill too. Since I started cooking it on the grill, anytime I think about cooking one in the oven, I think, “I would do anything for loaf, but I won’t do that!”

(All apologies to Michael Lee Aday)

Spanish Rice… And a Call to Stewardship (or cheapness)

I know a lot of you are diligent about menu planning.  And that is a very good thing to do.  It saves money, it saves LOTS of time.  For a very long time, I thought it just meant a long shopping list.  Figure what you were going to cook, and make sure that you have the ingredients on hand.  But there is one more aspect to menu planning that I am finally learning… Waste not, want not, be a steward of the earth, PLAN how to use everything you buy.  Buy fresh, eat healthier, but PLAN how to use everything you buy before it goes bad.

Oh yeah, and be cheap, save money.  Honest, my main concern is saving the planet, has nothing to do with me being cheap, nothing… honest (have you ever been lied to by a man, of course not).  This post is all about being a good steward, eating healthy fresh and planning to not waste.

From bread that you let get moldy because you don’t make a single serve bread pudding, to bananas because you don’t mix a killer Funky Monkey frozen chocolate rum drink (or banana bread if you must, but the funky monkey is a better use for soft bananas… but I digress), to that Pineapple you buy for a garnish for your wife’s Painkiller rum drink recipe… If you buy it, plan how to use it all.  If I clean out my refrigerator and I have to throw away a single produce item, I have failed to be a good steward of the Earth (and I wasted money… one of those two things REALLY bothers me).

Are you paying attention, last week I posted a ROTISSERIE CHICKEN STOCK recipe.  I will use that recipe to clean out my produce drawer once a week… Carrots, celery, onions, fresh herbs, almost anything can be tossed in the pot to help flavor the stock.  A great way to “use up” what would have been thrown away.  I do make that stock once a week.  It does freeze, but I like to keep a bag of it in the fridge for use during the week.  I always end up using the entire bag.  It can be used in so many things.  Think about all the things you cook with water and consider substituting the chicken stock if you were to have some handy.

Like RICE!

And let me interrupt this rice post with scenes from coming attractions… See all the things in the photo above… there is a sea food enchilada made with blackened tilapia, and some fresh made Caribbean Salsa… Come back in the next couple of weeks to see those recipes.  But, since I am being a good steward of the Earth (cheap), using everything I can, I need to show some things that I will explain better next week…

Like this…

I made my rice in the same pan that I made my blackened tilapia, that I used to make my seafood enchiladas.  All that butter and spices that I blacken the fish with worked GREAT to season the rice.  Waste not, want not, eat better, make better tasting food… What a concept.

So, just imagine you have a pan of flotsam from cooking the fish.

Add 1/2 cup of diced onion to the flotsam, and 1/2 cup of diced red bell pepper.  Heat the mixture till you can see the onions start to become clear.  Add some fresh herbs of choice… Cilantro, Herbs de Provance, dill, chives, whatever you have on hand…

Add 2 cups of chicken broth to the pan and get the liquid boiling… Add 1 cup of rice and cook til the liquid is absorbed…

And there you go… Better tasting food, less (no) waste, save money…

And come back next week for an amazing Caribbean Salsa Recipe!

Dave here from MY YEAR ON THE GRILL. It really is just this easy!  


 … I CAN COOK THAT! 


And so can you!

Hidden Secrets of a Muffin

Every muffin tells a story.  Of course, usually, their lives are not long so their stories are limited.  This muffin tells a story of sweetness and love with some bumps along the way.  To find this love, you have to eat one of these muffins.
 Ingredients:

 
2/3 cup of baking cocoa
2 large eggs
2 cups of flour
1 cup of chocolate chips
1/2 cup of sugar
2 teaspoons of baking soda
1 1/3 cups of milk
1/3 cup of vegetable oil
1 teaspoon of vanilla
1/2 teaspoon of salt
1/2 cup mini marshmallows
12 half teaspoons of peanut butter
Method:
Preheat your oven to 400°F.
Coat muffin tins with non-stick cooking spray or use liners.
In a large bowl, combine the cocoa, flour, sugar, baking soda, salt and vanilla.
Stir in half a cup of chocolate chips.
In a separate bowl, combine the eggs, oil and milk.
Add the egg/milk/oil mixture to the other ingredients until moistened.
I used a regular ice cream scoop to fill each muffin tin one half way up. I used about 2/3 of batter.
Place about three mini marshmallows on each muffin (batter).
Place peanut butter, attempting to cover marshmallows.
Using remaining batter, cover peanut butter and marshmallow so you now have chocolate icing.
Sprinkle with the remaining chocolate chips.  I did not do this.  It is rich enough for me without frosting or additional chocolate.  Yummy good.
Bake for about twenty minutes or until a toothpick inserted in the middle comes out clean.
Cool on a wire rack before removing from the pan
Enjoy

Strawberry Shortcake – Save Room for Dessert

Hello and happy Monday, dessert friends! Have you managed to recover from last week’s overindulgence? 🙂
Well I have another one for you.  It may not be chocolate, but it’s a classic.  And it’s a classic for a reason.
Strawberry shortcake is really very easy!
I just love watching cakes bake.  I mean, it’s not like I sit there and stare…but it’s still interesting.
Anyway, I made a french vanilla cake from a mix.  Nothing special!
My lovely sister thinly sliced 3/4 lb of strawberries, while I whipped the cream.
1 quart heavy cream
1/2 cup powdered sugar
1 tbs vanilla extract
As easy as that! I whipped the cream until it was stiff, then layered: Bottom layer of cake, thin layer of whipped cream, layer of strawberries, more whipped cream, MORE strawberries, and the second cake layer.
Then I laughed at the amount of space between layers.  I “spackled” over the strawberries, as my husband describes it, and it actually covered everything nicely.  Finally I decorated with halved strawberries.
Here’s a look inside.  It was pretty messy, to put it mildly.  But it was sooooo good, too!
Super easy and super yummy – plus there’s fruit in it, so that makes it totally healthy.  Right?
Right??

Fire Day Friday: Airline Chicken Breast

Fire Day Fridays are about cooking something with live fire that anyone else can make on any other type of grill. No Big Green Egg required. No special equipment. Fire Day Fridays are about inspiring and getting people to use their own grills.Does grilling chicken breasts scare you because you sometimes end up with a dry result? How would you like a succulent, tasty chicken breast from the grill that only has 5 ingredients?

This is one of my favorites from Chris Lilly’s book Big Bob Gibson’s Barbecue Book. He uses an “airline” or “hotel” cut of chicken breast that I have never found in a store, so I just use a skin on chicken breast.

Airline Chicken Breast with Basil Butter
3 ea chicken breast, skin on, boneless
salt
pepper
1 1/2 stick butter
1/2 cup basil, chopped

I know everyone uses boneless, skinless breasts for 99% of the time but the skin is important on this one. If you can’t find boneless, skin ON breasts or your butcher won’t do it for you, you can just get a split breast skin on and debone it with a sharp knife starting at the small end.

Season the breasts on both sides with salt and pepper.

Preheat your grill to 400-450f on one side and leave the other side off so you have a hot “direct heat” zone and an “indirect heat” zone.

Once your grill grates are hot, lightly oil them and place the breasts in SKIN SIDE DOWN over the DIRECT heat zone (over the coals/burnter). Cook them for 5 minutes or until they start to brown. The one in the middle was done at 3 minutes but the other two took the full 5 minutes. At the same time, put the butter and basil in a small sauce pan near the edge of the coals as pictured.

Transfer them to a shallow lipped pan SKIN SIDE UP in the INDIRECT heat zone as shown. See how the coals are to the left but there are none directly under the dish.
TIP: If you are using stoneware like me, put it in the grill as soon as you start it so it can slowly heat up. If you put cold ceramics on a hot grill, it can break the dish.

Top the chicken with the now melted basil butter. Close the grill lid and let cook for 35 minutes. Occasionally baste with the butter in the pan. I also turned my pan about 1/3 turn every ten minutes so that all sides are evenly exposed to the heat (since all the heat is coming from the left side of the grill in my set up).

While that is cooking on the indirect side, you can grill some veggies over the direct heat. Yes, that is okra I’m grilling. First time and I loved them.

Remove when the chicken hits an internal temp of 160f and let rest for 5 minutes. I don’t cook by times often, but this is almost always 35 minutes as noted. Then slice into medallions with a very sharp knife and serve.

I know this is a simple dish but something about that basil butter and the grill/roasting combination makes this chicken luscious and tender as can be. It’s more like a juicy roast turkey breast than plain old dry grilled chicken!

Get out there and fire up those grills…May is National BBQ Month!

Rotisserie Chicken Stock – Make your own and save BIG and your food will taste better too

Before Rachael Ray and even before Alton Brown… But after Julia Child… And somewhere around the time of Graham Kerr (But I am digressing with the foodie timeline), there was JEFF SMITH… THE Frugal Gourmet.


His catch phrase, Frugal doesn’t mean cheap. Frugal means that you don’t waste anything.” is becoming a way of life for me.  I love the Virgin Isles, but it is not cheap.  So, frugal to eat  better is my new catch phrase. I don’t mind paying for a premium ingredient, but I will use it all.  And by stretching the food I do buy, I can fit more in my food budget.


Chicken stock is now a weekly project.  In reality, it takes all of 10 minutes total out of my day to make.  Is virtually free, as you are using ingredients many of us toss in the garbage.  It has the added benefit of being noticeably better quality than the store bought.


Back on my site, I have been extolling the virtues of the store bought rotisserie chicken.  Here on the island, a raw whole chicken starts at $10.  But I can buy a pre-cooked rotisserie chicken for only $6.  Makes no sense to me, and I have not heard a viable explanation yet.  I have gotten pretty good at making dishes from teh pre=cooked chicken other than a sandwich.   I even started a sidebar link for What to do with a Rotisserie Chicken.  Since landing, I have made a dozen batches of stock from my beloved cheap rotisserie birds.  It lasts in the fridge for a week, and saves big…


One more example and then on to the technique… A big can of chicken broth is $4.79.  The stores I regularly shop at do not even keep cans of chicken stock on their shelves to compare prices.  I get at least the same amount of stock from one bird as is in the can.  Making my chicken cost a buck and a quarter.

Frugal doesn’t mean cheap. Frugal means that you don’t waste anything.”


Can not be easier… Buy a rotisserie chicken.  Sam’s Club, Costco, Wal-Mart, and many neighborhood stores make and sell them same day fresh.  Eat everything you can from the bones of the bird.  BUT, save the bones.  If you do not eat the skin from the bird… Save the skin.  Make one final hack at the bird (I can always get enough to make a chicken omelet for breakfast).


Then, drop the carcass in a large pot.  You can use a crock pot if you have one.  I add one gallon of water.  Get the water to simmer.  Not a fast boil, just a gentle simmer.  Then, I add whatever vegetables are close to going south.  I never add fresh veggies, just the ones that are on the down side of fresh.  I eat carrot sticks, so I always have a few carrots to toss in.  An onion, even a potato or bell pepper will help to flavor the stock.  Celery, I have even plopped a lemon or lime into the mix.  Why not???


This is a great excuse to cull out the veggie drawer once a week.  I am not saying to use veggies that are already bad (you know), but if they are a little soft, fine… Chop a bit and toss in.


When you use a rotisserie bird, no need to add any seasonings (especially if you do not eat the skin).  there is plenty of salt and pepper on the bird as it is.


Total time for all this… 10 minutes.


The rest of the day, go about your business.  Eat some bon-bons, catch up with what’s happening on All My Children, change some diapers or read a book.  the simmering pot does all the work.  Simmer uncovered, as you are reducing the stock to 1/2 gallon.  It has the benefit of making your kitchen smell AMAZING! Some days I make stock and bake bread on the same day.  That is a day to just stand at your stove and breath as deep as you can!


About 4 or 5 hours later, run the broth through a metal strainer, now, salute your bird and toss the veggies and chicken bones.  Their job is done.  The stock is easily stored (once cooled) in a ziplock freezer bag.  You could store in 1 cup quantities in smaller bags).  I have even heard of people making stock ice cubes in ice cube trays.  Me, I always seem to use my 1/2 gallon in a week, so I just store in the fridge waiting for next week’s batch.


Last night, I made some cashew chicken using a fresh batch of stock.  I also made some Chinese noodles that I boiled in a 50/50 mix of water and a cup of last week’s stock (finished that bag off, made room in the fridge for the fresh batch).  The stock added quite a bit of extra taste to the noodles.


I could have used water in both recipes. It is amazing what you will and can do with stock when you have a free batch sitting in the fridge.  And just wait to see the difference it makes in your meals.


Be a cook.


Make your own stock, stretch a dollar, add more flavor to your food.


Dave here from MY YEAR ON THE GRILL. It really is just this easy!  10 minutes hands on effort, you get to clean out your fridge of questionable veggies without wasting them.  And the results will show the rest of the week.  You will be a noticeably better cook.


 … I CAN COOK THAT!

…Anyone can!!! And anyone can make this winner…

Blueberry Crumb Muffins

Please visit me at My Sweet and Savory and at Comfy Cook.
May as Muffin Month, means delicious blueberry muffins, compliments of Nick Malgieri with a few minor adjustments, on my part.  These are delicious as are all Nick’s recipes which I have tried.  I joined a new baking group, The Modern Baker which is one of Nick Malgieri’s baking books.  We are baking through the book, starting with quick breads. 
Blueberry Crumb Muffins
Ingredients:
 
Crumb Topping:
1 cup all-purpose flour
1/2 teaspoons baking powder
1/cinnamon (I used almost one teaspoon)
3/4 stick margarine
1/3 cup firmly packed brown sugar
Cake Batter
2 1/2 cups all-purpose flour  (actually, I made this gluten free, using a brown rice flour mix and two teaspoons xanthan gum).
2 teaspoons baking powder
1/4 teaspoon salt
1/4 teaspoon nutmeg
8 tablespoons margarine, softened
3/4 cup sugar
1/2 cup light brown sugar
2 large eggs
1/2 cup Rice Dream
1/2 teaspoon almond extract
1 pint blueberries  (I used frozen.)
One 12 cup muffin tin with paper liners
Method:
Position a rack in the middle of the oven and preheat to 375 degrees F.
Topping:
Combine the flour, baking powder and cinnamon in a medium bowl.
Mix well.
Melt margarine in a small saucepan.
\Remove from heat and add brown sugar and mix with rubber spatula.
Scrape above mixture into flour mixture.
Mix together until consistently moist.
Set aside.
Muffin Batter:
Stir together the flour, baking powder, nutmeg, and salt in a bowl, mixing well.
Combine margarine and sugars with an electric beater.
Beat on medium speed for one minute.
 One at a time, beat in the eggs, beating until smooth after each addition. Beat in almond extract.
Beat in one half of dry ingredients, then the milk and again the rest of the dry ingredients.
Add blueberries and beat in, at lowest speed, for no more than 3 seconds to slightly crush blueberries.
Use a rubber spatula to mix, one more time.
Divide equally in the muffin cups.
Break crumb mixture into crumbs and top each muffin.
Bake for 30 minutes until golden and firm to the touch.

Cool on wire rack.

These are wonderful muffins.  Everyone loved them and I got requests to bake them again, immediately.

Ooey Gooey Double Chocolate Butter Cake – Save Room for Desert

Hello again, all you dessert-loving people!
This week, we’re back to the gluttonous, chocolately, fiendish fare I am so in love with.  Now, when I think fiendish and gluttonous, a few different cooks come to mind.  But none so quickly as Miss Butter herself: Paula Deen.
I have been wanting to try a Paula Deen dessert for ages now.  And there was one in particular that struck my fancy.
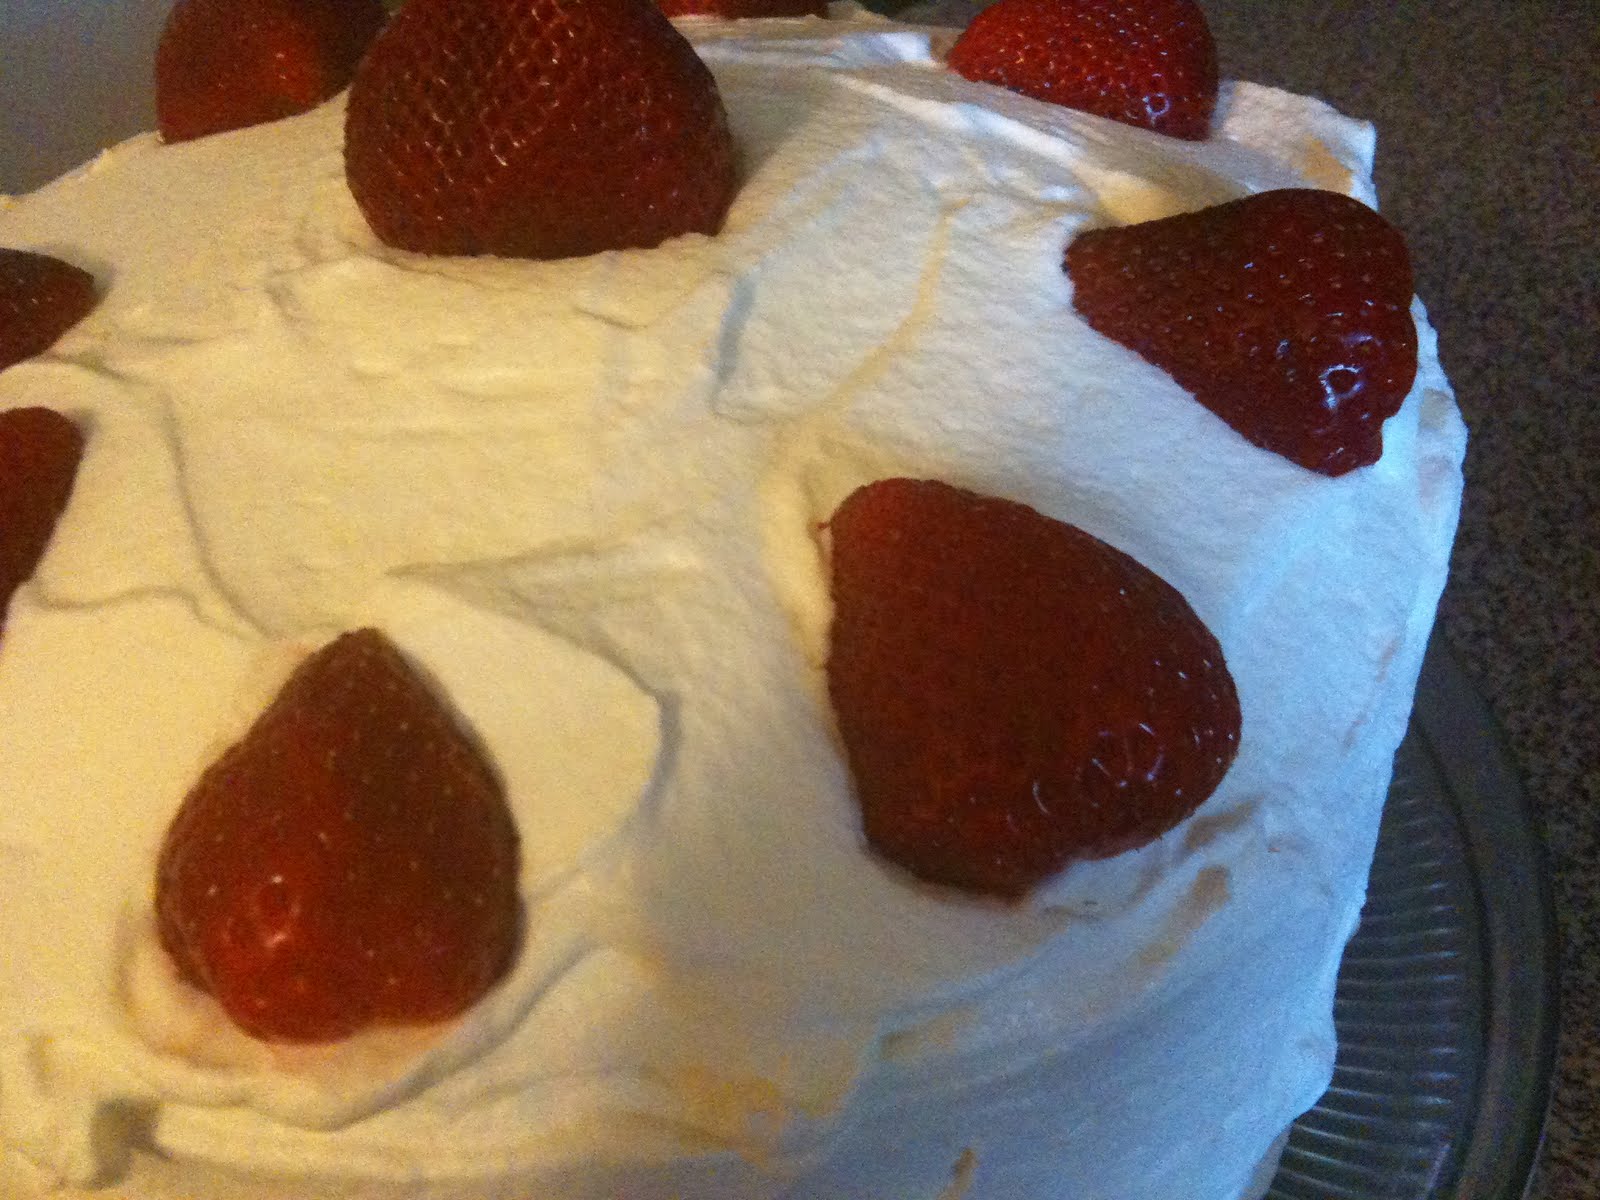
Butter cake.  But not just any butter cake.  The kind that involves chocolate.
Twice.
Here’s how it happened.  So easy it should be a sin and probably is:

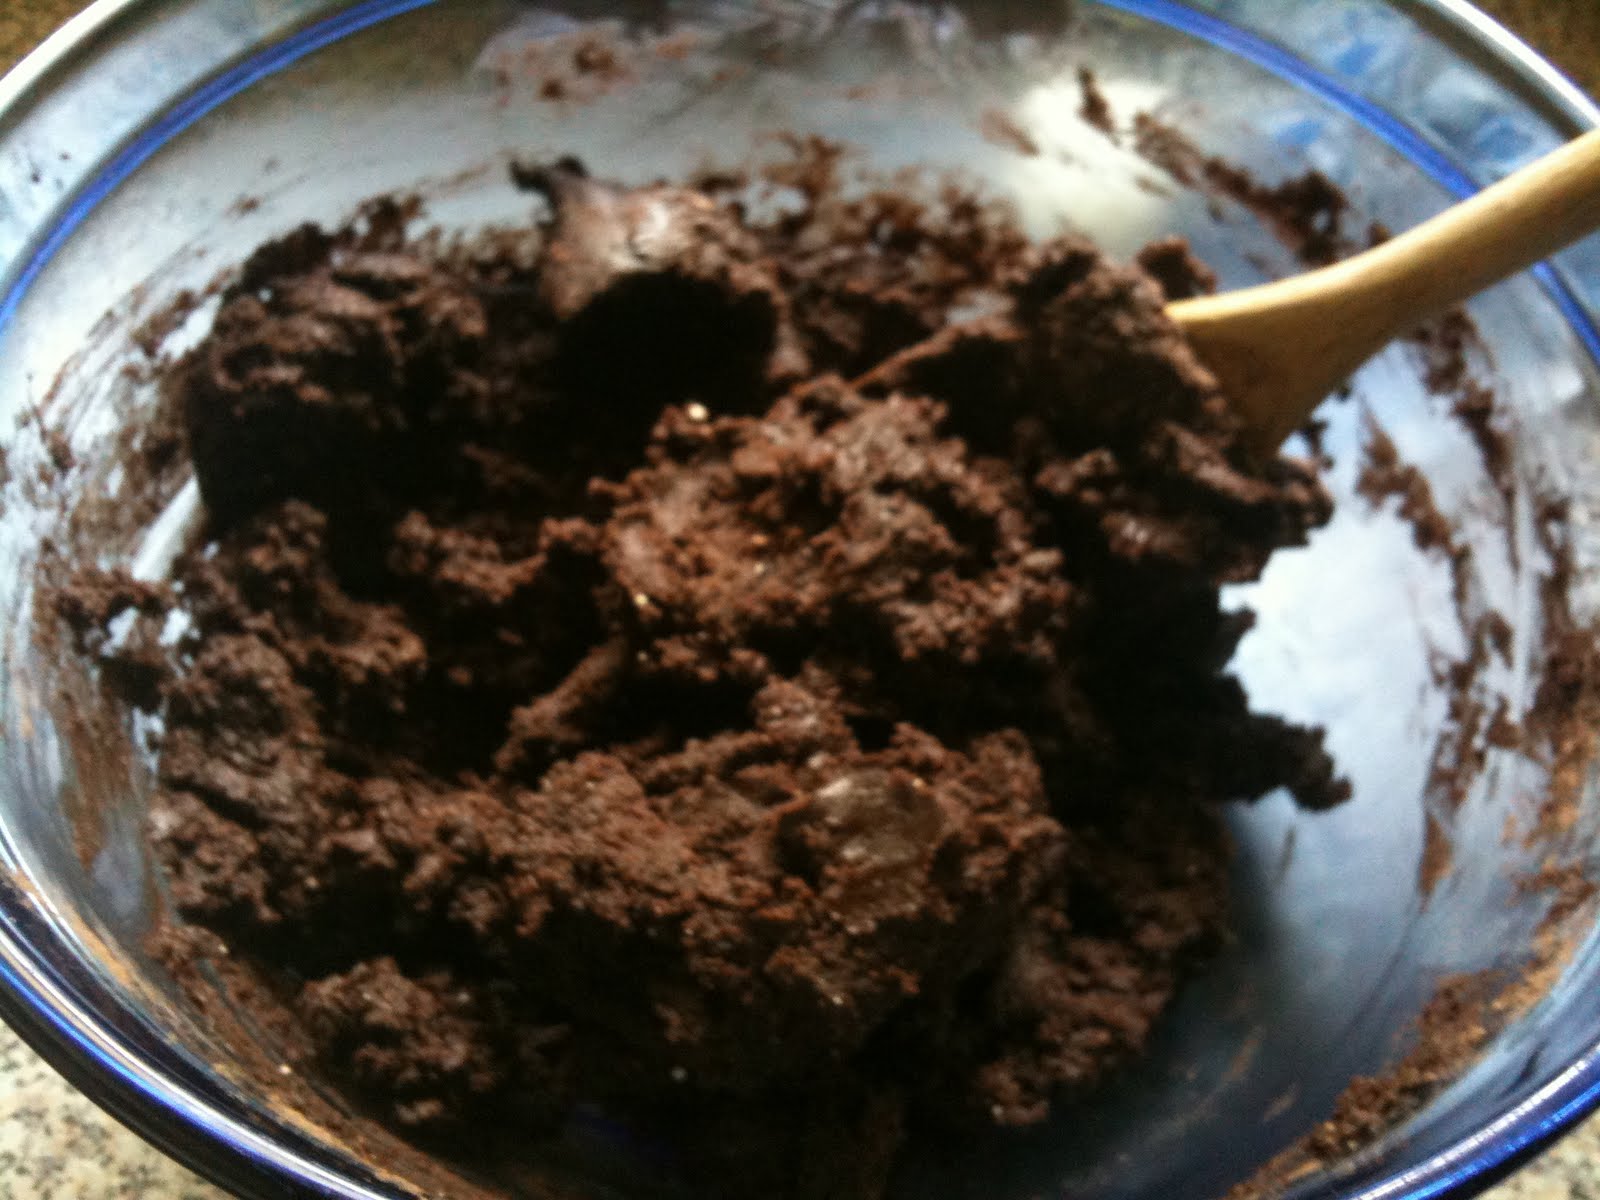
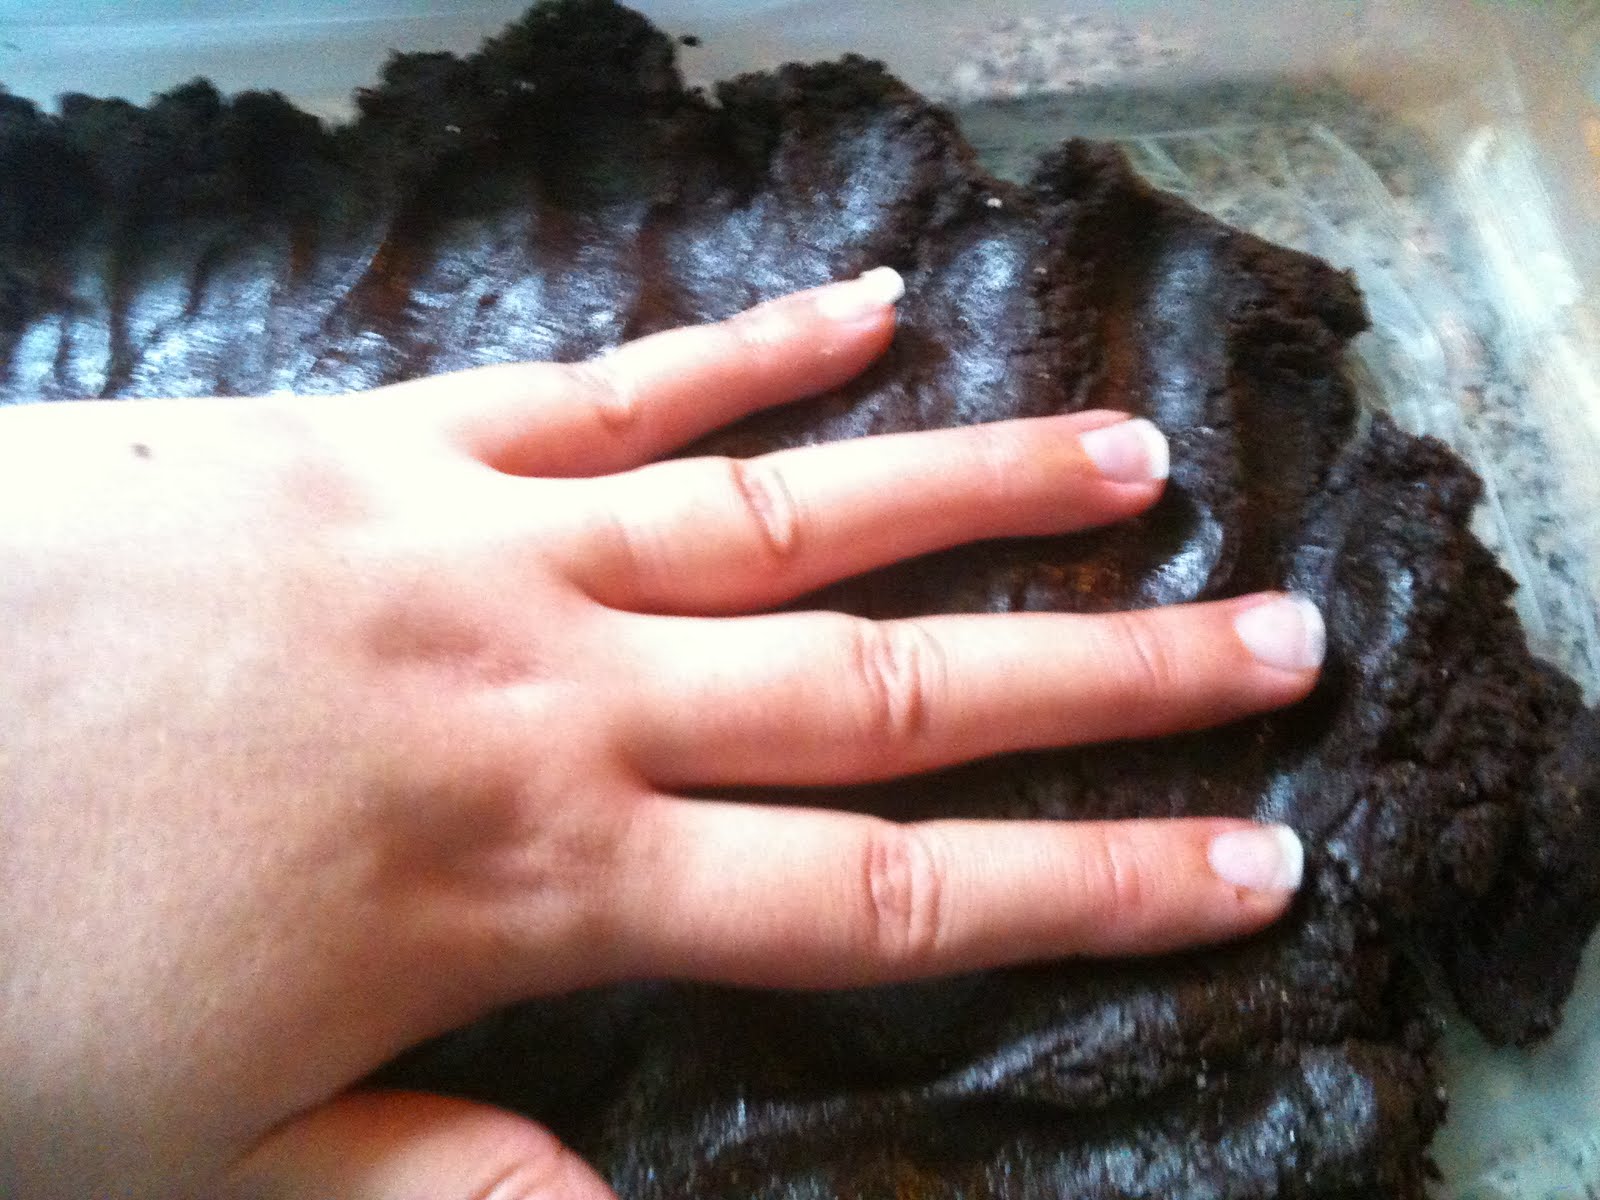
Mix 1 box of chocolate cake mix, 1 egg and…sigh…one stick of melted butter (this is the part where, if we were on “Paula’s Party”, the audience would go “ooooooooh!”).  Stir very well to incorporate and moisten all of the mix.  Then pat this lovely mixture into a greased 13×9 inch pan.
Mama needs a manicure. 
Now it’s time for your topping, aka the “ooey gooey” part.
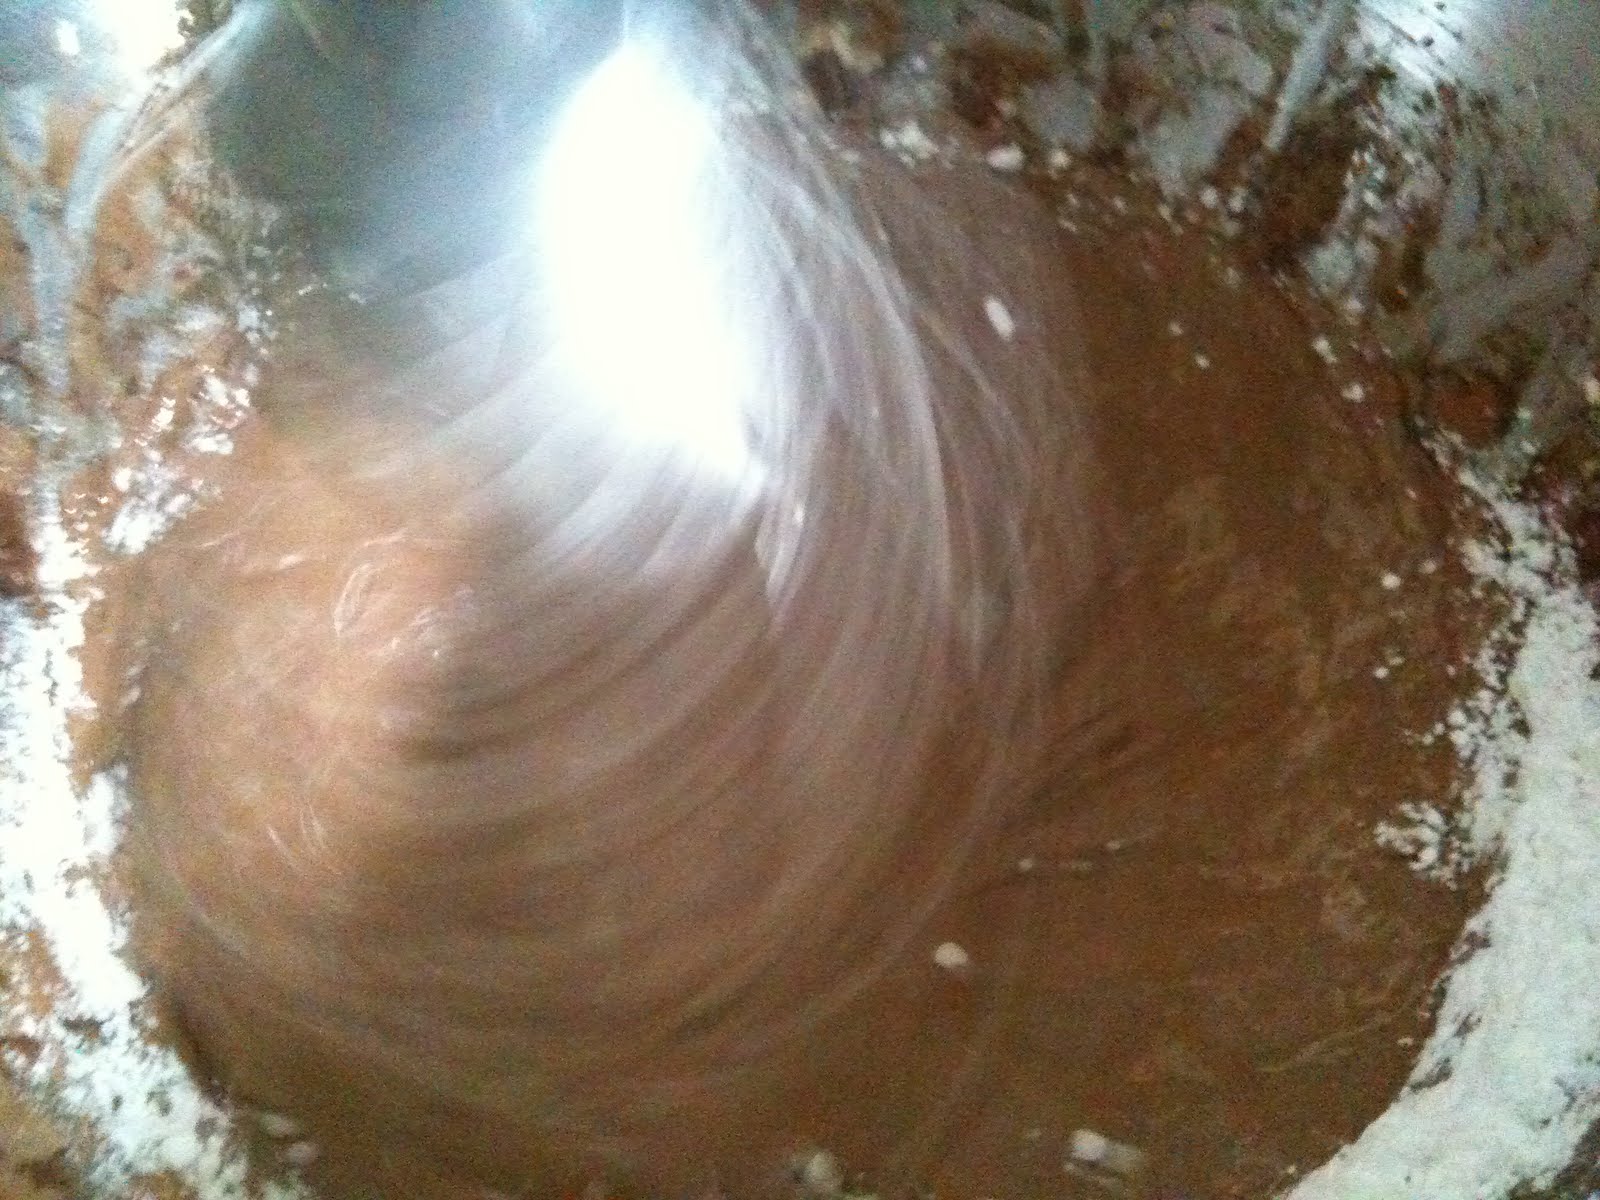
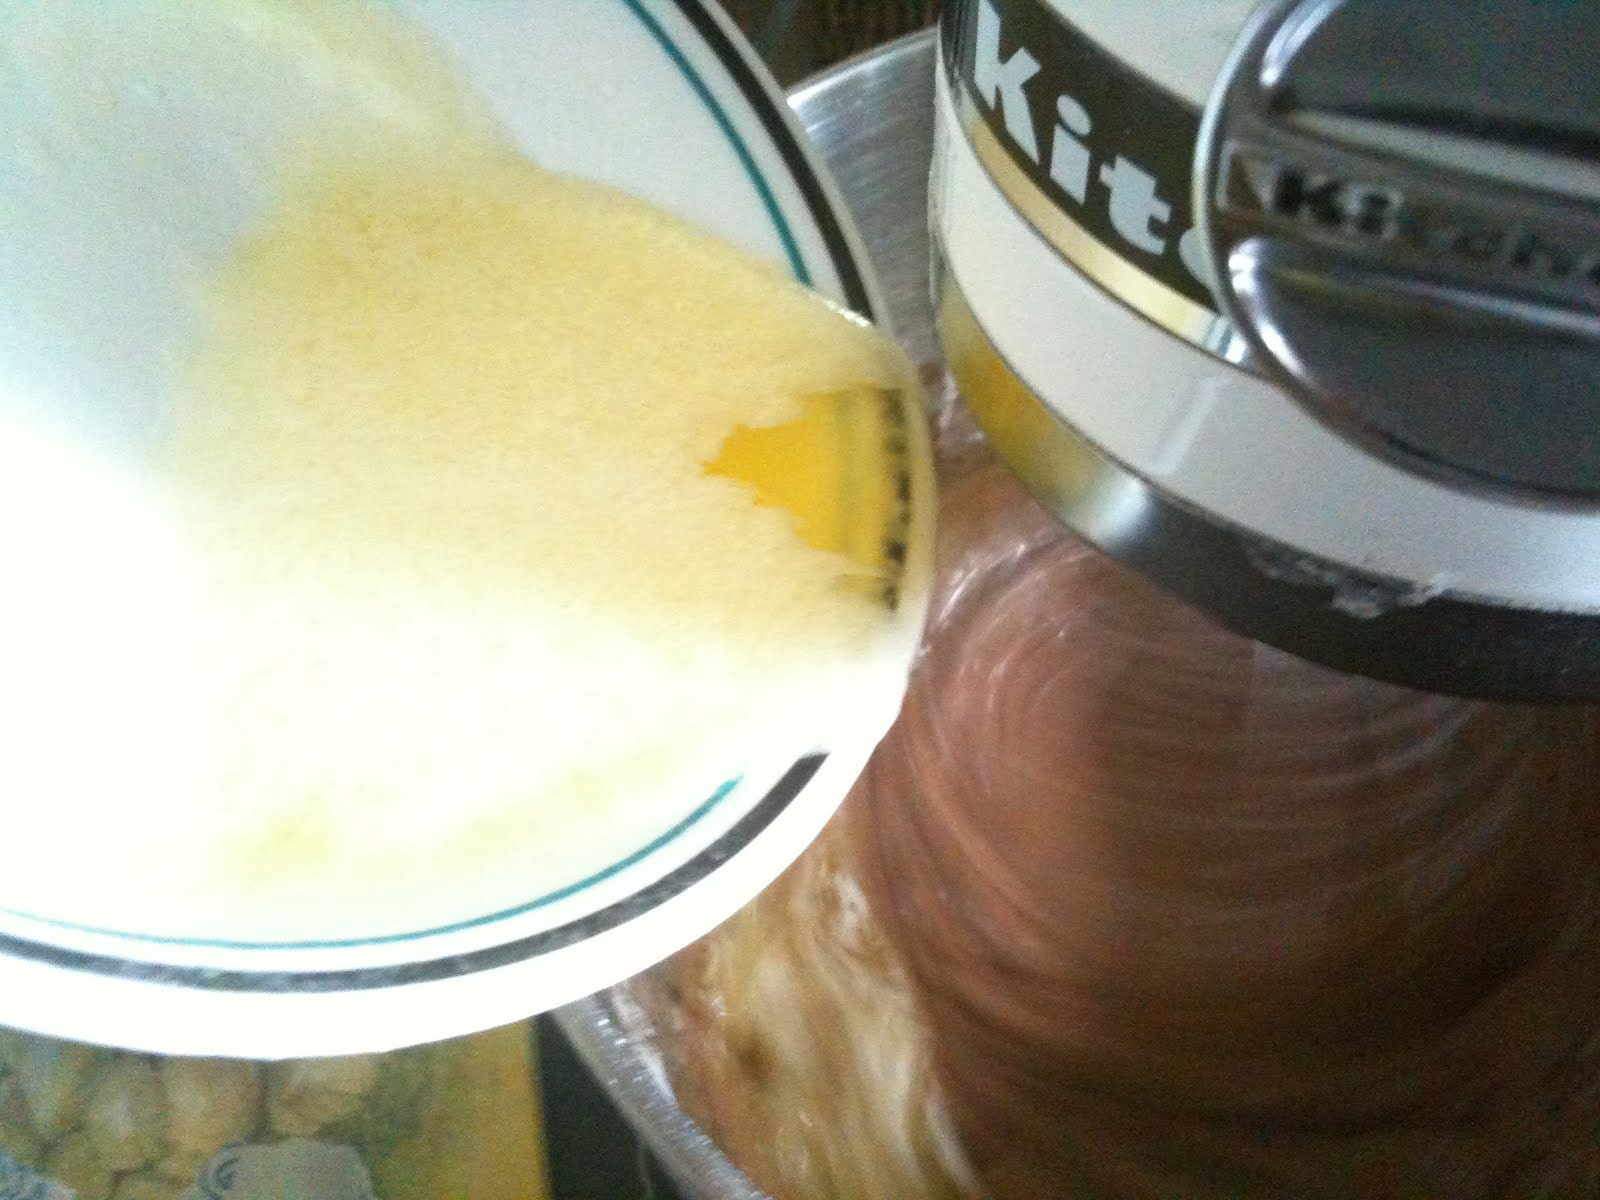
Beat 8 oz of softened cream cheese until it is smooth in consistency.  Add to that 2 eggs and 4 tablespoons of cocoa powder.  Mix this together.  Then, with the mixer on a low setting so as to lessen the chances of disaster, add 16 oz of powdered sugar.
Side note: I cannot tell you how how many times I forget to use a low setting when incorporating powdered sugar or flour into a mixer bowl.  It’s kind of a mess.
Anyway, once the powdered sugar is all mixed in, add a teaspoon of vanilla extract and…gulp…yet another entire stick of melted butter.
Yeah.  I said it.

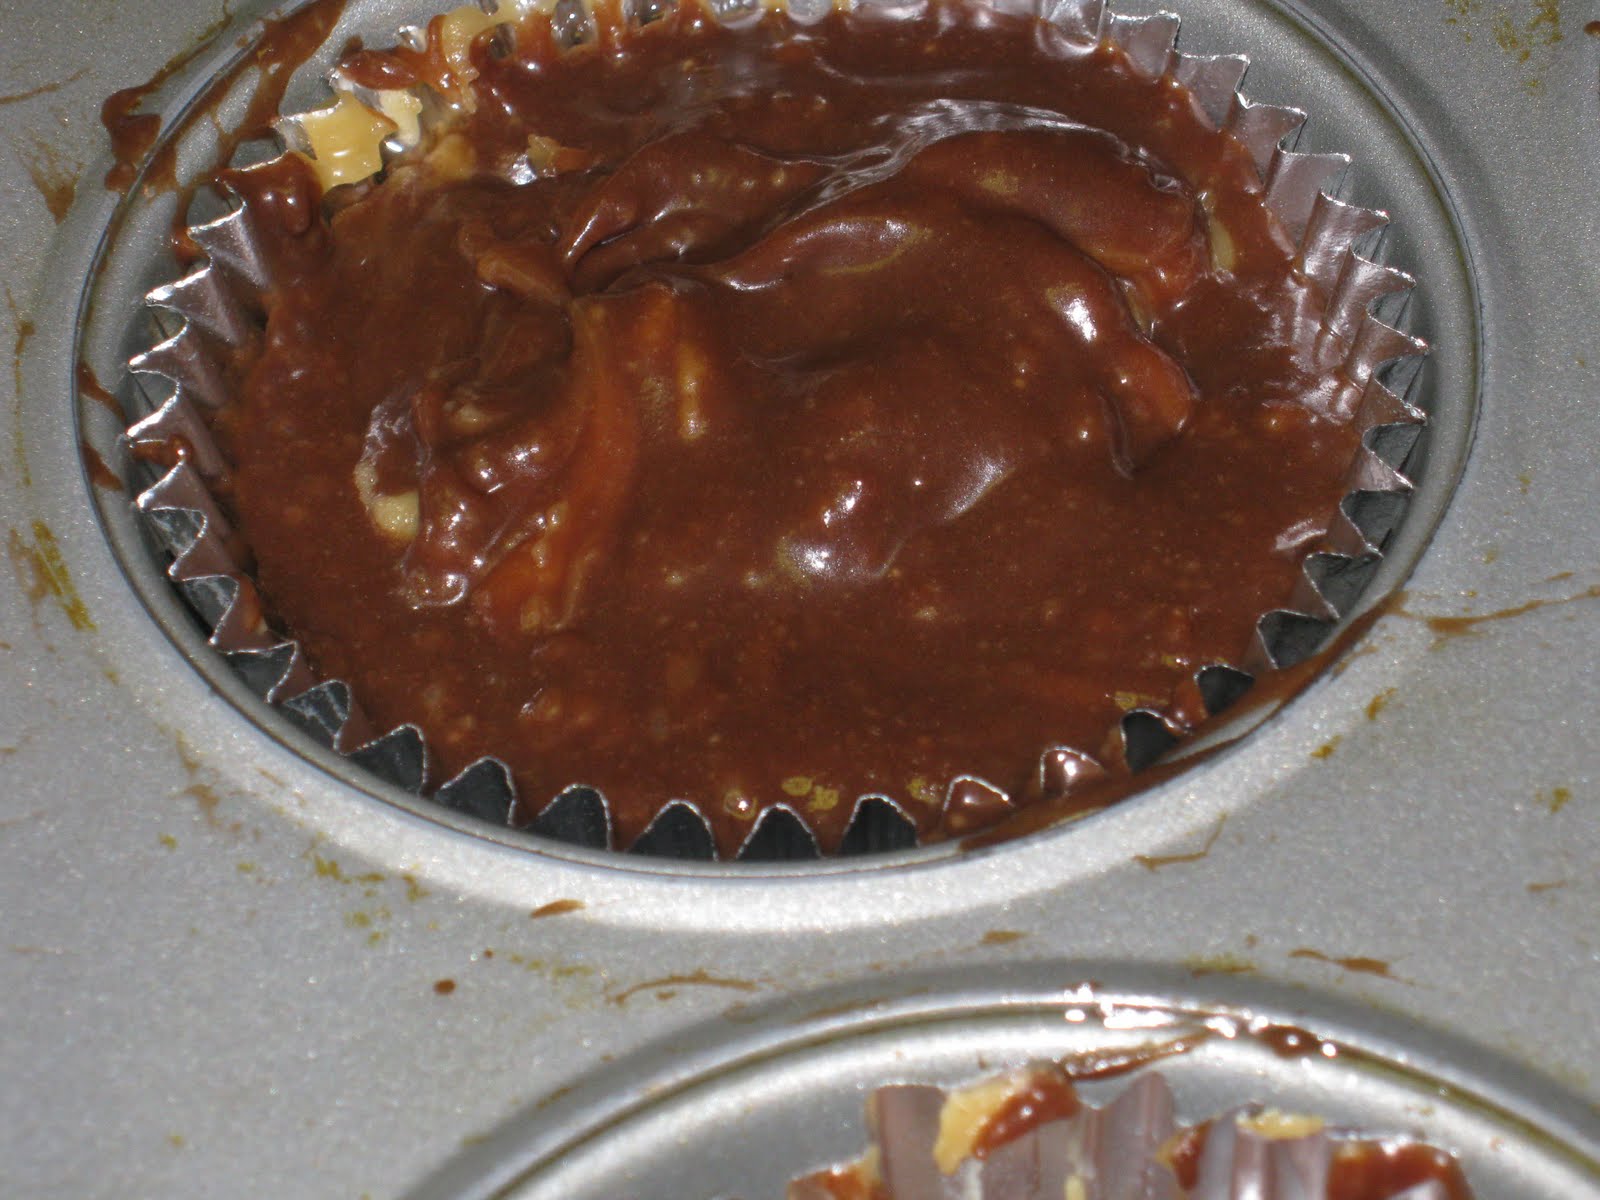
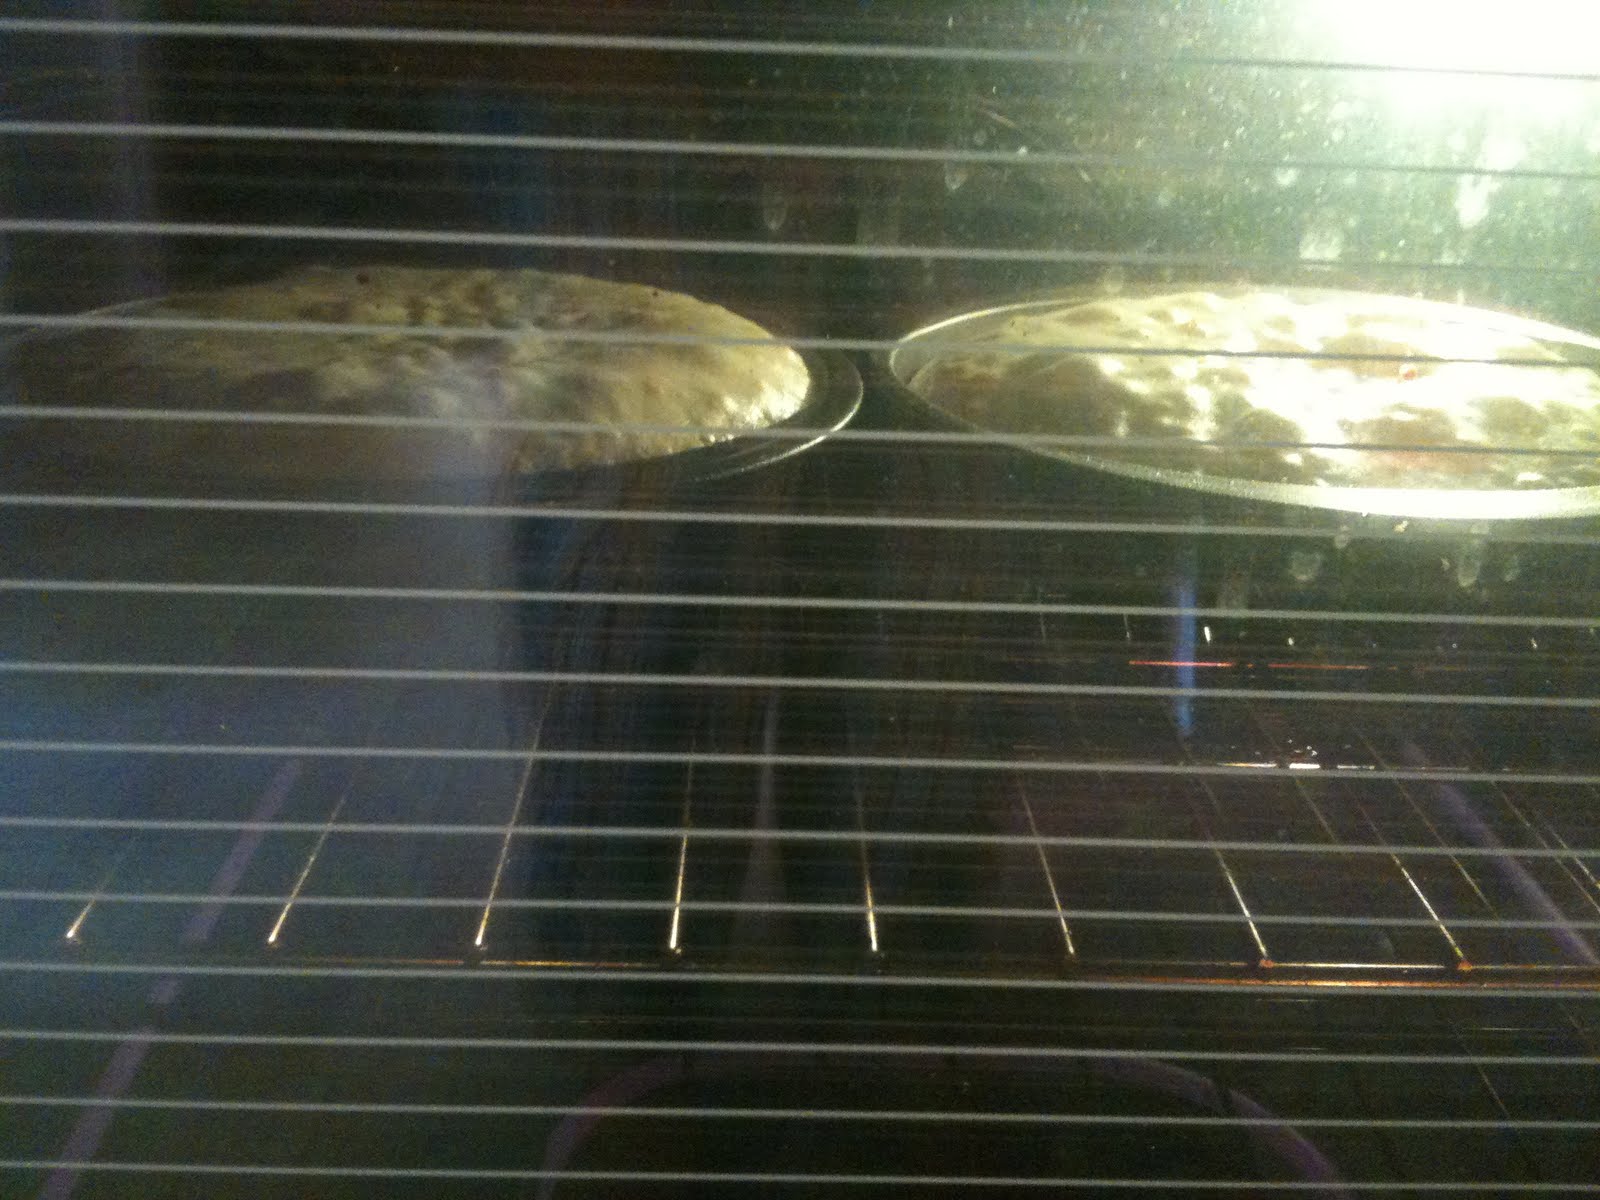
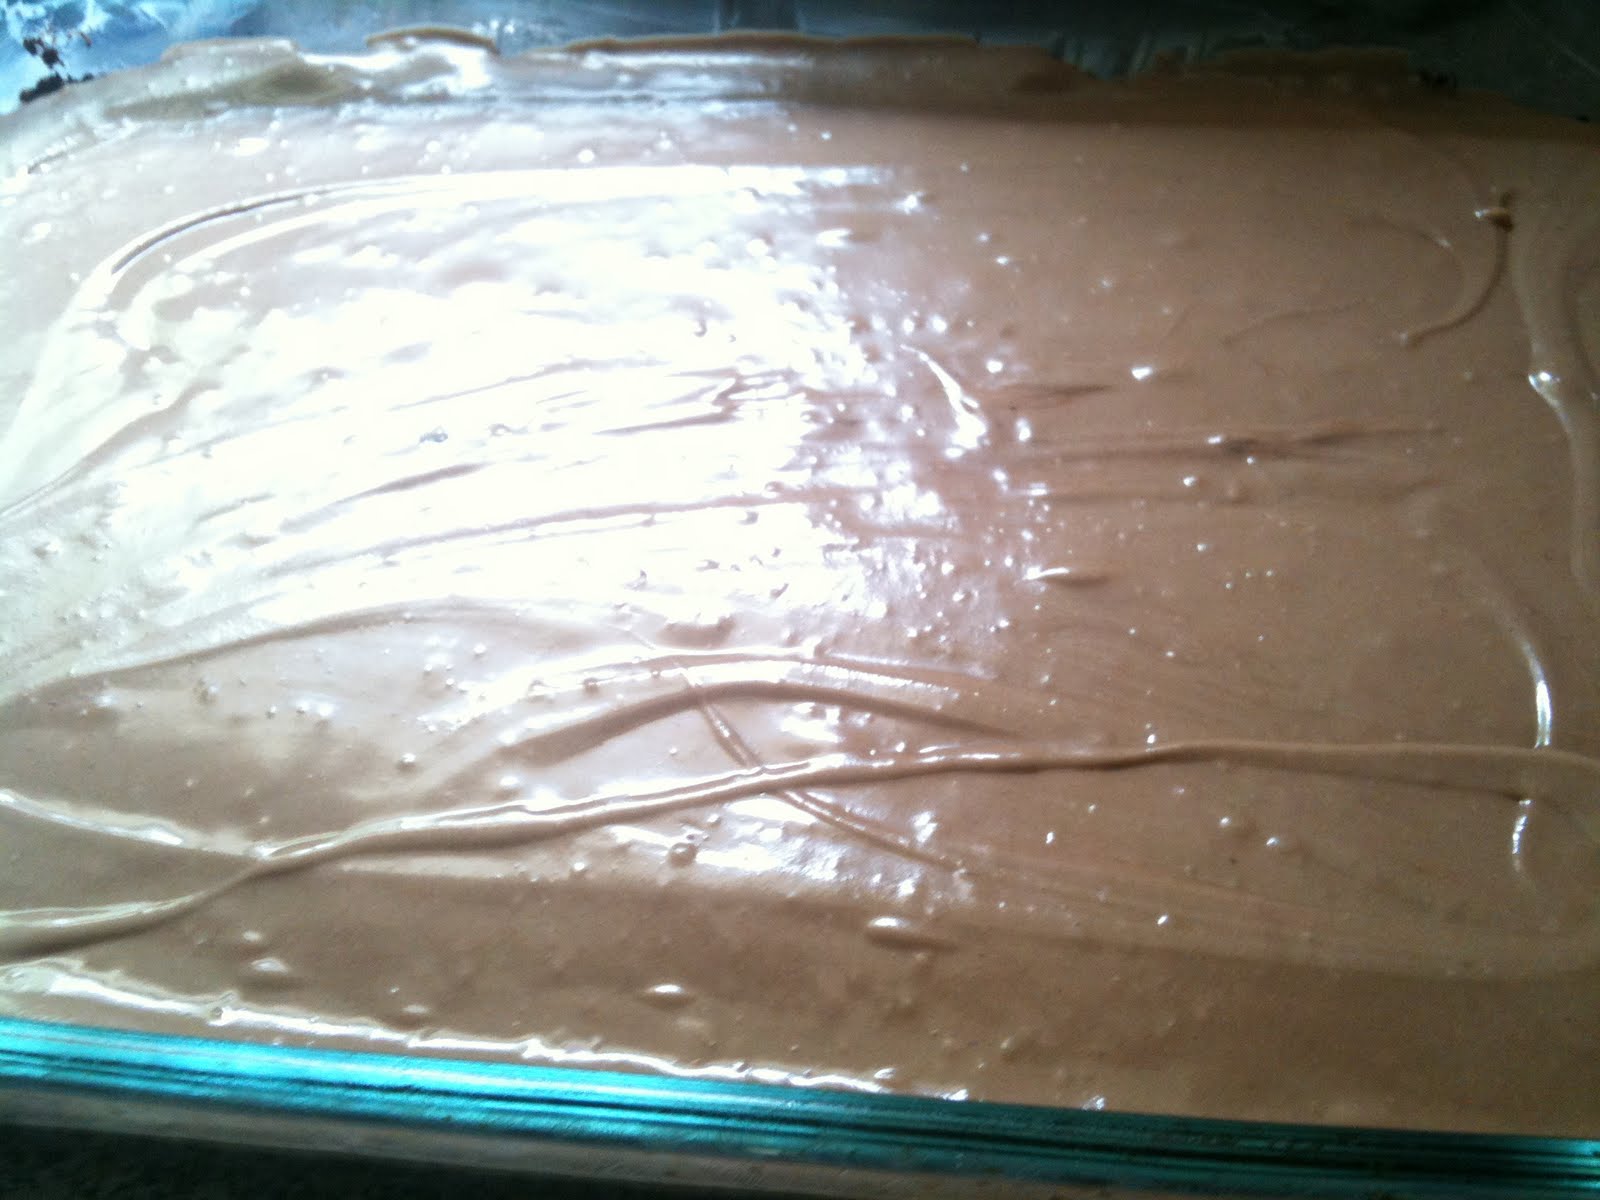
Spread this sinful mixture over the bottom layer of chocolate sin and pop your pan in the 350 degree oven for 40-50 minutes.  MAKE SURE you do not over-bake this.  I left it in for 40 minutes and it was jiggly on top when I took it out, but it’s supposed to be.
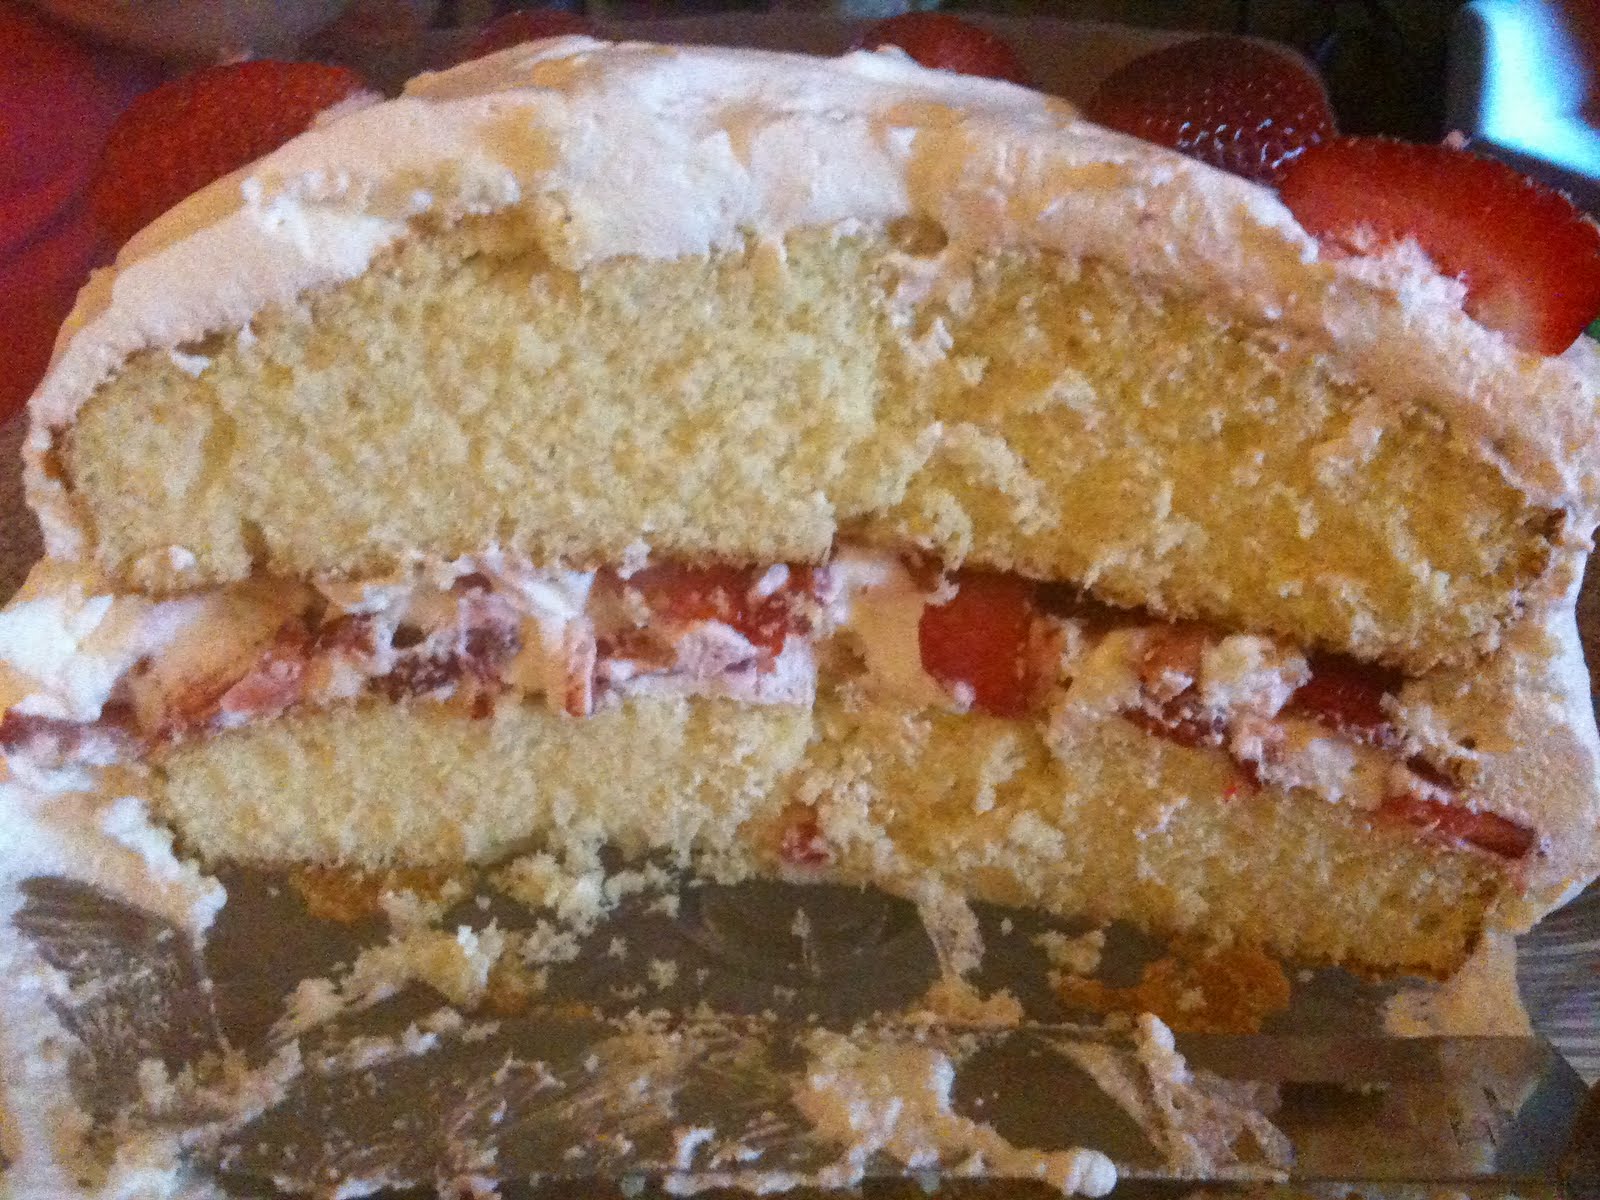
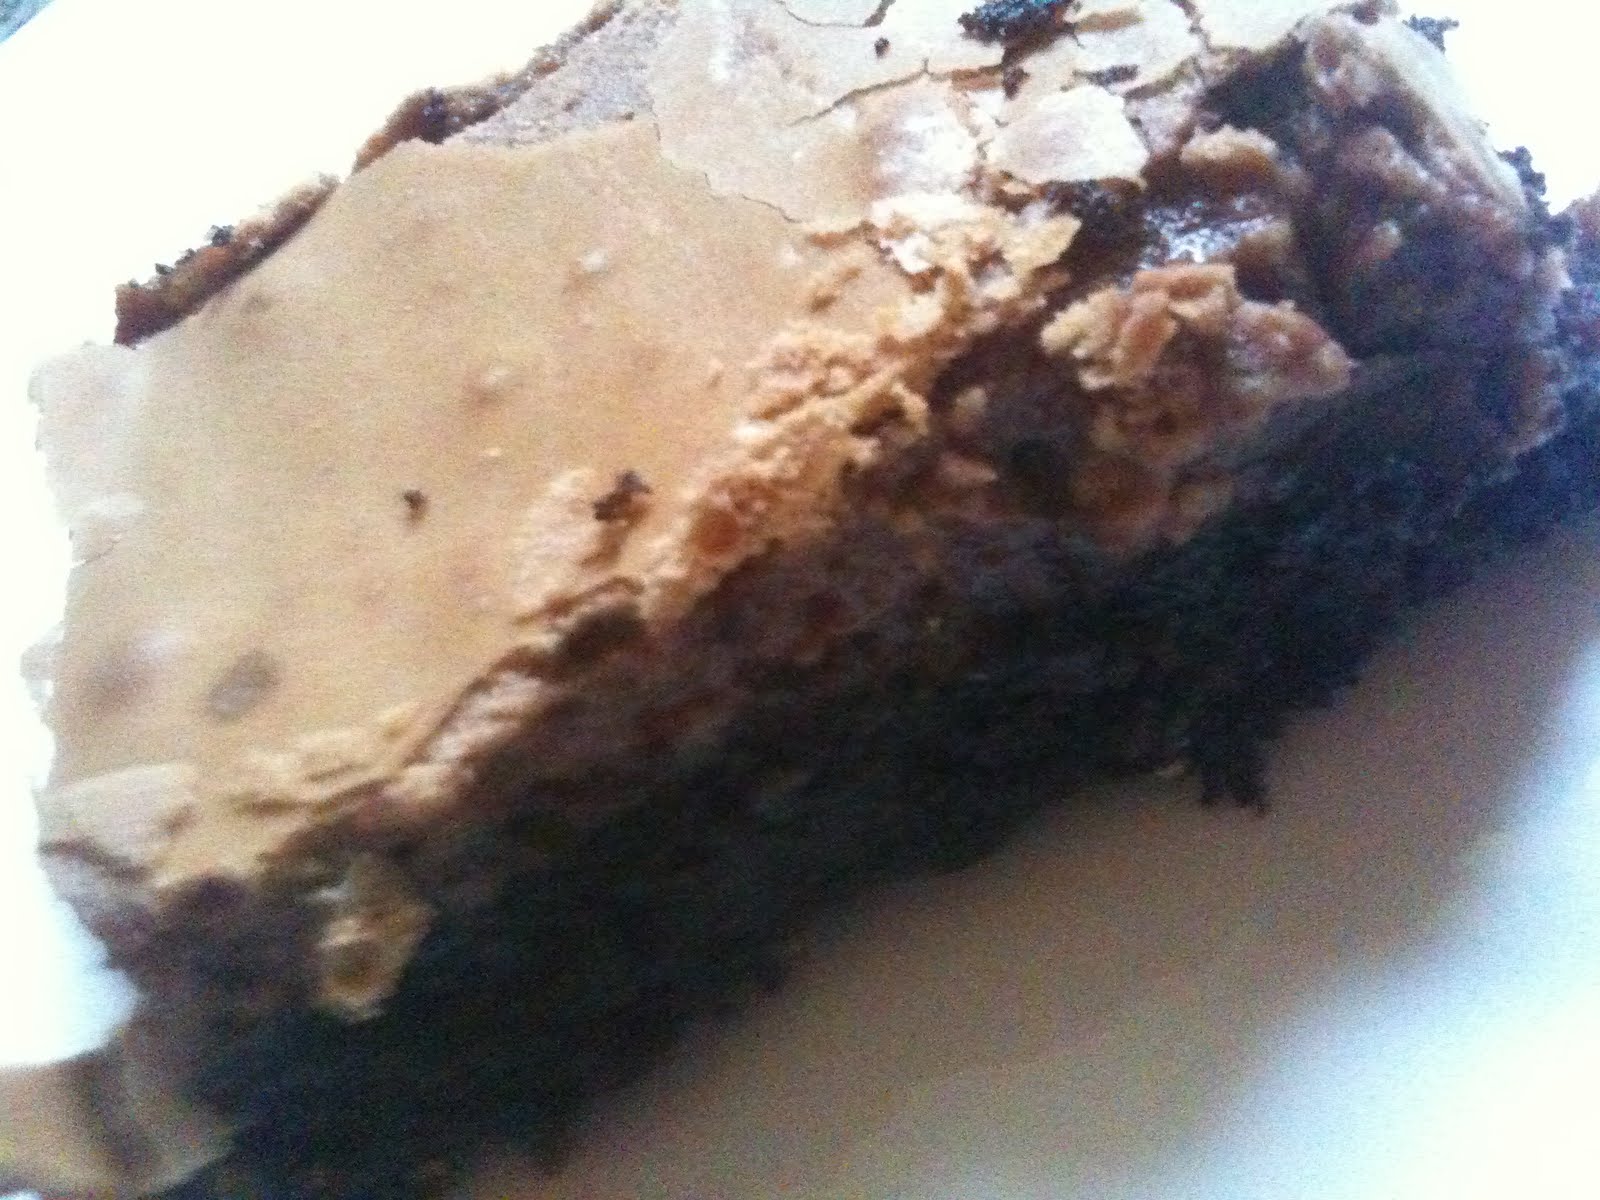
I have to say that when I cut into this, it did not look like Paula’s does.  I think I may have over-beaten the cream cheese mixture.

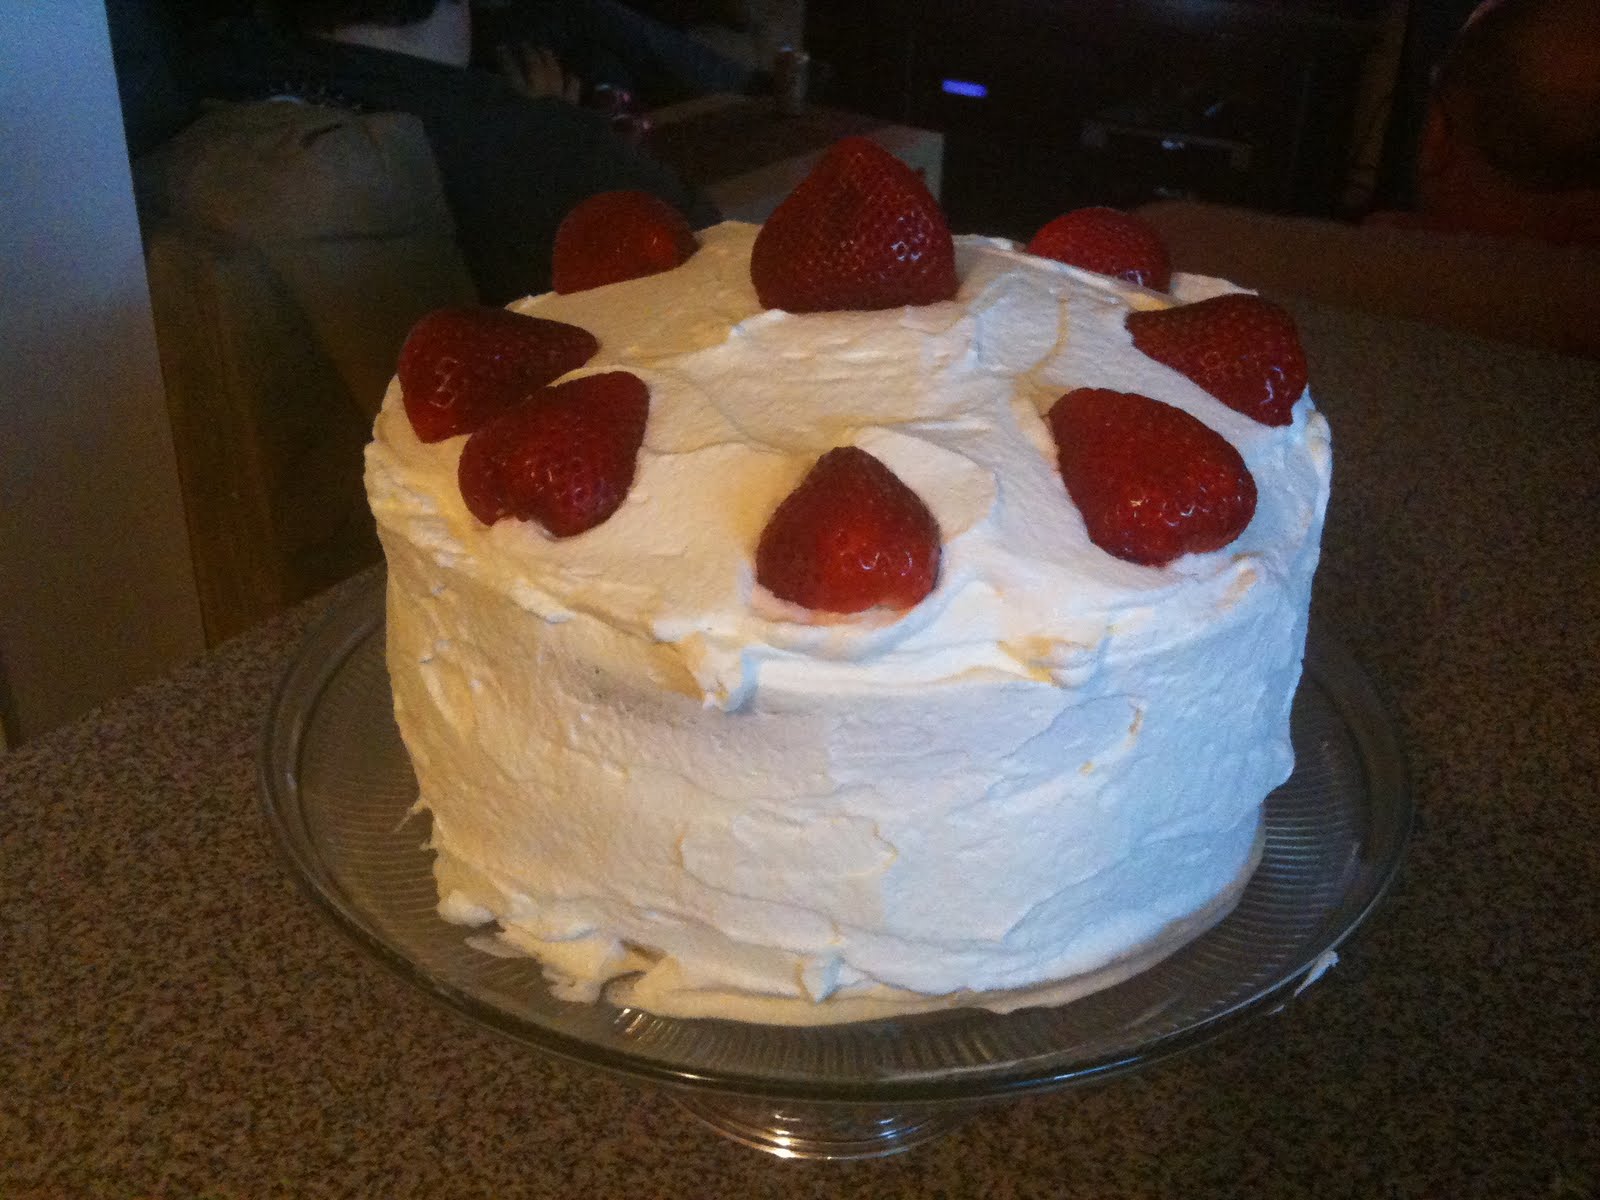
But does that matter when you’re eating it? Um…NO! I served this to my husband, father-in-law, brother-in-law and his fiancee, and the verdict was unanimous:
YUM!
Oh, and Paula Deen is a crazy woman.  But you knew that already.
1 box chocolate cake mix
3 eggs
2 sticks melted butter, divided
1 8 oz package softened cream cheese
4 tablespoons cocoa powder
1 16 oz package powdered sugar
1 tsp vanilla extract
Preheat oven to 350 degrees.  Grease a 9×13 inch pan.
Combine cake mix, one egg and one stick of melted butter, mixing well to fully incorporate.  Pat this mixture on to bottom of cake pan.
Beat cream cheese until smooth.  Add two eggs and cocoa powder and blend.  Lowering speed on mixer, incorporate powdered sugar in stages.  Add second stick of melted butter and vanilla.  Mix well.  Pour mixture on top of bottom layer in pan, spreading evenly.
Bake for 40 – 50 minutes.  Cake should be jiggly on top – hence the gooey part!
Serve with a glass of milk.  Or two. You’ll need it!
Like what you see here? Visit my blog for even more crazy food love! I’d be so happy to see you there!

HAPPY MOTHER’S DAY ~ STRAWBERRY PIZZA & STRAWBERRY CREAM CHEESE PIE ~ SAME BASIC RECIPE 2 WAYS

STRAWBERRY PIZZA
1 package Pillsbury pie dough (or homemade if you have time)

2 eggs
8 ounces cream cheese, softened

3/4 cup sugar + 3-4 tablespoons

1 teaspoon vanilla

1 pound strawberries, cleaned and sliced
whipped cream

  • In a medium mixing bowl sprinkle 3-4 tablespoons of sugar over sliced strawberries and toss. Set aside.
  • Cut out 4 – 5 inch rounds.
  • Bake 10 minutes at 400 degrees.
  • Cool.
  • In a mixing bowl combine cream cheese, eggs, 3/4 cup sugar and vanilla. Beat until well blended.
  • Bake cream cheese mixture 10 minutes until slightly thickened.
  • Spread over “pizza” rounds.
  • Top with spoonfuls of strawberries.
  • Add whipped cream and top with CARAMEL SAUCE and MOCHA HOT FUDGE SAUCE.

RUSTIC STRAWBERRY CREAM CHEESE PIE
1 package Pillsbury pie dough (or homemade if you have time)

2 eggs
8 ounces cream cheese, softened

3/4 cup sugar + 3-4 tablespoons

1 teaspoon vanilla

1 pound strawberries, cleaned and sliced
whipped cream

  • In a medium mixing bowl sprinkle 3-4 tablespoons of sugar over sliced strawberries and toss. Set aside.
  • Fit crust into pie plate, prick bottom in a couple places with fork tines and bake 5 minutes at 400 degrees.
  • In a mixing bowl combine cream cheese, eggs, 3/4 cup sugar and vanilla. Beat until well blended.
  • Pour into pie plate and bake cream cheese mixture 15 minutes until slightly thickened. You will need to lay a piece of foil over top for part of the time to prevent crust from burning.
  • Spread over “pizza” rounds.
  • Top with spoonfuls of strawberries.
  • Add whipped cream and top with CARAMEL SAUCE and MOCHA HOT FUDGE SAUCE.

Cheating Grilled Corn On The Cob

Fire Day Fridays are about cooking something with live fire that anyone else can make on any other type of grill. No Big Green Egg required. No special equipment. Fire Day Fridays are about inspiring and getting people to use their own grills.
It is hard to beat the taste of grilled corn on the cob. The fire roasting brings out the best in the sugary starches hidden in those kernels.

But my favorite way of cooking corn on the cob on the grill is a lot of prep work, requires a long soak and takes at least 30 minutes more of actual cooking time. That makes it impractical if you are trying to serve it with most other grilled main courses unless you have two grills going at once.

So here is a way I tried tonight that makes it easy, you can do all but 5 minutes of it ahead of time, and you can make it early in the season when the only corn you can get at the stupidmarket is partially shucked corn like this.
Cheating Grilled Corn On The Cob

Source: Nibble Me This

4-5 ears corn on the cob, shucked and silks removed
3 TB butter
2 TB spice rub of your choice (I used a southwestern rub tonight, but you could go as simple as chili powder)

Fill a large pot half way with water (I used an 8 qt pot) with water, add 3 TB of kosher salt and bring to a boil. Add corn and boil for 5 minutes. Remove corn to an ice bath.

You can hold the process here for a few hours. Cook whatever main dish you are making on the grill, then once it is resting, finish the corn on the already hot grill as follows.

Melt the butter and whisk in the spice rub. Get your grill to a 350-400f temperature (medium high-high if using a gas grill, depending on your grill). Place the cobs over direct heat.

Brush with the butter/spice mixture.

Check occasionally until the kernels on the bottom start to brown/blacken. This will take about 3 minutes or so. Be patient.

Once it starts to turn, rotate about 1/3rd turn and cook until the next side starts to char. This time, it will probably only be a minute or so.

Turn 1/3rd way again and cook until the final side is slightly charred.

Remove and give one more quick brush of a butter mixture. Serve as the perfect side dish to any grilled meats.

Or in my case, slice off those rich smoky kernels and then use them in a dish like Sweet Tamale Corn Cakes. Or in a great black bean and corn salsa. Or in corn bread. Or in……oh, you get the point.