These light and fluffy streusel tops muffins taste just like French toast in muffin form!
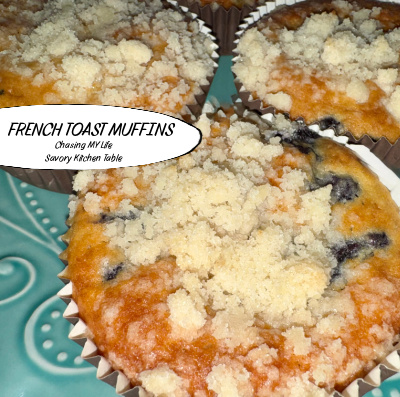
FRENCH TOAST MUFFINS
STREUSEL
½ cup unsalted butter, melted
¾ cup PACKED brown sugar
1 cup AP flour
2 tablespoons QUALITY ground cinnamon
⅛ teaspoon kosher salt
1/2 cup small wild blueberries, optional
- In a bowl, add the melted butter, brown sugar, flour, cinnamon and salt and mix together with a fork until crumbles form. Set aside.
MUFFINS
3 cups all-purpose flour
3 teaspoons baking powder
½ teaspoon baking soda
1 teaspoon cinnamon
½ teaspoon kosher salt
- Preheat the oven to 425°.
- Line a JUMBO muffin tin with liners or grease the wells generously with JOY baking spray.
- In a LARGE mixing bowl whisk together the flour, baking powder, baking soda, cinnamon and salt. Set aside.
⅓ cup unsalted butter melted
½ cup vegetable oil
1 cup granulated sugar
1 tablespoon vanilla extract
2 large eggs room temperature
⅓ cup sour cream room temperature
1 cup whole milk room temperature
- In another bowl, whisk together the melted butter, vegetable oil, sugar, vanilla and eggs until thoroughly combined.
- Add the sour cream and milk and whisk JUST until incorporated.
- Add the wet ingredients to the dry ingredients with a rubber spatula, scraping the sides as you go to combine the two mixtures JUST until combined.
ASSEMBLY
- Fill each muffin cup halfway with batter, then distribute half the streusel on top.
- Top with more batter until the muffin cup is almost full.
- Sprinkle the remaining streusel over each muffin.
- Bake for 25 minutes until cooked through. Adjust timing to less if making regular size muffins.
- Cool in the pan for 5 minutes, then remove to a wire rack to cool for another 5-10 minutes before enjoying.