When I was a little girl Boston Cream Pie was my FAVORITE Sunday dinner dessert and my grandma made it for me regularly until I was about 10 years old and then Sunday dinners as we knew them stopped on a regular basis. Since then I have craved Boston Cream Pie on a regular basis and finally have resurrected her recipe.
According to about.com, Boston Cream Pie is “Not a pie, but not your average cake, Boston Cream Pie is one of the city’s signature recipes. A descendant of pudding-cake pie, the Boston cream pie is considered to be the creation of French chef Sanzian of the Parker House Hotel (now the Omni Parker House). In 1996 the Boston Cream Pie was named the official dessert of Massachusetts.”

CAKE
1 cup sugar
5 tablespoons unsalted butter, softened
1 teaspoon pure vanilla extract
1 JUMBO egg
1 1/4 cup cake flour
1 1/2 teaspoon baking powder
1/4 teaspoon salt
3/4 cup whole milk
- Preheat oven to 350°F. Butter and flour a 9 1/2-inch springform baking pan. I use a square one to make pieces easier to cut.
- Combine the butter, sugar, and vanilla in a bowl. Cream together using an electric mixer until the mixture is light and fluffy. Add the eggs one at a time, beating thoroughly after each one.
- In a separate bowl, sift together the flour, baking powder, cream of tartar and salt. Combine with the creamed mixture and add the milk.
- Pour batter into the prepared pan*. Bake in the middle of the oven for 50 to 60 minutes, or until a toothpick comes out clean. Remove from oven and let the cake cool in the pan on a wire rack.
CUSTARD**
1/3 cup sugar
scant 3 tablespoons cornstarch
1 1/2 cup whole milk
3 JUMBO egg yolks
1/2 cup heavy cream
1/4 teaspoon salt
2 teaspoons pure vanilla extract
3 tablespoons unsalted butter
- Combine the cornstarch, sugar, milk, eggs, cream, vanilla extract, and salt in a saucepan. Whisk until smooth.
- Bring the custard to a boil over moderate heat, whisking constantly. Continuing to whisk, let the custard boil for two minutes.
- Remove from heat, and whisk in the butter. Set custard aside to cool, continuing to whisk occasionally.
GLAZE
2 ounces semi-sweet chocolate
3 tablespoons unsalted butter
1 cup powdered sugar
3/4 teaspoon vanilla
2 tablespoons hot water
- Pour batter into the prepared pan*. Bake in the middle of the oven for 50 to 60 minutes, or until a toothpick comes out clean. Remove from oven and let the cake cool in the pan on a wire rack.
- In a double boiler, melt together the chocolate and butter until smooth. remove from heat and stir in powdered sugar and vanilla. Stir in hot water 1 teaspoon at a time until desired consistency.
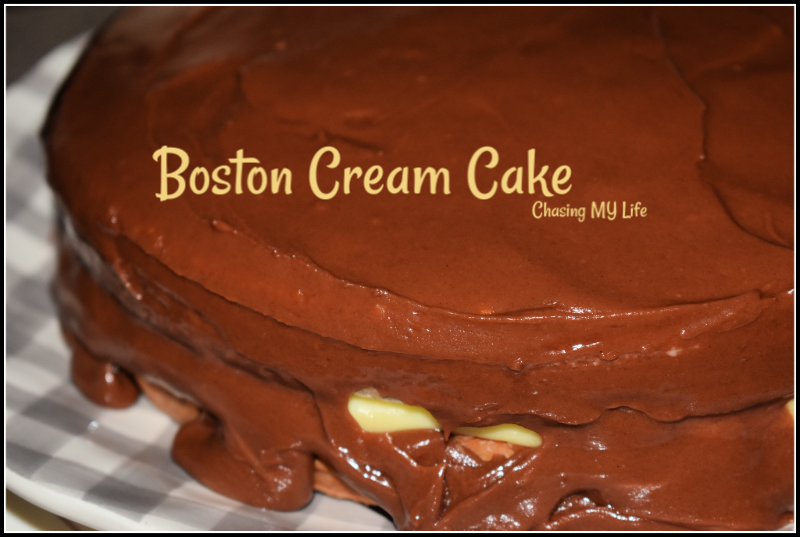
BUILDING THE PERFECT PIE
- Remove the cake from the pan and cut it in half horizontally with a long serrated knife.
- Place one half of the cake on a plate with the cut side facing up.
- Top with custard.
- Place the other half of the cake on top, with the cut side down.
- Coat the top of the cake with glaze allowing it to drip down the sides.
NOTE 1*: I like to use my square spring form pan for a couple of reasons; it make cutting pieces a lot easier since the slices when it is cut as a pie tend to try and fall over and my serving plate is rectangular in shape.
NOTE 2**: The traditional custard substitutes in this recipe for a pineapple custard which is what we like to do.
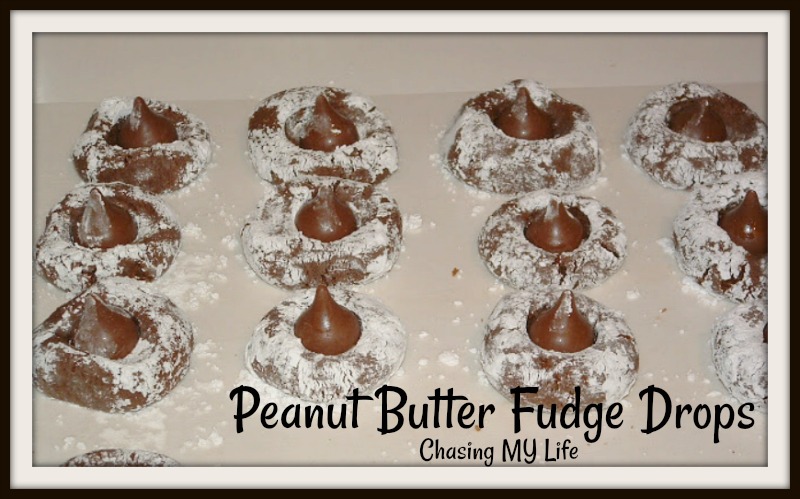 PEANUT BUTTER FUDGE DROPS

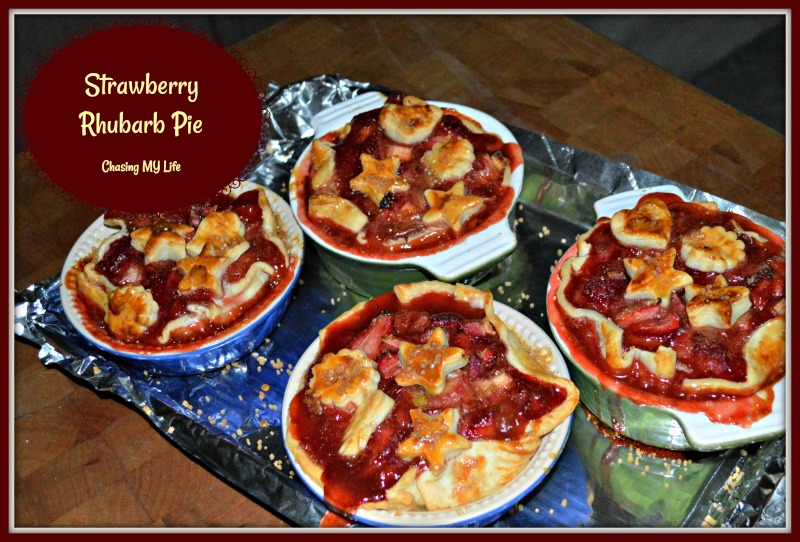
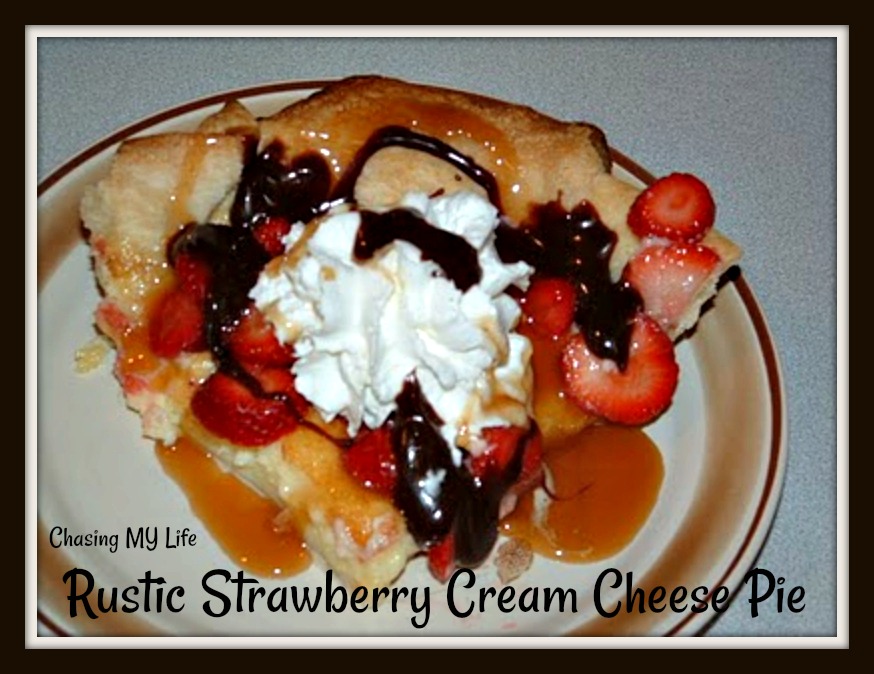 RUSTIC STRAWBERRY CREAM CHEESE PIE
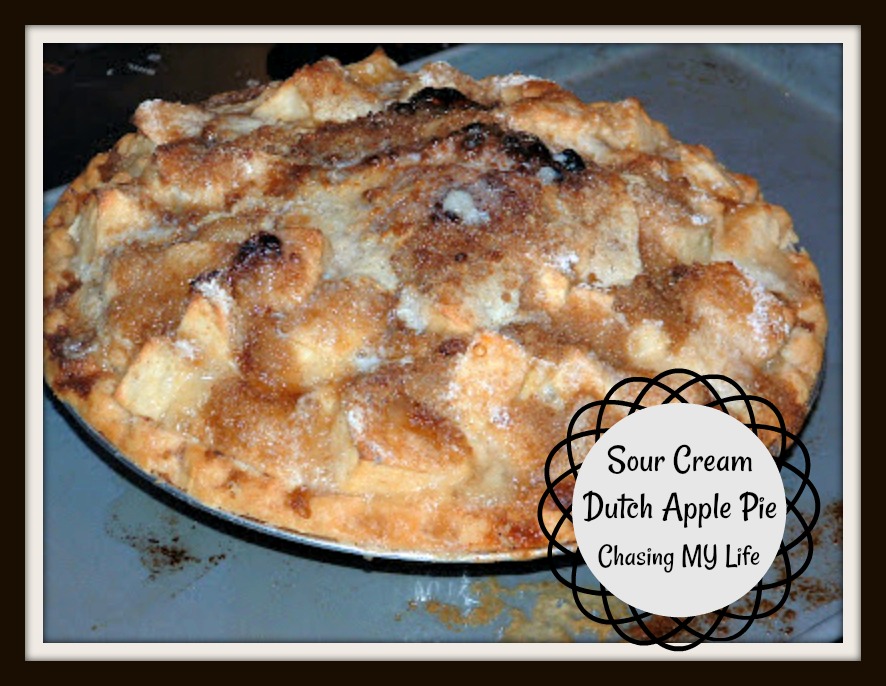 SOUR CREAM DUTCH APPLE PIE