GRANDMA’S STREUSEL COFFEECAKE
2 + 1/3 cups flour
2 teaspoons baking powder
1/2 teaspoon baking soda
1/4 + 1/4 teaspoon salt
1/4 + 1/4 teaspoon cinnamon
1/4 teaspoon nutmeg
1/4 + 2/3 cups sugar
1/2 cup packed brown sugar
1 teaspoon grated orange peel
6 + 6 tablespoons butter, room temperature
2 JUMBO eggs, room temperature
1 teaspoon pure vanilla
1/2 cup milk
1 teaspoon vinegar
1/2 cup finely chopped walnuts
2 cups blueberries
- Preheat oven to 350 degrees.
- Sift together the 2 cups flour, 1/4 teaspoon salt, 2/3 cup sugar, baking powder, baking soda, 1/4 teaspoon cinnamon, nutmeg and orange peel in a large mixing bowl.
- Whisk together the eggs, 6 tablespoons butter, buttermilk and vanilla.
- Gently fold in the blueberries.
- Pour liquid mix into flour mixture and beat until smooth with a hand mixer.
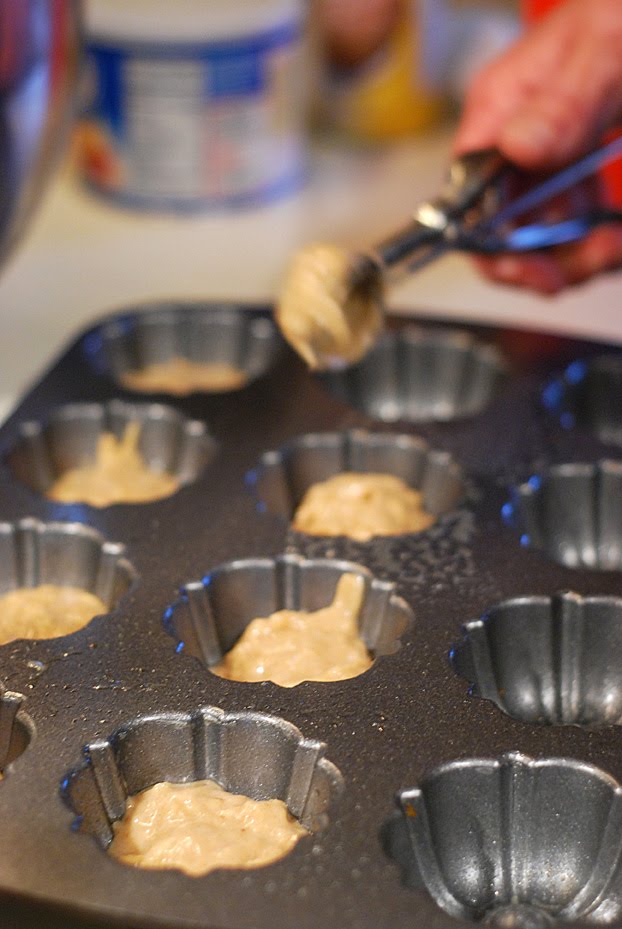
- Pour into a prepared 9×9 pan.
- In a small food processor process all the remaining ingredients except the walnuts until smooth.
- Using your hands form small flat pancakes with the mixture and scatter over cake batter until well covered.
- Poke a few holes down into the cake for the streusel to run into or run a knife through creating a swirl.
- Scatter walnuts evenly over top.
- Bake 1 hour.
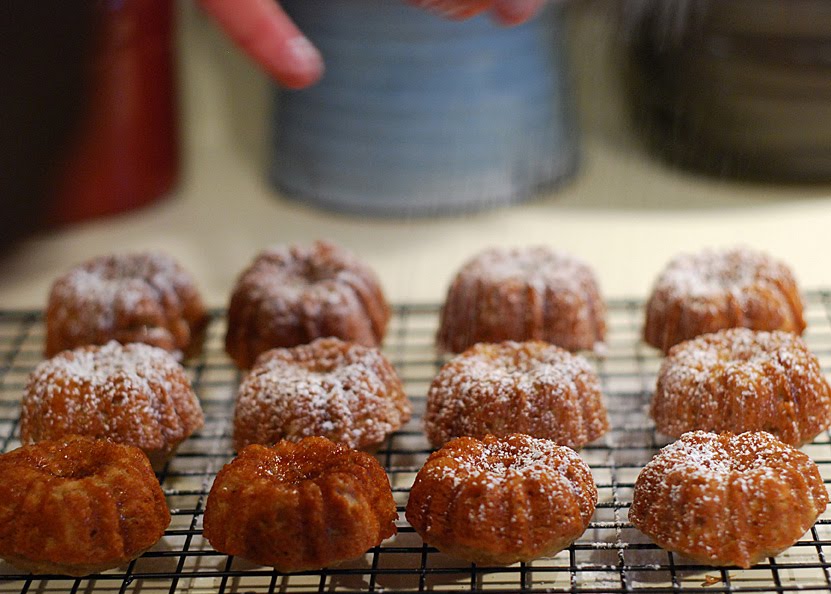
- Serve warm with a dab of butter melting on top of each piece.