


Category: MISC
ICE SKATING IS COMING UP SOON

HOLIDAYS

PIONEER CHURCH

STEWED TOMATO CASSEROLE
In my mind I have this vision of a dish grams made with okra, stewed tomatoes and toast. I wanted to recreate it. It doesn’t appear to have been written down anywhere. I’m sure she used stale white bread too, but since I can’t find a copy anywhere, I’m writing my own version. Do you know how hard it is to find okra here in the west?

1 can stewed tomatoes
3 cloves garlic, minced
1 small shallot, sliced thin
1 handful snap peas
1/3 cup shredded mozzarella cheese
salt and pepper
bread
butter

- Preheat oven to 375 degrees.
- Spray casserole dish with PURE.
- Layer shallots on bottom, then sugar snap peas and garlic.
- Pour stewed tomatoes over top.
- Generously salt and pepper.
- Sprinkle cheese even;y over the tomatoes.
- Butter both sides of the bread and cut into chunks.
- Layer the chunks of bread randomly on top of cheese.
- Bake uncovered for 30 minutes.
The best thing about the leftovers is you can top it all over again with cheese and toast pieces and it tastes just like the first time!


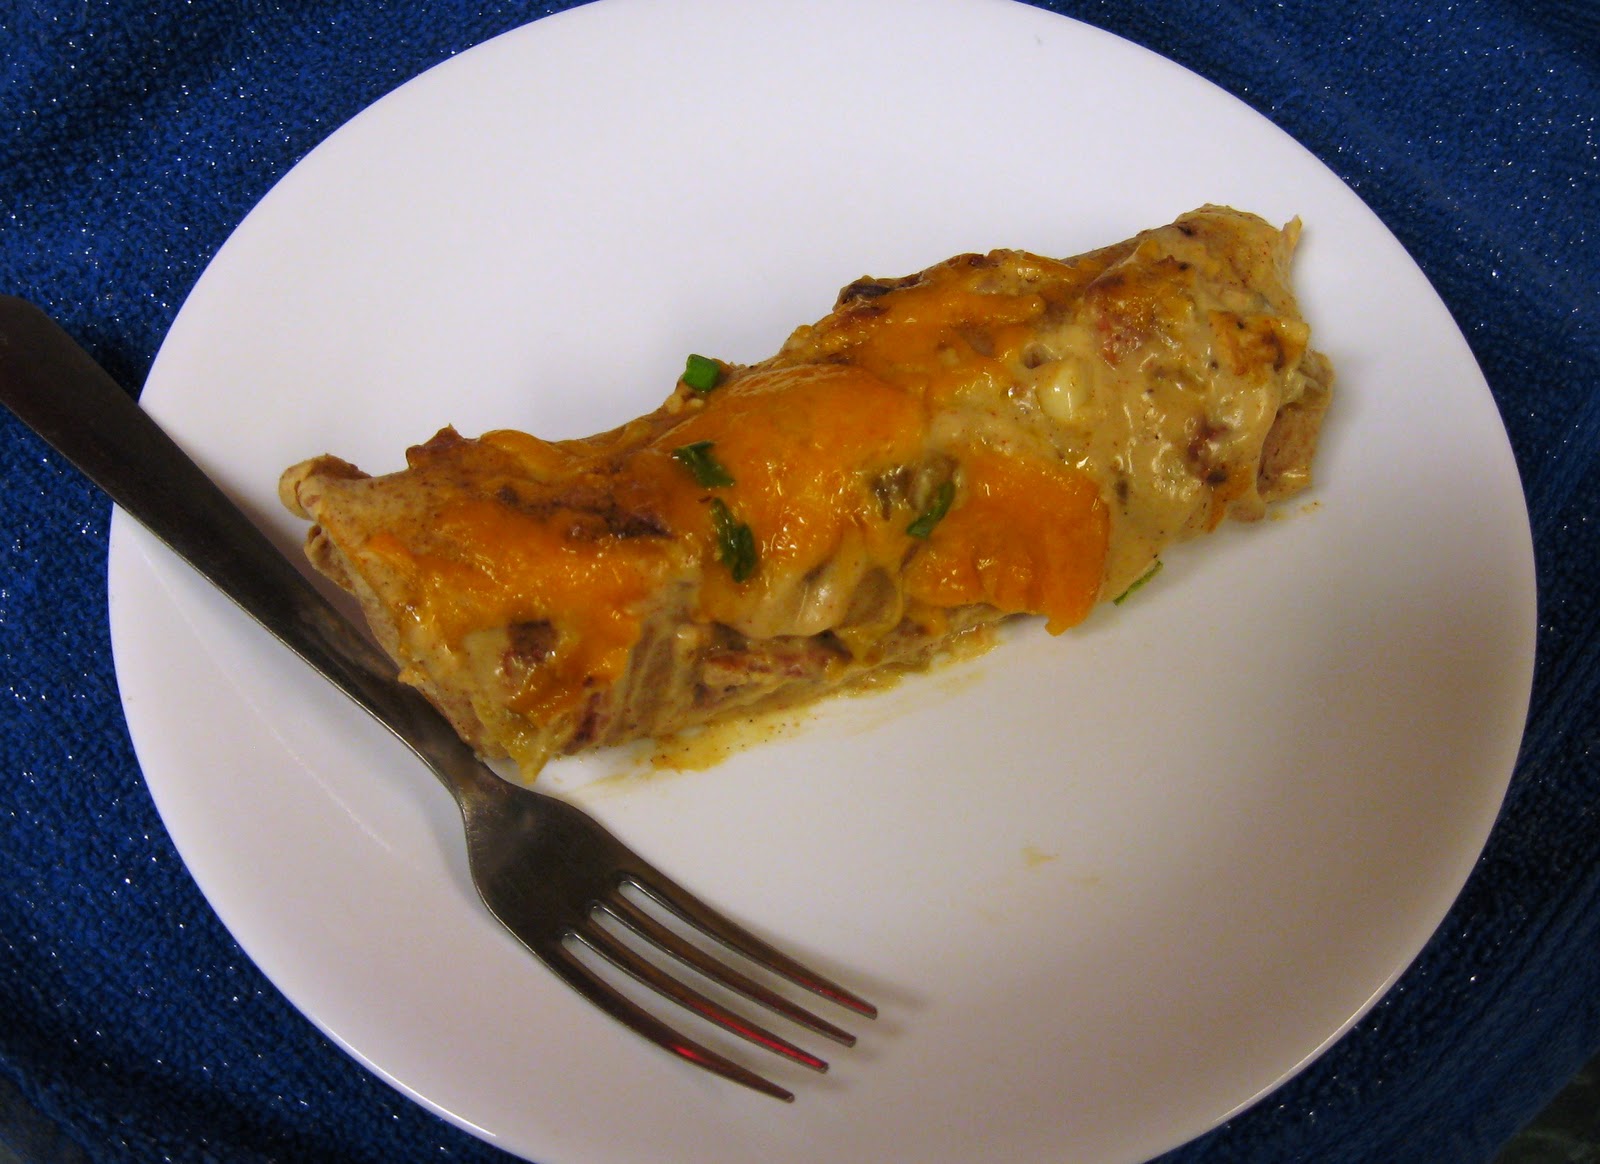
TURKEY BACON ENCHILADAS

Need something to do with those turkey leftovers?

I love this time of year. All the super cheap turkeys around. I’ll cook one up just to shred it for meals like this! Enchiladas, soups, casseroles, potpies…tons of things to do with shredded turkey!

…and of course the bacon makes it better!!
Smokey Bacon Enchiladas Recipe Adapted from Meg’s Cooking Corner
Filling:
1 large yellow onion, thinly sliced
4 cloves garlic; minced
5 cups cooked chicken breast; shredded
1 tsp chili powder
1 tsp ground cumin
3 oz. shredded cheddar cheese
salt and pepper to taste
15 – 100 calorie whole wheat flour tortillas
1 large yellow onion, thinly sliced
4 cloves garlic; minced
5 cups cooked chicken breast; shredded
1 tsp chili powder
1 tsp ground cumin
3 oz. shredded cheddar cheese
salt and pepper to taste
15 – 100 calorie whole wheat flour tortillas
Sauce:
1 can condensed cream of chicken soup
1 1/4 cup sour cream
1 (4 oz) can diced green chilies
3 cloves garlic; minced
1/2 cup cooked crumbled bacon
1 1/2 tsp chili powder
1 tsp cumin
salt and pepper to taste
Topping:
5 oz. shredded cheddar cheese
1 green onion, finely chopped
Preheat oven to 350,
In a medium sized bowl combine all sauce ingredients and stir to mix well. Set aside.
In a pan sprayed with cooking spray, add onions and cook until onions are soft. Add garlic and cook for a couple more minutes. Remove to a large mixing bowl. To the onions, add chicken, chili powder, cumin, salt and pepper, shredded cheese and 3/4 cup of the prepared sauce. Stir to mix.
Spoon 3/4 cup of the sauce into the bottom of the 9 x13 baking pan and spread evenly. Warm tortillas slightly until they are soft and flexible. Spoon 1/2 cup of the chicken filling down the center of each tortilla. Fold in the ends and roll up the tortillas. Place seam side down in the Dutch oven or baking pan. Spoon the remaining sauce over the top and top with cheddar cheese and green onions.
Bake in 350 oven for 30 minutes or until hot and cheese is bubbly.
We put 10 enchiladas in a 9 x 13 pan and then 5 of them in an 8 x 8 pan and froze the small pan.
Total calories = 4500
15 servings = 300 calories per enchilada
2 Bacon Enchiladas = 600 calorie dinner

FIRST SNOW

ONE BIG BEAVER DAM

SMILING ROCK

HOMEMADE TACO SEASONING
Taste and Create was started as a food event by Nicole from For the Love of Food. The whole purpose of Taste and Create was, and has been, and continues to be to create a community of bloggers who test each others’ recipes and share links. The participants of the event are paired together and try a new recipe from one another’s blog.

This month I was paired with Jennifer from FOR SUCH A TIME AS THIS. I love being paired with someone I’ve never been paired with before I inevitably learn sooooooo much, and find great new recipes. I chose her TACO SEASONING recipe. I chose it because I too am always looking for the perfect homemade seasonings.
She’s right it works great for chicken, beef, pork–whatever you are trying to spice up for Mexican night!
I’m ditching my old go to recipe and using this from now on!

Jennifer’s Recipe
Homemade Taco Seasoning Mix
1 tablespoon of chili powder
2 teaspoons of onion powder
1 teaspoon cumin
1 teaspoon of garlic powder
1 teaspoon of paprika
1 teaspoon of oregano
1 teaspoon of sugar
1 teaspoon of salt
1 tsp cornstarch
3/4 cup water
1 tablespoon of chili powder
2 teaspoons of onion powder
1 teaspoon cumin
1 teaspoon of garlic powder
1 teaspoon of paprika
1 teaspoon of oregano
1 teaspoon of sugar
1 teaspoon of salt
1 tsp cornstarch
3/4 cup water
- Mix all the dry ingredients together and use with your taco meat.
- Pour the water in the pan and cook just like you would for tacos.
- The amount above is the same amount that is in one packet of taco seasoning mix at the store.
LIFE LESSON

CHRISTMAS DECORATING

I’ve been wondering about the upside down Christmas trees and decided to search and see what I could find out. While I found several places offering background on the upside down tree, one was particularly helpful, ChristmasCarnivals.com which also has many other links for Christmas history to check out too.
“Christmas is associated with many traditions, of which the Christmas Tree is an inherent part. The history of the upside down Christmas Tree has its roots in the 7th century. It is during this period that St. Bonafice journeyed from Devonshire, England to Germany to preach the message of God. He engaged himself in religious as well as social work and spent a lot of his time in Thuringia, a town located in Germany itself, which is the birthplace of the industry dealing with Christmas Decorations.
It is believed that St Boniface, while staying in Thuringia, took the help of the triangular fir tree to represent the Holy Trinity made up of God the Father, God the Son and God the Holy Spirit. As a result, the converted people started to [consider] the Fir tree as God’s Tree. Then St Bonafice, using this triangular shaped tree tried to introduce to the pagan tribes the paragons of Trinity.
By the 12th century, it became a custom, especially in Europe to hang the Fir trees upside down from the ceilings to symbolize the Holy Trinity. The Upside down Christmas Trees was also considered the symbol of Christianity. However, the real history behind the hanging of the upside down Trees remains vague. Presently the trend of hanging a Christmas Tree has changed, because nowadays the tip of the Christmas Tree is made to point towards Heaven, as many think that an upside down Christmas tree is a sign of contempt.”
******************************************