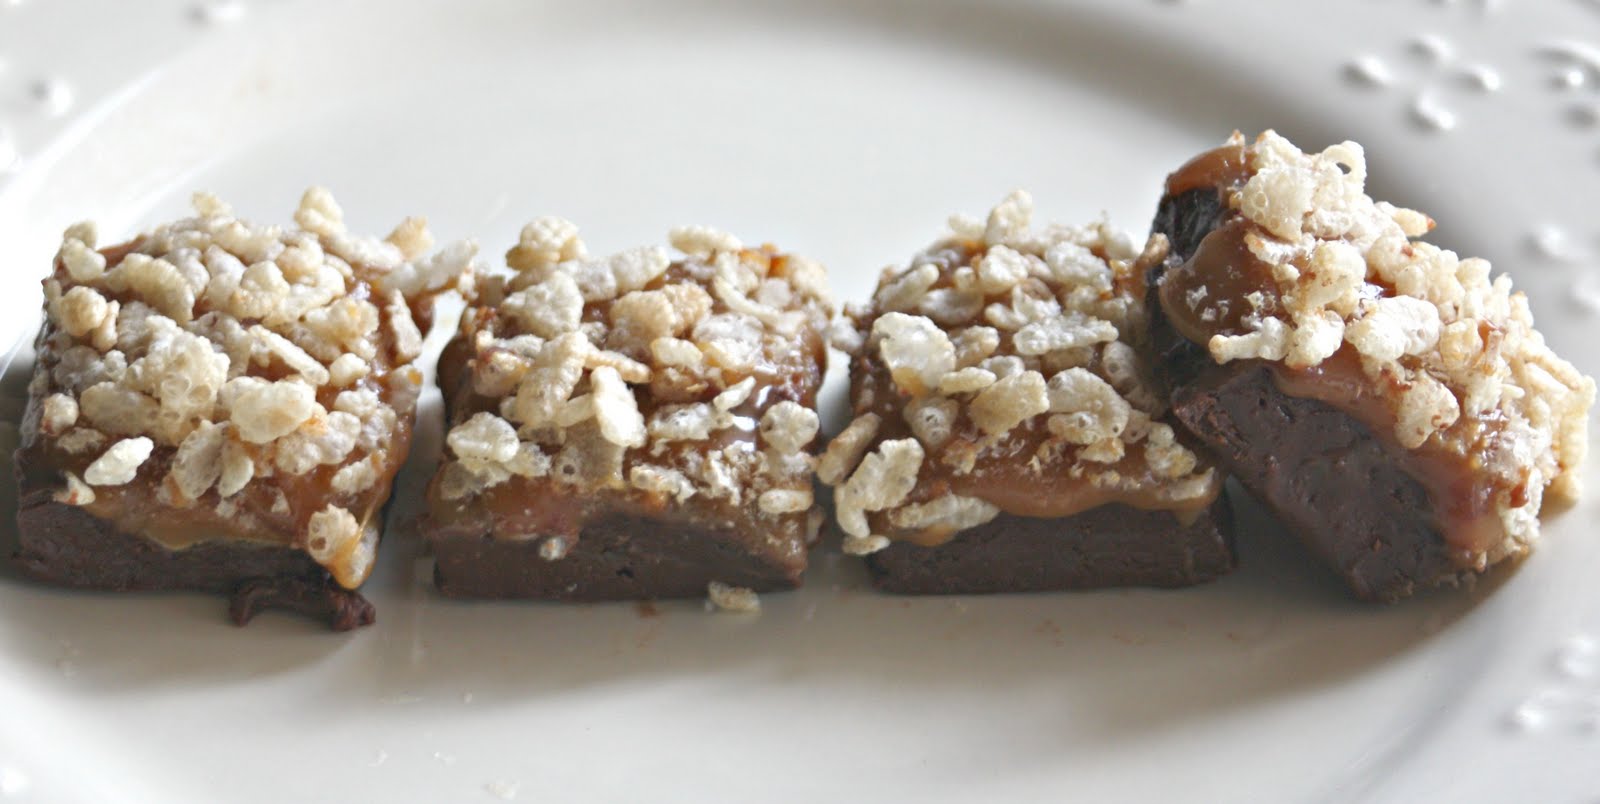
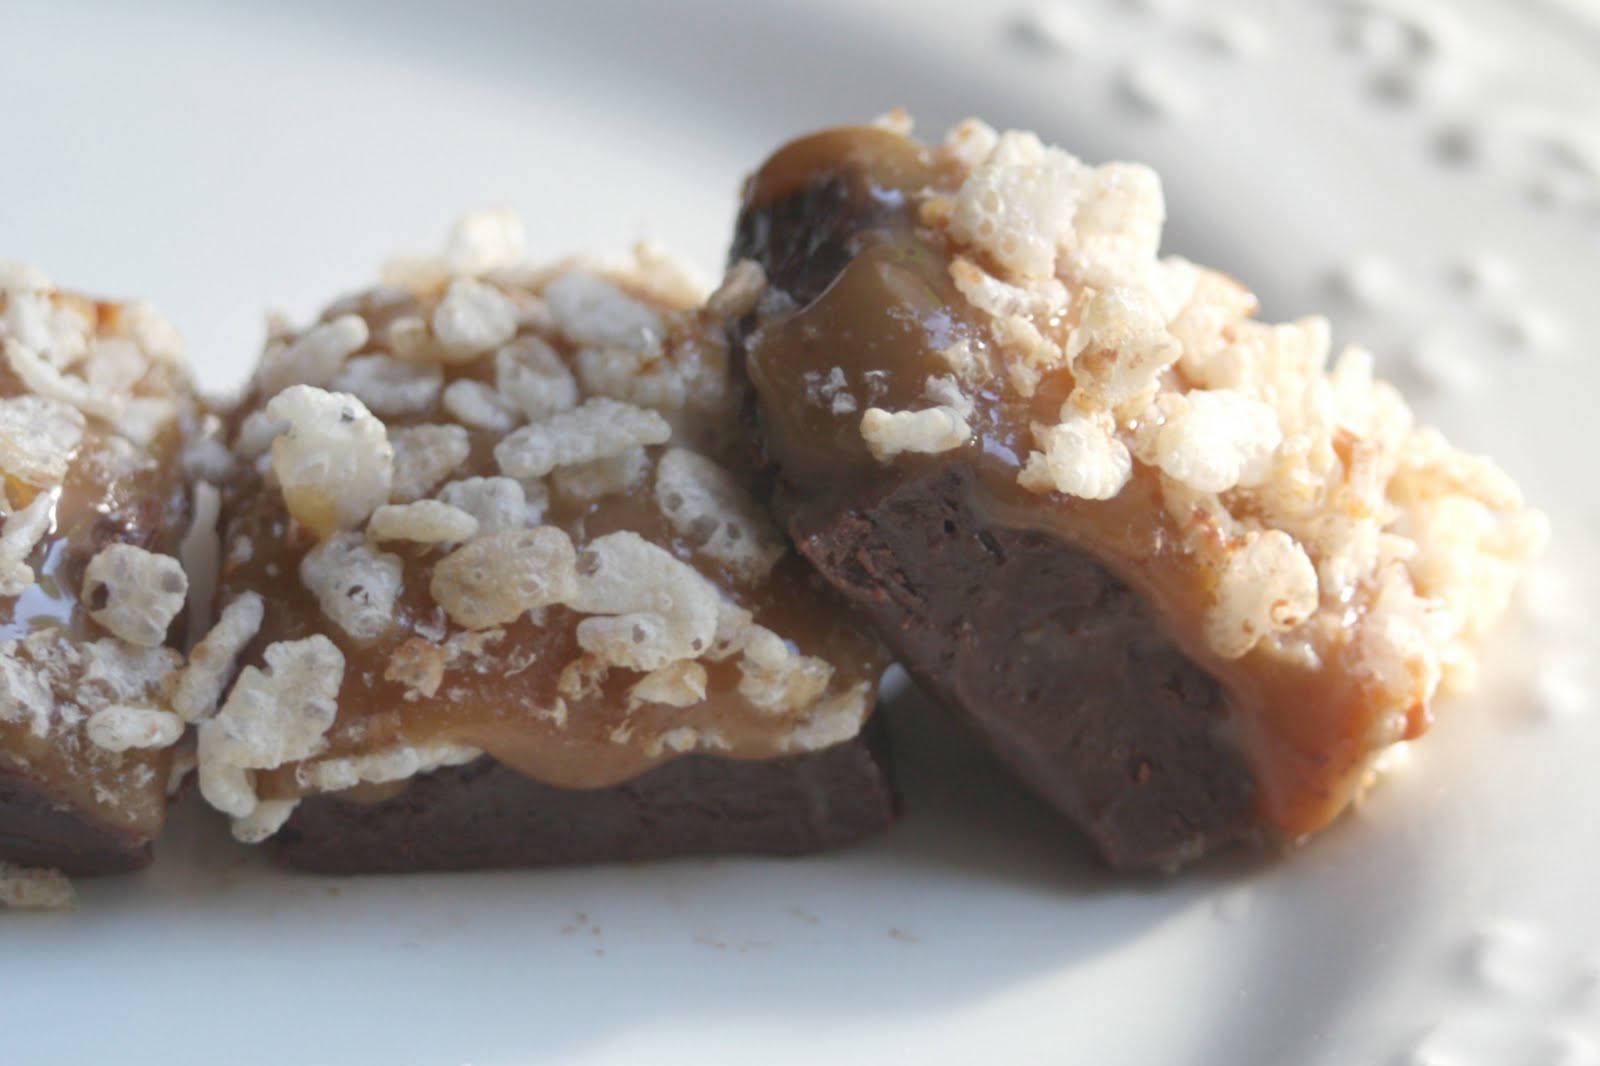
Grand Fudge
It’s Monday and time to share one of my favorite things with y’all.
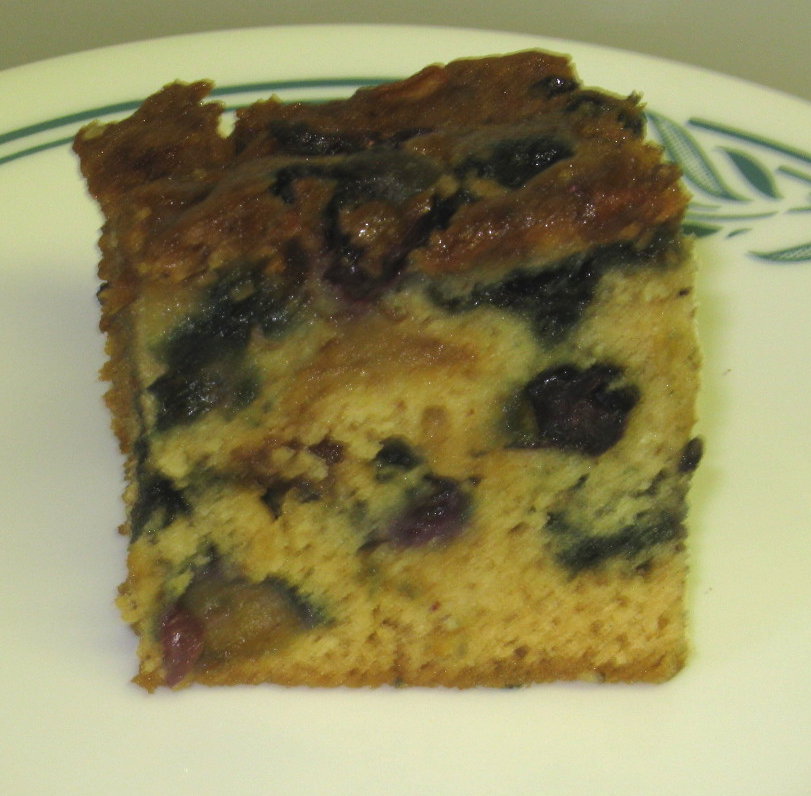
This takes a little time due to the fact that the fudge layer and caramel layer need time to set but it’s so worth it! I used one of my preferred chocolate fudge recipes that I knew would set. Over the years I’ve made countless batches of fudge and this one (it’s Carnation’s) never gives me any problems.
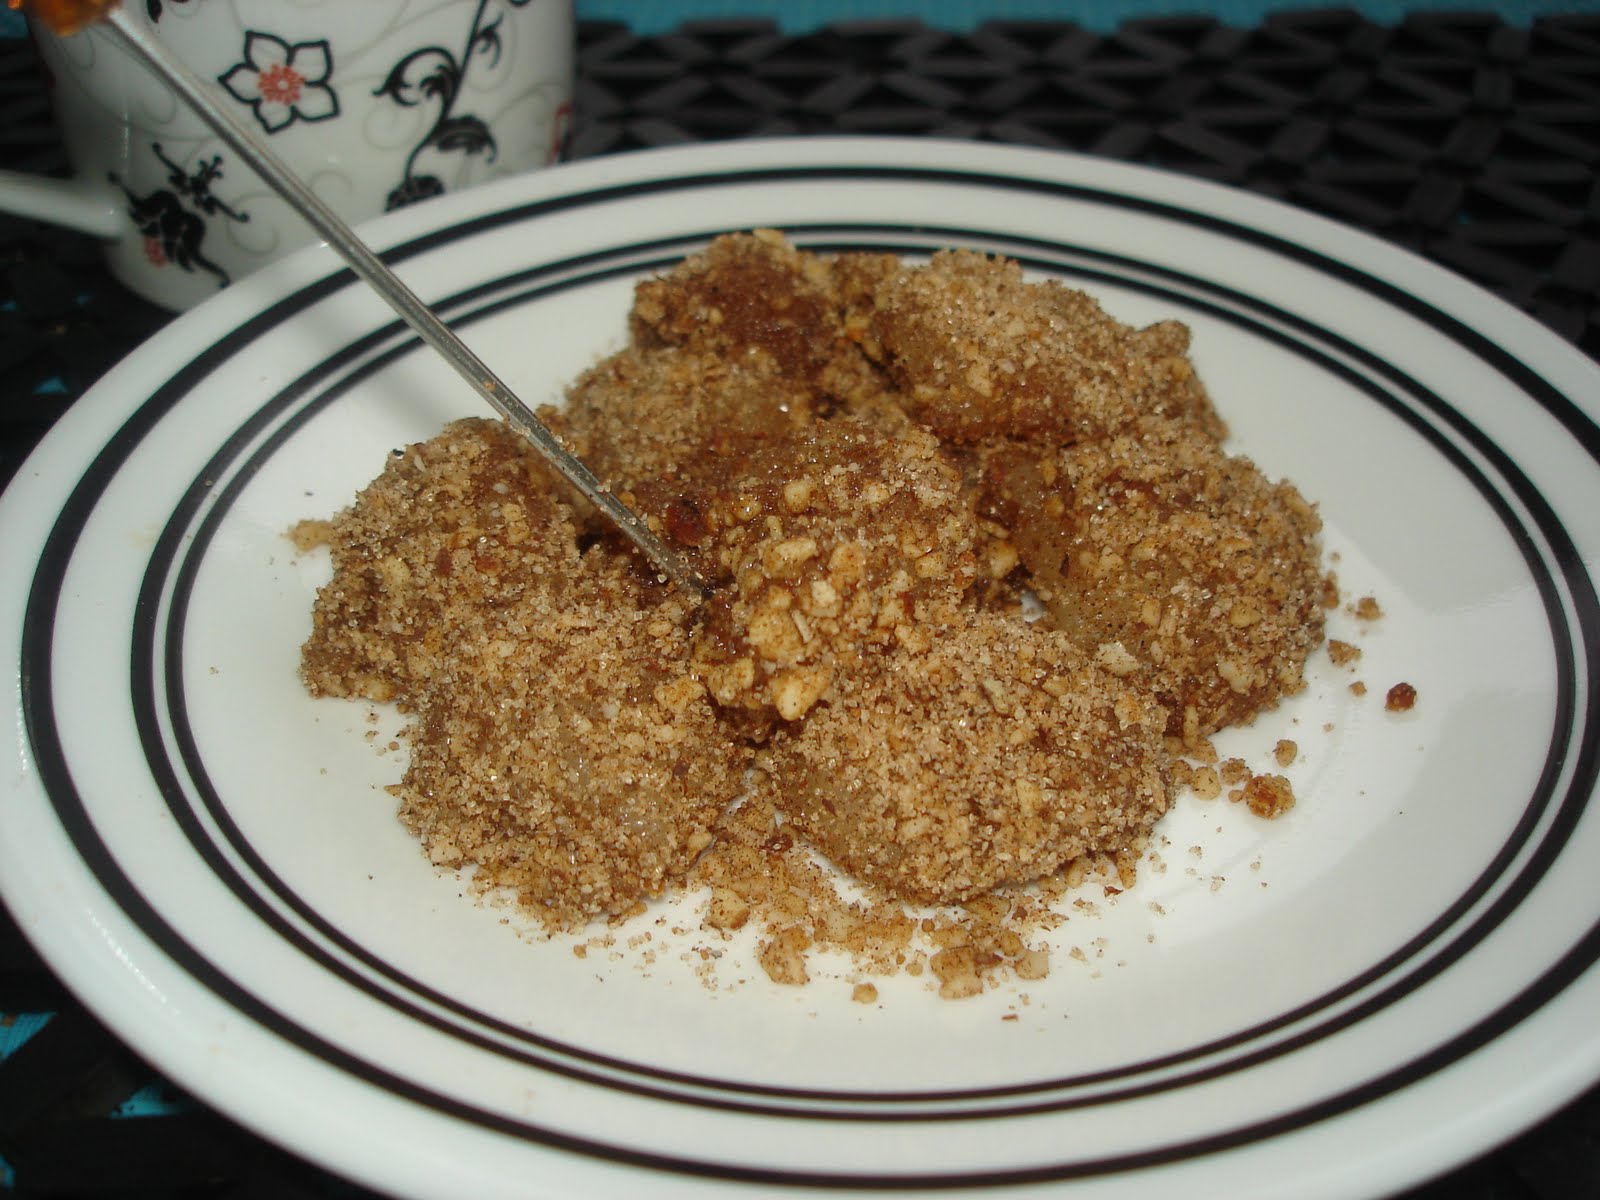
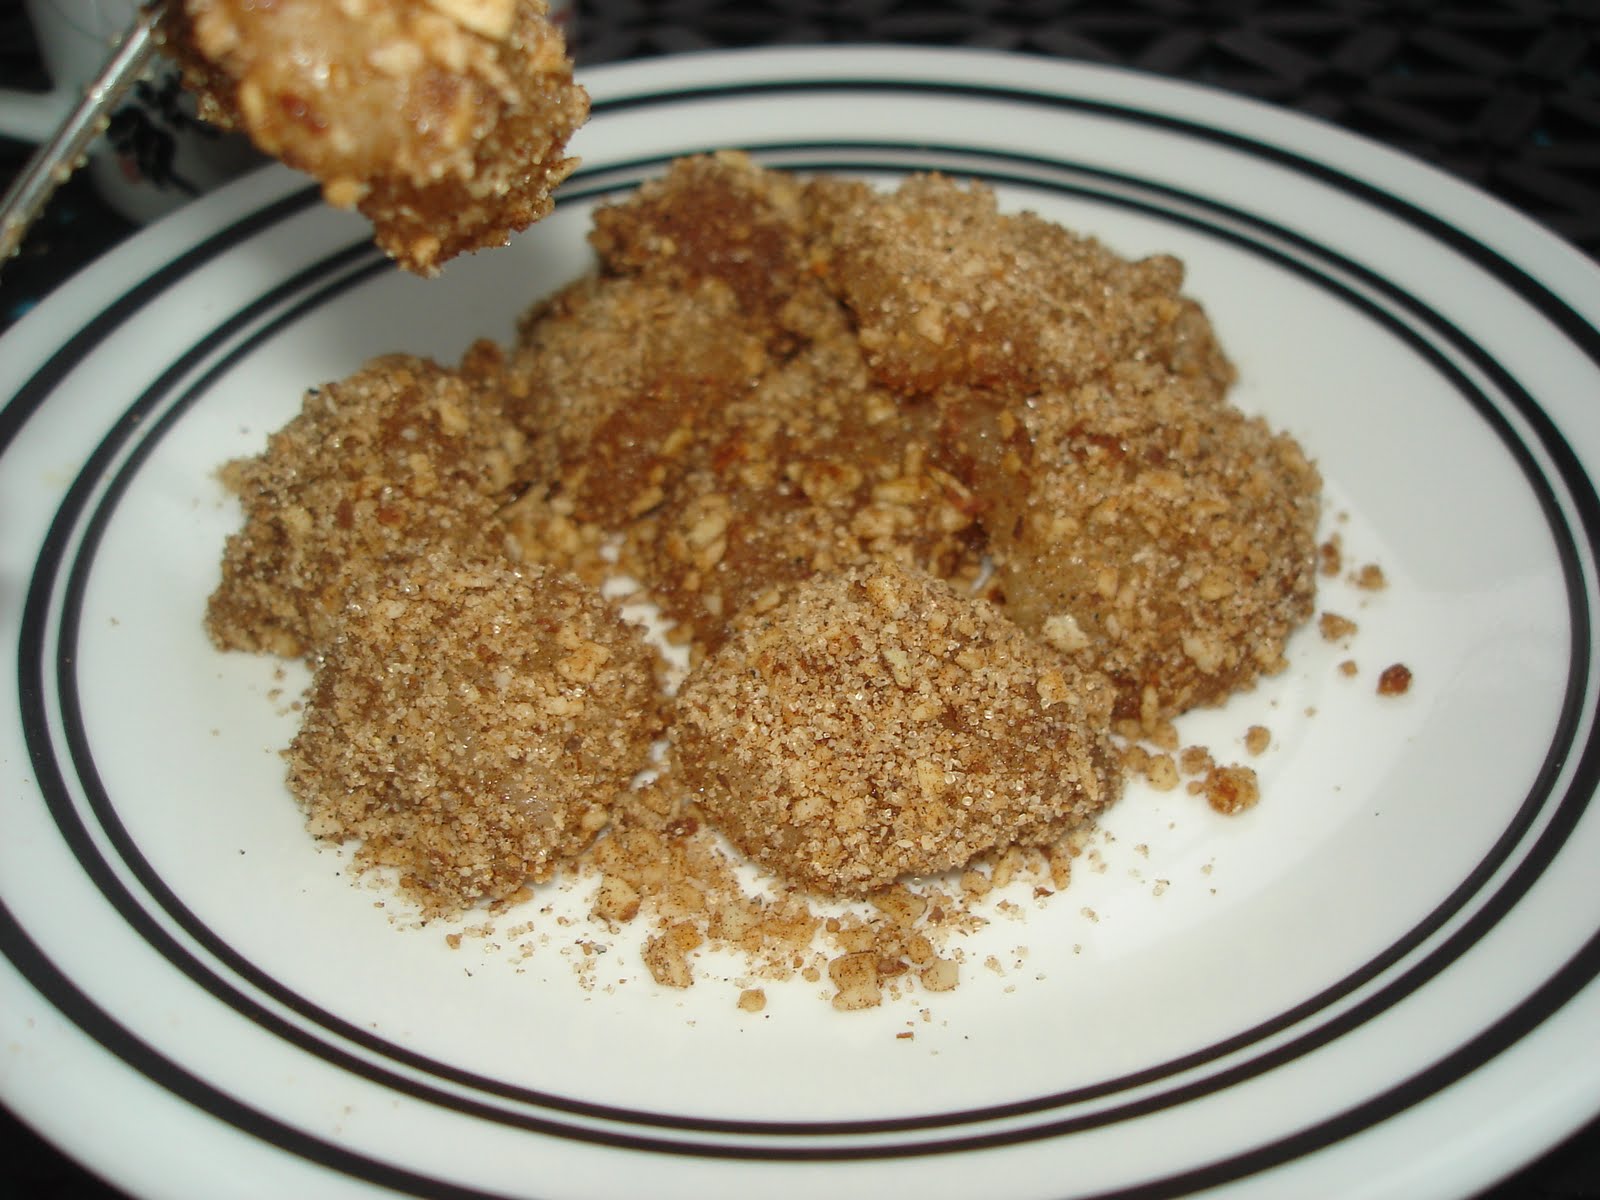
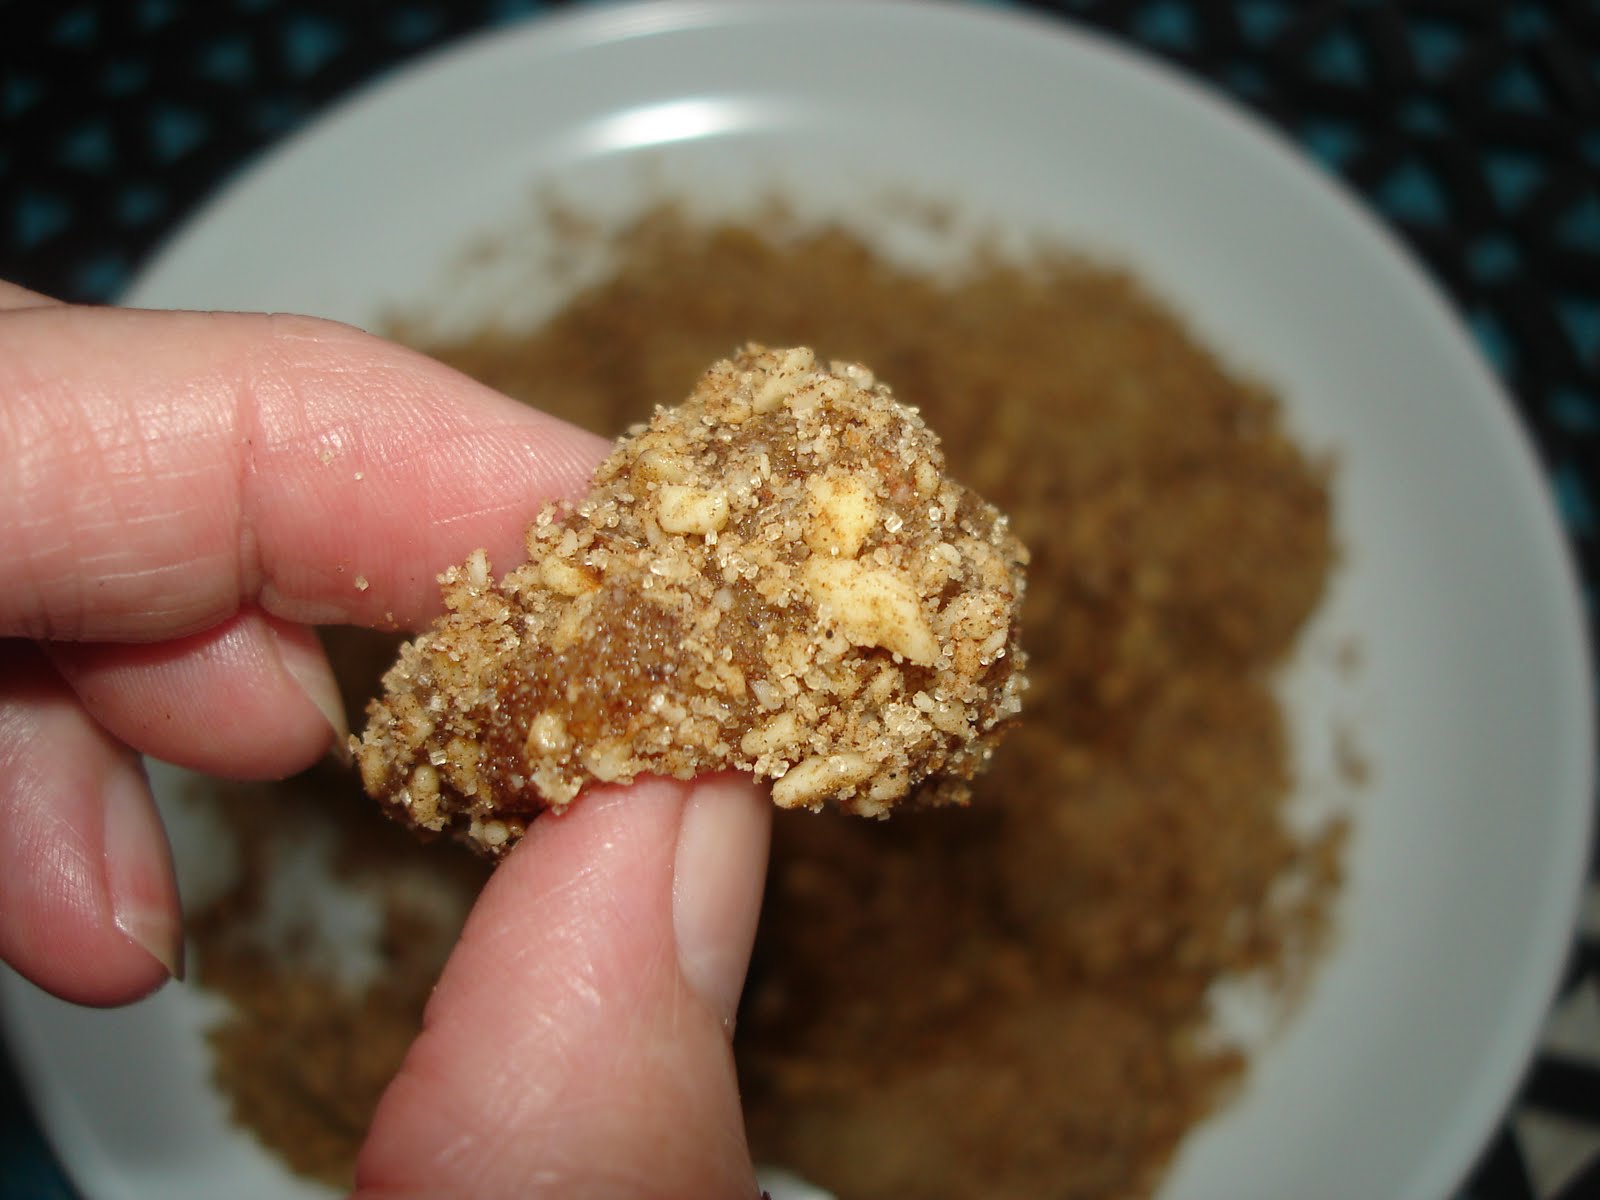
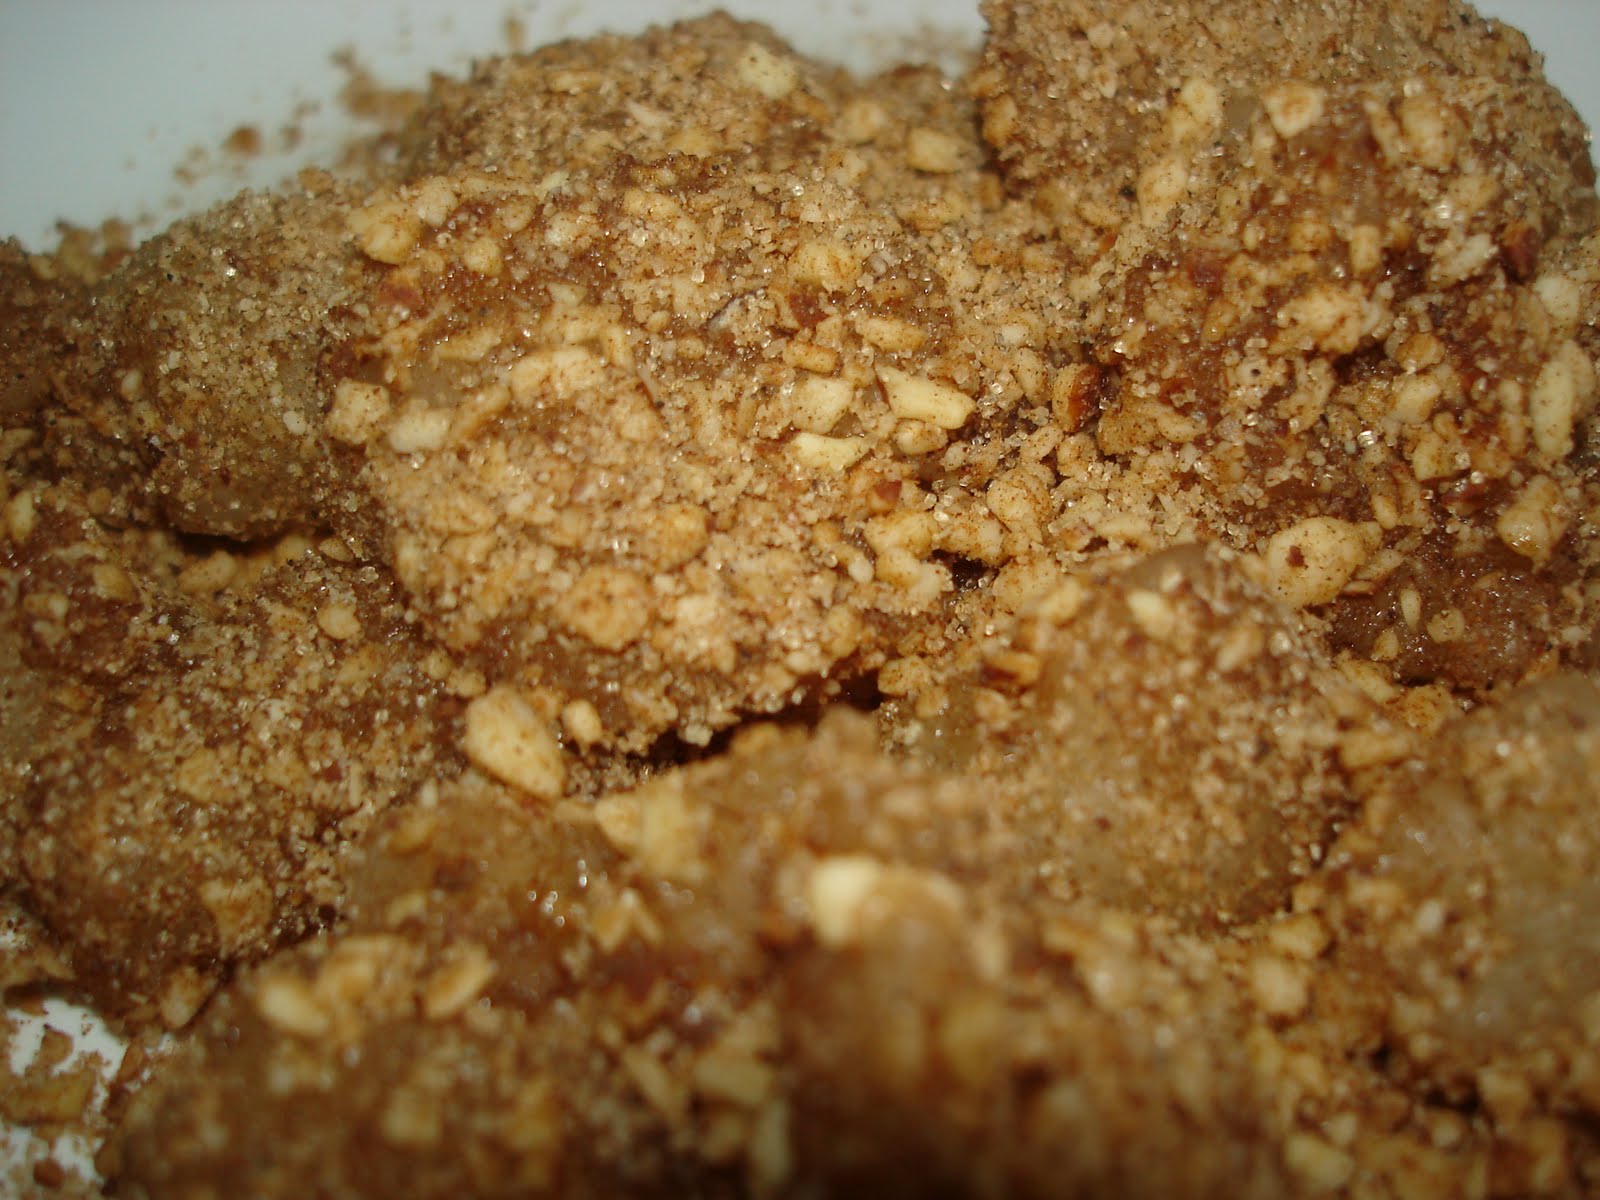
I love the rice krispie layer. It doesn’t really add any flavor but gives this rich caramel fudge a little crunch!
Grand Fudge
1 1/2 cups white sugar
5 ounce can evaporated milk
2 tablespoons butter
1/4 teaspoon salt
2 cups miniature marshmallows
1 1/2 cups chocolate chips (I used semi-sweet)
1 teaspoon vanilla extract
1 (14 ounce) bag caramels–wrappers removed
1 tablespoon milk
1 1/2-2 cups rice krispie cereal
- Line a 8 x 8 pan with foil or wax paper.
- Combine butter, sugar, salt, and evaporated milk in a large heavy saucepan. Bring to a full rolling boil, continue to boil for 5 minutes, stirring constantly.
- Stir in marshmallows, chocolate chips, and vanilla extract. Continue stirring until well combined and marshmallows are completely melted.
- Pour into prepared pan, refrigerate for at least an hour, or until almost set.
- In a double boiler combine caramels and milk, heat over medium heat until caramels are melted, stirring occasionally.
- Once caramels are melted pour over semi set fudge.
- Sprinkle rice cereal over caramel and pat down slightly.
- Cover tightly with foil or plastic wrap.
- Refrigerate for at least 2 hours to allow caramel layer to firm.
- Once fudge is set, remove from the pan, remove foil or plastic wrap, and cut into pieces.
- Store in an airtight container in the refrigerator.
- Enjoy!!
Please come by and visit me at www.paperplatesandchina.blogspot.com

Please come by and visit me at www.paperplatesandchina.blogspot.com