BUILD YOUR OWN PUMPKIN FAMILY

I found this fun for all, mixed-media pumpkin project over at Salvage Sister & Mister that uses wooden door frame corner rosettes to create vintage-inspired pumpkins to decorate your home. I fell in love with their simplicity, but still took it a step farther and made them three dimensional by giving them a front and a back and adding a bit more embellishment. They only took about an hour or so to complete my family of four. 😀 even with having to wait for the paint to dry, which was the hardest part! These make a great hostess gifts and look great throughout ALL the fall months, Halloween and Thanksgiving! 😀

SUPPLIES

  • Wooden Rosette Trim Block Molding Pieces – any size you like – I used several sizes to make a Pumpkin “Family”
  • Acrylic Paints – dark chocolate (I chose a metallic), 3-4 various orange colors ranging from bright to dark (I chose the medium orange as a metallic)
  • Ribbons – assorted scraps of green
  • Dollar Store embellishments – I used purple Tule, brown and black bells from door hangers, feathers from a Halloween boa and leaves from some fall flowers
  • Paintbrushes
  • Glue Gun and Glue Sticks
  • Scissors
  • Tree Branch from the yard
  • Garden Pruning Shears

INSTRUCTIONS
Step 1

  • Paint the rosettes with a base coat of Dark Chocolate. Let dry.
  • Apply a second coat, if necessary.

Step 2

  • Randomly apply Weathered Wood medium with paintbrush. Painting it thicker and randomly will result in a variety of cracks on your finished pumpkins.
  • Allow medium to dry completely, about 30 minutes.

Step 3

  • Using a limited amount of strokes, apply a thick coat of orange paint with a very limited number of strokes and do not paint over the same area more than once. As the paint dries it will crackle.
  • Large cracks will appear where the medium was put on thick and small cracks will appear where the medium was put on thin.

Step 4

  • Using your glue gun put an even amount of glue on the back of one rosette along the outer edge.  Immediately press to the second rosette together.
  • Clean off any glue that has oozed out and allow them to dry completely.
  • Weigh them down with wood clamps, a brick or large book to press them together securely.

Step 5

  • Cut tree branch into 1” to 1 ½” lengths with pruning shears and then attach to top, the center of each pumpkin with a glue gun. Or use a selection of curled wired wood.

Step 7

  • Gather a variety of green ribbons, trimmed into 6” lengths and then knot in the center.
  • Attach at base of pumpkin stem with a glue gun.
  • Decorate as desired with spare bits and pieces from your craft room.

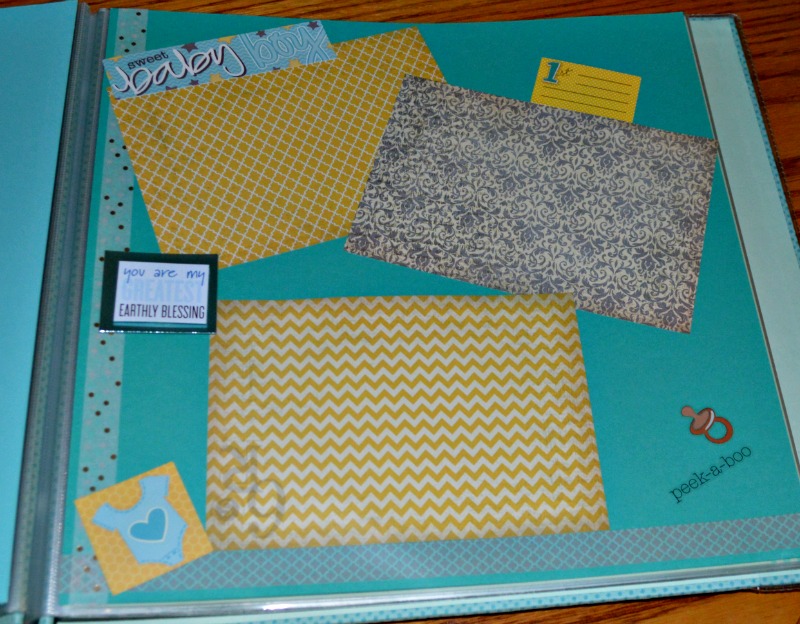
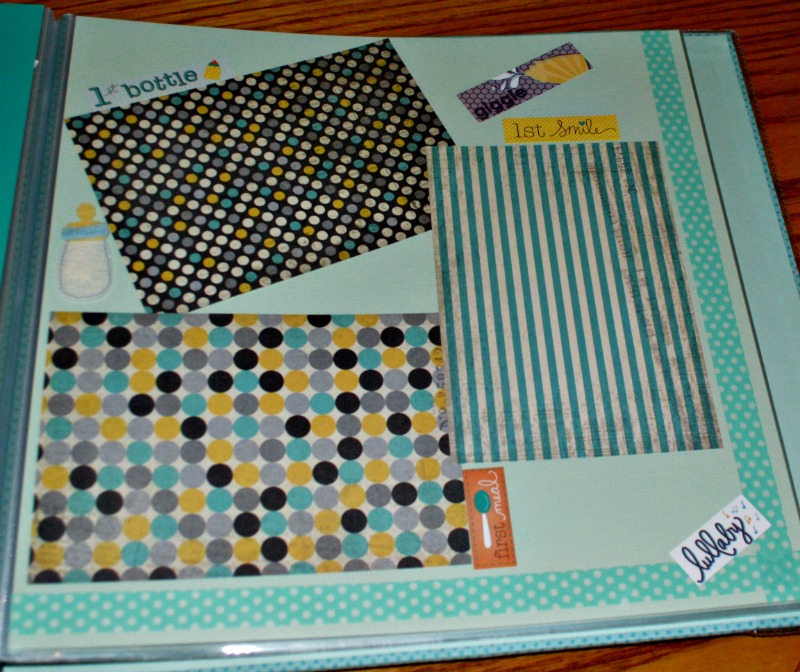
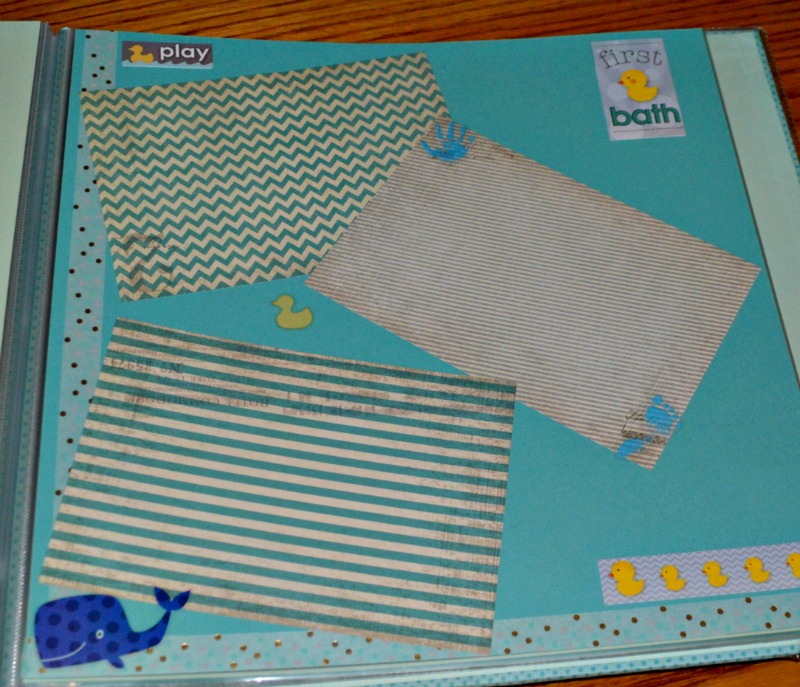
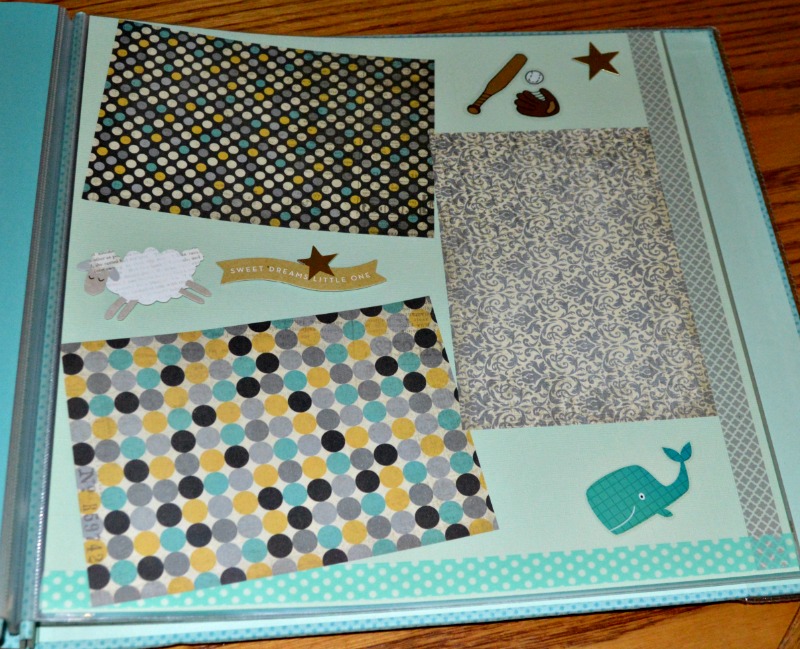
SWEET BABY BOY

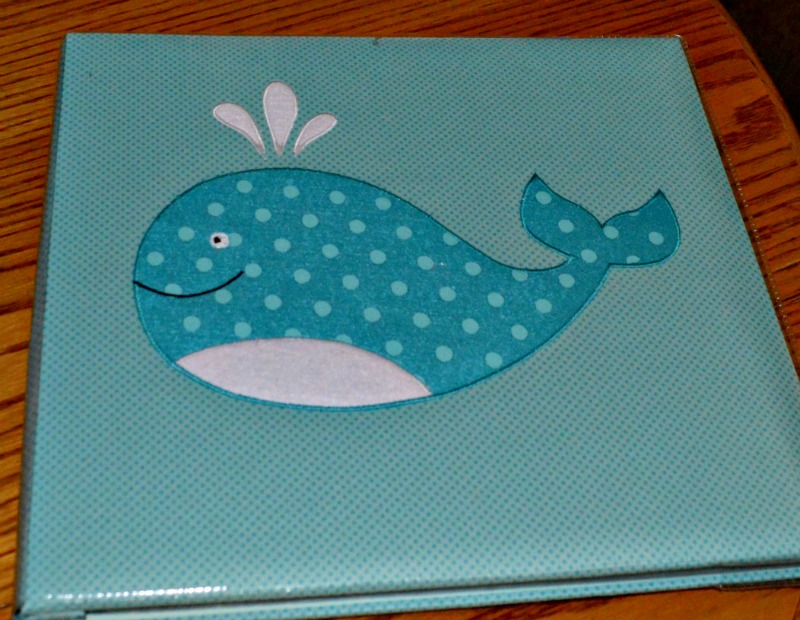
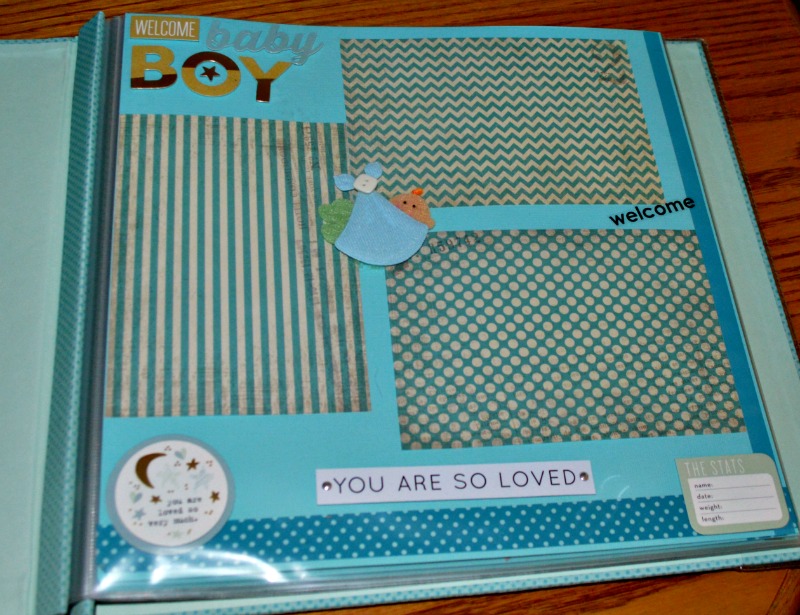
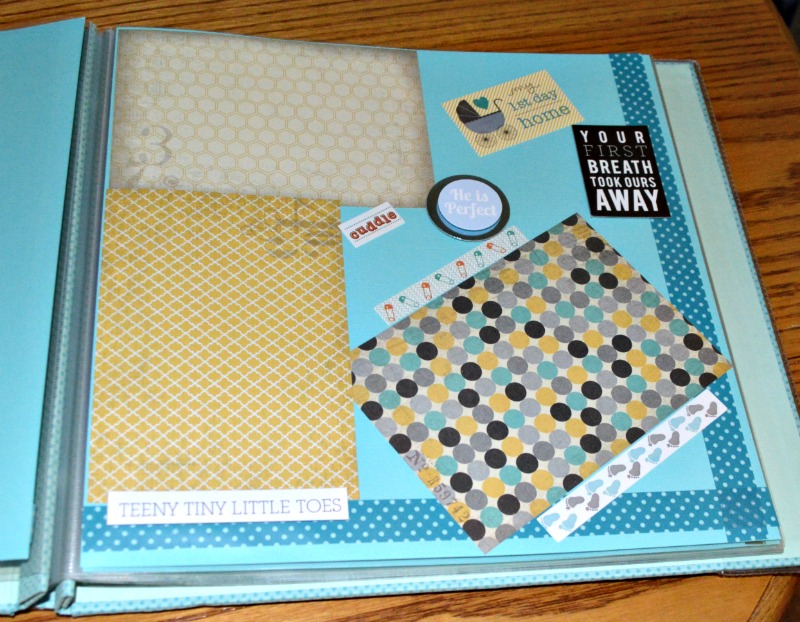
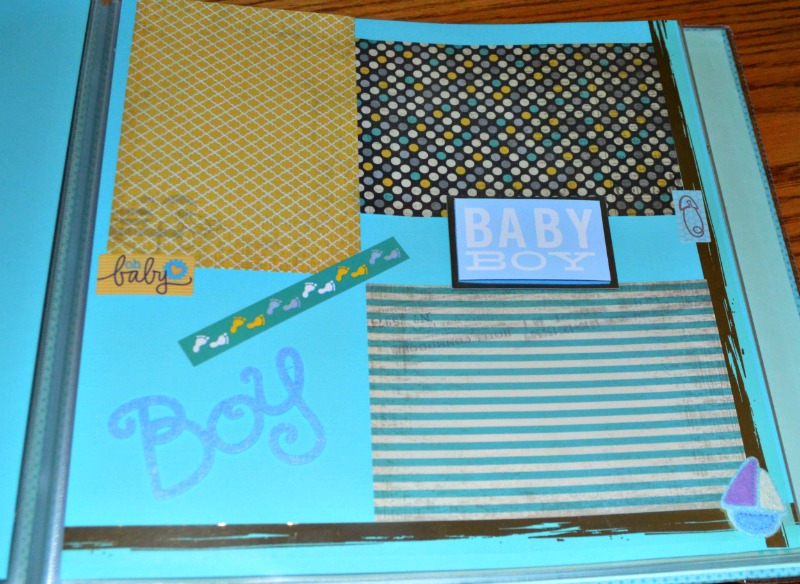
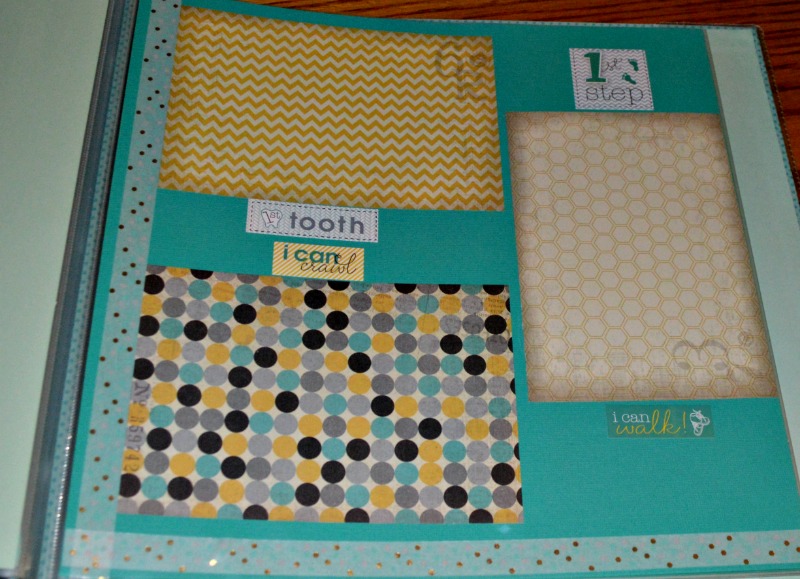
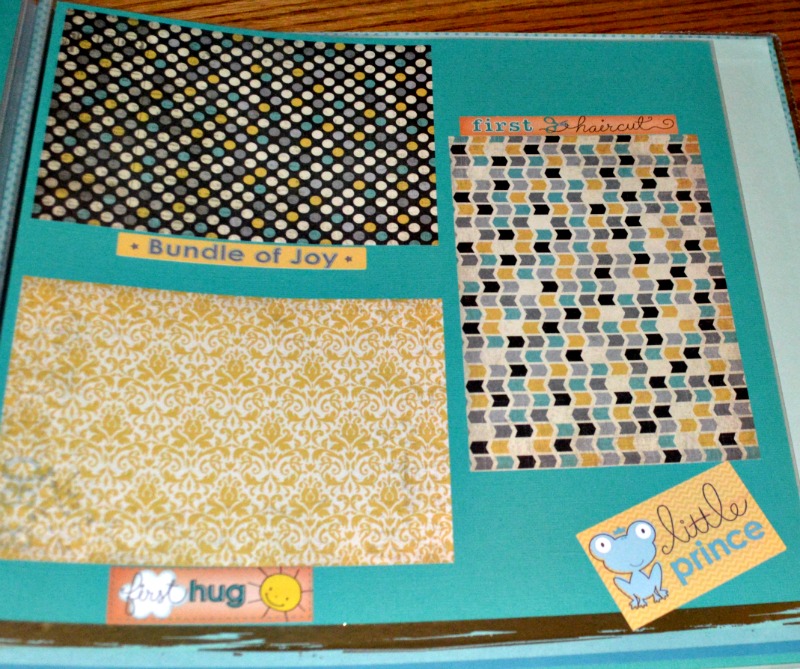
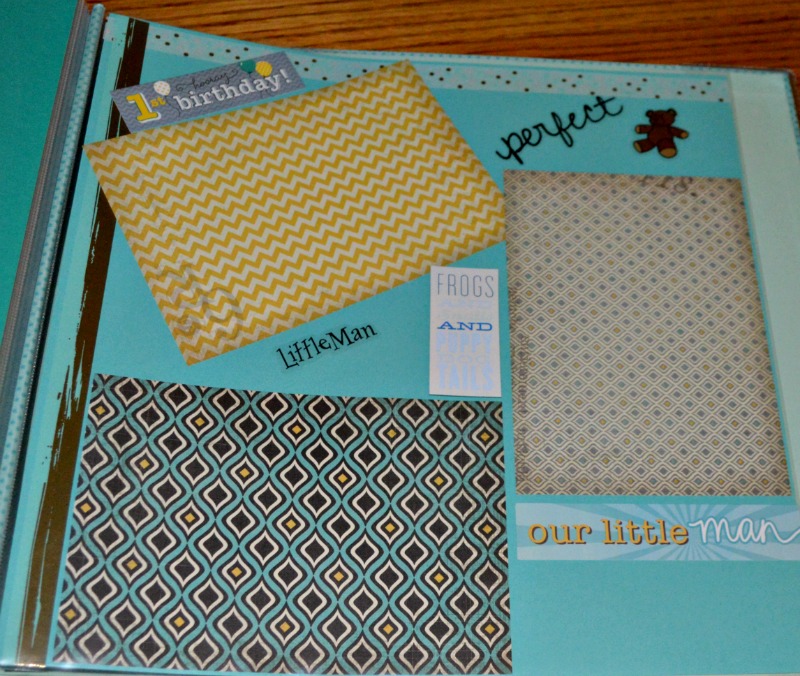
My niece, her twin and their mom are coming to visit next weekend and I wanted to have this book done in time.  She’s not due until December, but I didn’t want to mail it. I also got her a sweet little Hallmark 1st Christmas ornament since the baby will be born so close to Christmas.

One of the things I do for my nieces when they have their first child is start them a baby album – OLD SCHOOL style.  In this digital age, it’s too easy to forget to do some old school style projects and I like for them to have this “physical” boo that someday they can hand down to their baby.


I found this sweet little book in blue tones and went from there.  I did basic starter pages and she gets to do the fun fill-ins and just add pictures. 😀

TIE-DYE EASTER EGGS

Using ordinary materials (vinegar, food coloring and whipping cream) you probably already have on hand to decorate gorgeous Easter eggs is so easy and fun too! You will want to wear gloves so as not to dye your fingers.

TIE-DYE EASTER EGGS
INGREDIENTS
Bowl of Vinegar
Whipped cream
Food coloring
Hard-boiled eggs

  • Boils eggs and cool to room temperature.
  • In a bowl large enough to hold all the eggs (or work in batches) place the eggs in the bowl and cover with vinegar for 20 minutes. The vinegar allows the dye to adhere to the egg shell better.
  • Dry the eggs and set aside.
  • In a large baking dish fill it with a thick layer (about 1 inch deep) of the whipping cream.
  • Generously dot the cream with various colors of food dye coating most of the surface fairly close together.
  • Drag a skewer or chopstick through the cream to create a tie-dye design, kind of like you’re making a marbled cake.
  • Place a layer of paper towels on a cookie sheet and set aside.
  • Put on gloves to protect your hands from the dye.
  • Gently place an egg on the surface of the whipped cream.
  • Slowly roll the egg over the surface to coat the shell.
  • Place the egg on the cookie sheet and repeat with remaining eggs. DO NOT WIPE ANYTHING OFF!
  • Let dry 20 minutes.
  • Fill a large bowl with water. The water will remove the excess cream leaving the design on the egg.
  • Gently submerge the egg and then GENTLY dry with paper toweling. DO NOT RUB HARD as you might rub off the design.
  • Store eggs in refrigerator.

NOTE: This can be done substituting shaving cream for whipped cream, but then they are for decoration only and NOT edible!!

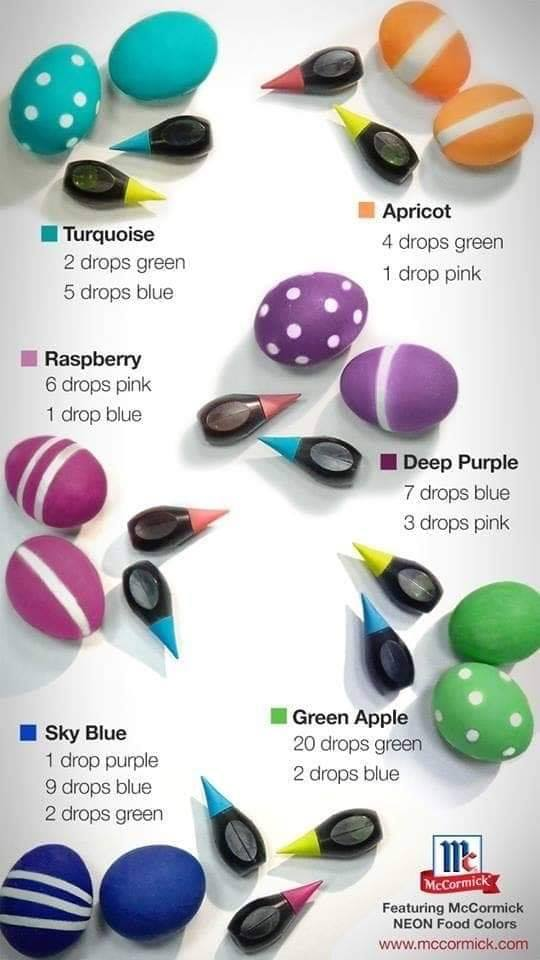
And just for your information here is a great little color chart for other methods.

DECISIONS, DECISIONS, DECISIONS & yet we still had to have dinner ~ CHICKEN & DRESSING with CREAM OF CARROT BISQUE

I worked for quite awhile in the studio today and ran across several unfinished projects that NEED to be finished!  Binding for some reason is my least favorite part of quilting though it should be my most favorite since it is the last step to a completed project.  I’m still trying to figure out where to start!  I’m leaning towards starting with the smaller pieces just because there will be a bigger sense of accomplishment as I whip them out, but am leaning towards the larger ones so I can set them aside into the Christmas pile as completed presents.

In the meanwhile we still needed to eat so I reworked a couple of recipes from my “TO TRY” pile that used ingredients I had on hand.  It’s almost June 1st and I try to clean out both the freezer and pantry every 6 months or so.

CHICKEN & DRESSING serves 6

2-3 cups shredded rotisserie chicken
4 slices crusty french bread, torn into pieces
3 cups crumbled cornbread
1 3/4 cups chicken broth
1 can cream of mushroom soup
1 small Vidalia onion, chopped
2 celery stalks, chopped small
2 large eggs, beaten
Fresh ground sea salt, to taste
fresh ground black pepper, to taste
1/4 cup butter, sliced thin

  • Put butter slices in freezer while you assemble the casserole.
  • In a large mixing bowl whisk together the broth, eggs and soup.
  • Fold in breads.
  • Fold in celery, onion and chicken pieces.
  • Season with salt and pepper.
  • Transfer to a lightly greased 3 quart slow cooker.
  • Dot with butter slices.
  • Cook on high 1 1/2 hours and then low 2-3 hours on low OR 3-4 hours on high.

CREAM OF CARROT BISQUE serves 4

1 pound bag baby carrots, washed and dried
1 tablespoon avocado oil
1 small Vidalia onion, chopped
1 tablespoon butter
2 cups chicken or vegetable broth
Pinch of ground ginger
1/3 cup heavy whipping cream
Parmesan cheese
Snap peas

  • Preheat oven to 400˚.
  • In a large ziplock bag add the carrots, avocado oil, sugar, salt and pepper. Close and toss until carrots are well coated.
  • Spread carrots in a thin layer on a baking sheet.
  • Roast carrots 45 minutes or until tender.
  • Cool carrots.
  • In a large sauce pan melt butter,
  • Add onion and saute’ until tender.
  • Add broth and simmer while carrots roast.
  • Add carrots and puree with an immersion blender.
  • Salt and pepper to taste.
  • Serve with Parmesan crisps and chopped snap peas.

Save

HAPPY HOMEMAKER & MENU PLAN MONDAY

WOW, where did this last week go.  I was planning to post more last week, but it obviously got away from me.  I spent the week and weekend sorting through craft items, desk items, old photographs and such – SOOOO much harder than manual labor with emotion connected to each item. It also worked out well with the stormy weekend to be inside.

THE WEATHER OUTSIDE
Still gray and stormy, but that is supposed to clear up tomorrow with temperatures soaring into the 90’s and fortunately the humidity dipping into the 60’s instead of the miserable 80 degrees and 95% humidity we had last week.

AS I LOOK OUTSIDE MY WINDOW
I see the damage from yesterday’s storm in broken branches and flower beds that need their dirt scooped back in which I will gt to later when I trim the roses.

ON THE BREAKFAST PLATE
Honey nut cheerios with sliced banana and green tea.

AS I LOOK AROUND THE HOUSE & HOUSE PROJECTS
I see that I made a HUGE mess the last several days trying to sort through the last of the boxes most of which are craft items or small desk type items, but it will hopefully all come together by the end of the week and I will take a few pictures then.

TO DO FOR THE WEEK

  • Monday – Grocery Shopping for the ingredients for recipe experiment week  and Home Depot to pick up a few last minute items to install the new front door.
  • Tuesday thru Thursday – keep sorting through pile in atrium and organize my studio.
  • Friday – maybe go see a matinee and lunch out since we stay home weekends to avoid the traffic and masses of people.
  • Saturday – clean and laundry
  • Sunday – Y.O.Y.O. (you’re on your own) day and do as I please which will probably be working in my studio.

CURRENTLY READING

TELEVISION / DVR
I think there are a few new shows this week, but I haven’t checked yet. There are also a few movies coming out this month that I’d like to see and I might need to go to AMC for a matinee or two on warmer days.

CRAFTS & PROJECTS
I went through my fabric stash and began to organize it. WHEW! What a job! I didn’t realize how much fabric I had accumulated.  Good thing I’m STILL going through my aunt’s magazines and finding some new patterns to try for quilts.  Boy did she like her magazines!  Here are this week’s quilt pattern finds:

  • Altitude
  • Little Red Bird
  • Patriot Parade 
  • Early Birds
  • Spring Forth
  • Garden Glories
  • Play it Again
  • Shades of Fall
  • Maisy Daisy
  • Bevels
  • Magic Stars
  • Warm Breeze
  • Squares Plus
  • Plum Spicy
  • Rainbow Hearts
  • Daffodils for Dad
  • Moon Shadow Stars
  • Blueberry Ice
  • Wavelength

HOUSE PROJECTS
No pictures this week, but we had a productive week moving forward on “little” finish projects.

MENU PLANS FOR THE WEEK
I found so many fun new recipes that I’m going to make every night this entire week an experiment night plus an interesting dessert.


MONDAY
TUESDAY
WEDNESDAY
THURSDAY
FRIDAY
SATURDAY
SUNDAY
BREAKFAST
YOGURT & FRUIT
SCRAMBLED EGGS & CHEESE
FRUIT SMOOTHIE
YOGURT & FRUIT
MAPLE OATMEAL & RAISINS
EGGS in the CLOUDS
BACON & EGGS
LUNCH
FRUIT & CHEESE
SOUP & CRACKERS
SANDWICH
OUT
MEAT & CHEESE
LEFTOVERS
SANDWICHES
DINNER
CRISPY RAMEN CRUSTED CHICKEN with ASIAN SLAW
CAST IRON LEMON  CHICKEN and SALAD
C.O.R.N.
BUFFALO CHICKEN MAC & CHEESE
GRILLED CHICKEN with COLA SAUCE
BUFFALO CHICKEN THIGHS and SALAD
APRICOT GLAZED PORK KEBABS and SAVORY BREAD PUDDING
DESSERT


BLACK BEAN BROWNIES


SUCCESSFUL RECIPES and their links FROM LAST WEEK

  • Pineapple Pound Cake (recipe will be up a little later)

RECIPE FINDS TO TRY LATER
I’m STILL going through my aunt’s magazines and boy did she like her magazines!  Here are this week’s recipe finds:

  • Brown Sugar Cinnamon Peach Pie
  • Ciabatta French Toast
  • Pork Tenderloin with Orange Compote
  • Argentinean Pork
  • Salted Caramel Brownies
  • Carnitas Tacos with Pickled Red Onion
  • Grilled Chicken with Asian Pear Slaw
  • Blueberry Sour Cream Muffins
  • Fresh Raspberry Vanilla Preserves
  • Strawberry Chicken Salad
  • Grilled Parmesan Cake
  • Crawfish Bisque
  • Kickin’ Orange Glazed Chicken
  • Apricot Glazed Chicken Thighs
  • Manicotti with Vodka Blush Sauce
  • Pear Tart
  • White Cheddar Cheese Popcorn

FAVORITE PHOTO FROM THE CAMERA
One of the things I ran across this week was “real” photos from when the pups were pups! It made me realize just how old they are and made me sad too!  But I also took this picture of our “OLD MAN” (14) and a treat.  I gently laid it there to see how long it would take for him to notice and LOL it took a long time! When he was young it would have woken him up in a heart beat!

INSPIRATION

Be sure to link up with Sandra at Diary of a Stay at Home Mom for Happy homemaker Monday and with Laura at I’m an Organizing Junkie for Menu Plan Monday.

PINK, NO, REALLY I MADE A PINK QUILT!

Just as I’m starting to get back into a good routine and maybe even getting a little caught up the time has come for my last surgery.  YEP, you heard me right “LAST”, well as far as I’m concerned.  It’s been a very long 2 1/2 years with all sorts of medical issues, but at last I pray the time has come that this WILL BE the LAST surgery in my life.  I should be only down completely a couple days, but then I’ll be back – on the computer at least.


In the meantime this is for my friend Dawna over at Stitches from the Tub.  Proof that I have finally made a pink quilt.  I see you all in a few days.

A LITTLE THIS & A LITTLE THAT

Just as I’m starting to get back into a good routine and maybe even getting a little caught up the time has come for my last surgery.  YEP, you heard me right “LAST”, well as far as I’m concerned.  It’s been a very long 2 1/2 years with all sorts of medical issues, but at last I pray the time has come that this WILL BE the LAST surgery in my life.  I should be only down completely a couple days, but then I’ll be back – on the computer at least.

In the meantime this is for my friend Dawna over at Stitches from the Tub.  Proof that I have finally made a pink quilt.  I see you all in a few days.

TIME TO UNPLUG – PINK & PURPLE HARMONY QUILT

I’ll never completely unplug, but I need some creative downtime away from the computer so decided to start a new quilt.  Those of you that know me well will laugh because you know I’m not a pink person and this quilt will have A LOT of pink in it.  I thought the pattern choice was apropos also, it’s name is HARMONY.

TIME TO UNPLUG – PINK & PURPLE HARMONY

I’ll never completely unplug, but I need some creative downtime away from the computer so decided to start a new quilt.  Those of you that know me well will laugh because you know I’m not a pink person and this quilt will have A LOT of pink in it.  I thought the pattern choice was apropos also, it’s name is HARMONY.

A LITTLE BIT CLOSER TO CATCHING UP

Spent the weekend trying to pull off a surprise party for my brother-in-law that in the end he knew about, but we all had fun anyway.

REX BDAY CAKE

Came home to tons to do starting with laundry and paperwork so I’m staying super busy.  I did get a bit closer to accomplishing a project that I’ve been working on for years – an ARMY quilt for hubby – all it needs now is the binding.

ARMY QUILT

A LOT CAN CHANGE IN 24 HOURS

We’ve been helping my mom and stepdad out doing some projects and this one wore me out!  The tree had to go because it was diseased.  The part we hadn’t planned on was the unseasonably hot day.  It was 106 degrees by noon on the day the guys decided to take out the tree.

Deck Planter 4-30-13We wanted to get it handled immediately before it got any hotter and we leave for a family reunion so we did pretty good for 24 hours.

Deck Planter 5-1-13