Be sure to join Happy Homemaker Monday with our host, Sandra at Diary of a Stay at Home Mom
WEEKEND RECAP
It’s official. We’re in the “BER months and I couldn’t be happier! I think they are my favorite months of the year along with January, February and March 😀 😂 🤣 In other words I’m just not fond of June through August.
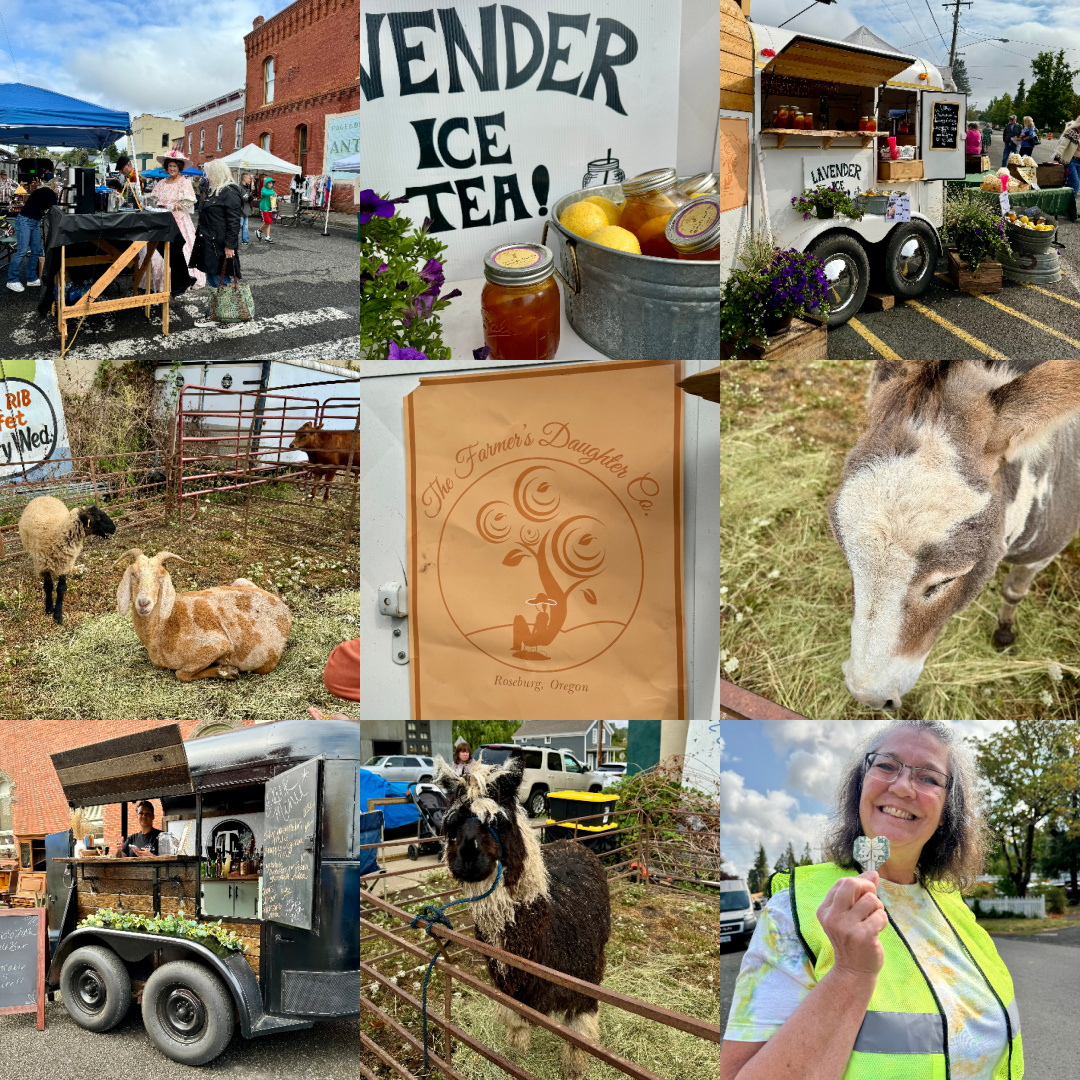
It was a fairly quiet weekend, especially for a holiday one. I went to the farmer’s market and grocery shopping on Saturday morning and then made some Bolegnese sauce with veggies and tomatoes from the garden and even got some laundry done also. Saturday night we watched a couple movies. I’ve also been house sitting and feeding our neighbor’s cat as well as watering their plants so that took a bit of time in the evening.
Sunday was much of the same except that the weather was so much nicer!!!!! Saturday had been quite warm with a nice breeze in the evening, but Sunday was beautiful from start to finish!
Now let’s get this new week started! We have friends coming for BBQ ribs, coleslaw and watermelon later and I need to get the homemade sauce started. 😀

THOUGHT FOR THE DAY

THE WEATHER OUTSIDE
This week should be a carbon copy of last week with highs in the 80’s and low’s in the 50’s – pretty dang perfect in my book!
TO DO LIST, APPOINTMENTS & PROJECTS
|
THIS WEEK’S TO DO LIST, PROJECTS & APPOINTMENTS
|
- LAUNDRY & CLEANING all done 🙂
- GROCERIES & ERRANDS also all done – at least until the end of the week. And I have no appointments this week for a change.
- RECIPE RESEARCH & MENU PLANNING I’m still working on some fall themed recipes for my new NINJA cooker.
|
DVR/TV TIME
|
WHAT’S ON THE DVR/TV
|
- NETFLIX Watched a few movies – some REALLY good and others quite questionable to have been on a decent streaming channel. We also started watching YELLOWJACKETS (very LOOSELY based on the 1972 plane crash in the Andes Mountains) at the suggestion of a friend. It’s interesting, a bit graphic and gross at times, but intriguing enough I want to see where they go with it.
- CABLE I was able to get caught up on Masterchef and some old movies in the DVR.
|
READING TIME
I’m reading Gill Paul’s The Collector’s Daughter, but keep falling asleep too fast. I’m anxious to read more of this book read because I’m enjoying it so much.

FUNNIES

MENU PLANS
BREAKFAST is always a work in progress for me – it will generally be hot water and a fruit yogurt 😀
|
|
MONDAY 9/2
|
9/3 TUESDAY
|
9/4 WEDNESDAY
|
9/5 THURSDAY
|
FRIDAY 9/6
|
9/7 SATURDAY
|
9/8 SUNDAY
|
|
DINNER
|
ALOHA RIBS, COLESLAW, WATERMELON
|
PORK CAKE, GREEN BEANS and SALAD
|
HAM BALLS & BAKED BEANS
|
BLACK BEAN SALSA CHICKEN and SALAD
|
ORANGE CHICKEN, RICE & SALAD
|
BUTTERMILK RANCH PORK CHOPS & POTATOES
|
CORN/YOYO clean out the refrigerator night or you’re on your own |
|
DESSERT
|
|
|
|
|
|
|
|
FAVORITE PHOTOS FROM THE CAMERA
I’ve been house sitting and feeding my neighbor’s cat as well as watering their plants. The back deck has been really pleasant of an evening and I caught this guy fluttering around the bird feeder in the sunset.

INSPIRATIONS


LIFE TIP

HOMEMAKING / COOKING TIP

RECIPE LINKS FROM LAST WEEK