This is a recipe I posted on my blog back in 2010… it’s just one of those dishes that never got the recognition it deserved, so I thought to myself.. why not bring it back? Feature it just one more time so everyone can see I don’t just eat Tilapia – my fish love goes way deeper than that!
This is a very simple, very light dish. Easy to assemble, takes about 15-20 minutes to grill… the longest part of this recipe is just the marinating time. Simple! What more can you ask for on a busy week night….??
Honey & Hoisin Grilled Trout
Created by Jenn’s Food Journey
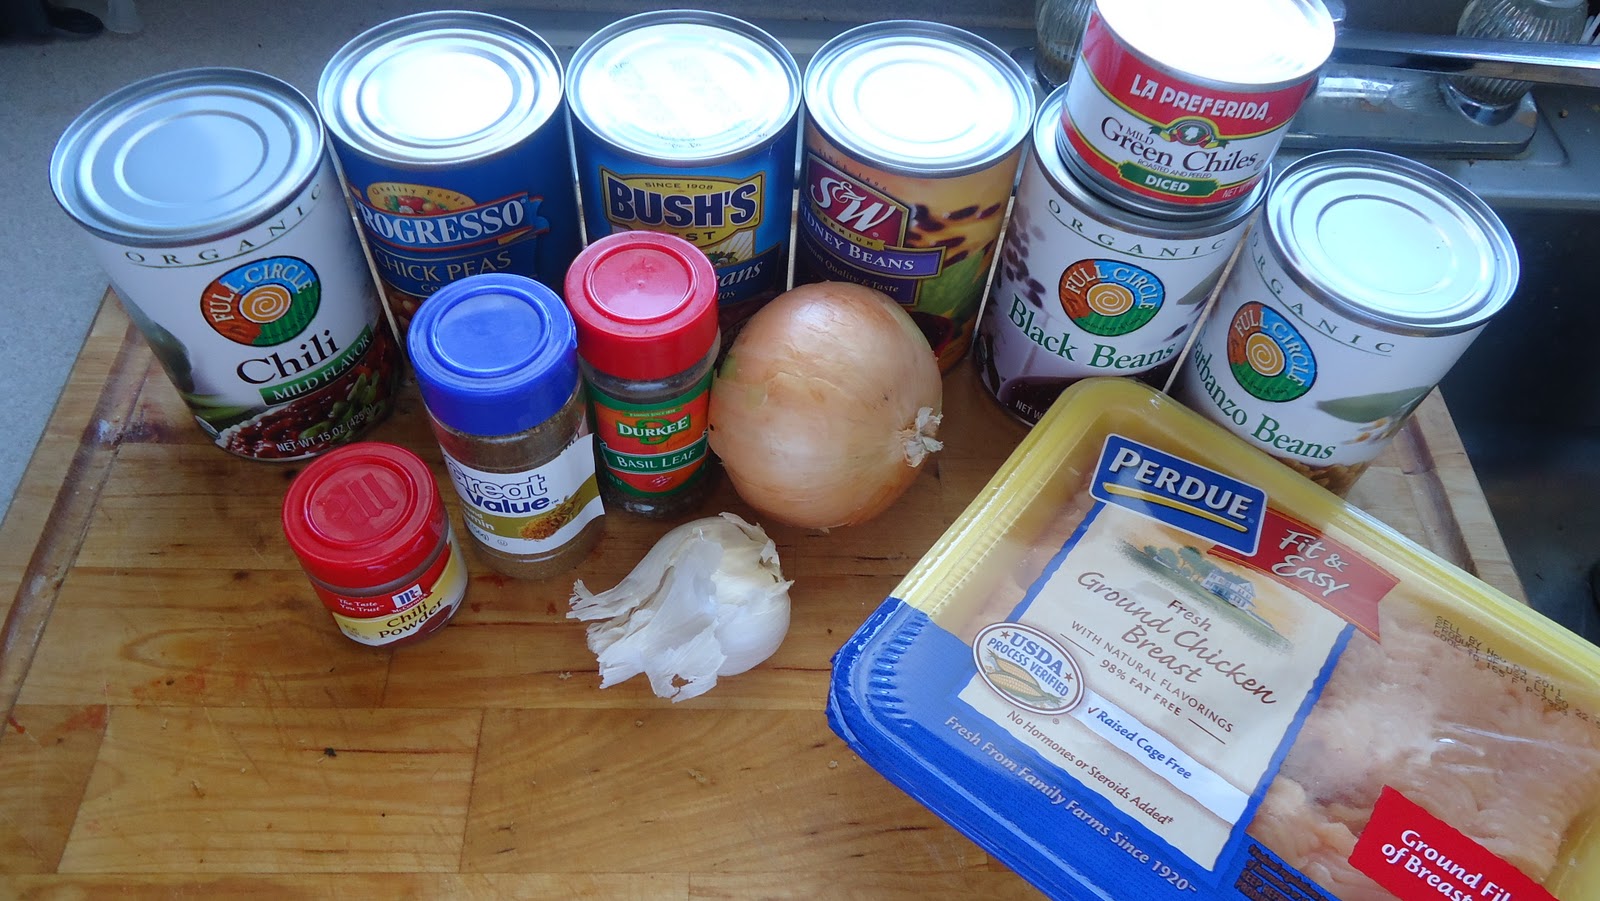
Ingredients:
1 – 3/4lbs trout fillet (mine had the skin on one side still)
2 Tablespoons honey
1 Tablespoon hoisin sauce
1/2 Tablespoon soy sauce
1 Tablespoon fresh lime juice
1/4-1/2 teaspoon red pepper flakes (optional)
1 large clove of garlic, minced or pressed
Directions:
Mix everything but the fish together in a small bowl. Place the fish in a shallow dish or a Ziploc bag. Pour the marinade over the fish and allow to marinate in the refrigerator for about 45 minutes.
Preheat your grill to 375 (medium, medium-low). Tear off a square of aluminum foil (make sure it’s big enough to make a packet around the fillet) and spray it with non stick cooking spray. Place the fillet in the middle of the foil and seal into a packet. Place on the grill and cook for 10-15 minutes depending on the size of the fillet. Remove from grill and let rest for 3 minutes. Carefully open packet and enjoy!!