GROWN UP MAC & CHEESE
12 ounce package pasta
3 tablespoons flour
3 tablespoons butter
2 cups whole milk
1/2 teaspoon sea salt
1 teaspoon Frank’s hot sauce
3/4 cup sharp white cheddar cheese
3 ounces bleu cheese crumbles
1/2 cup finely grated Parmesan cheese
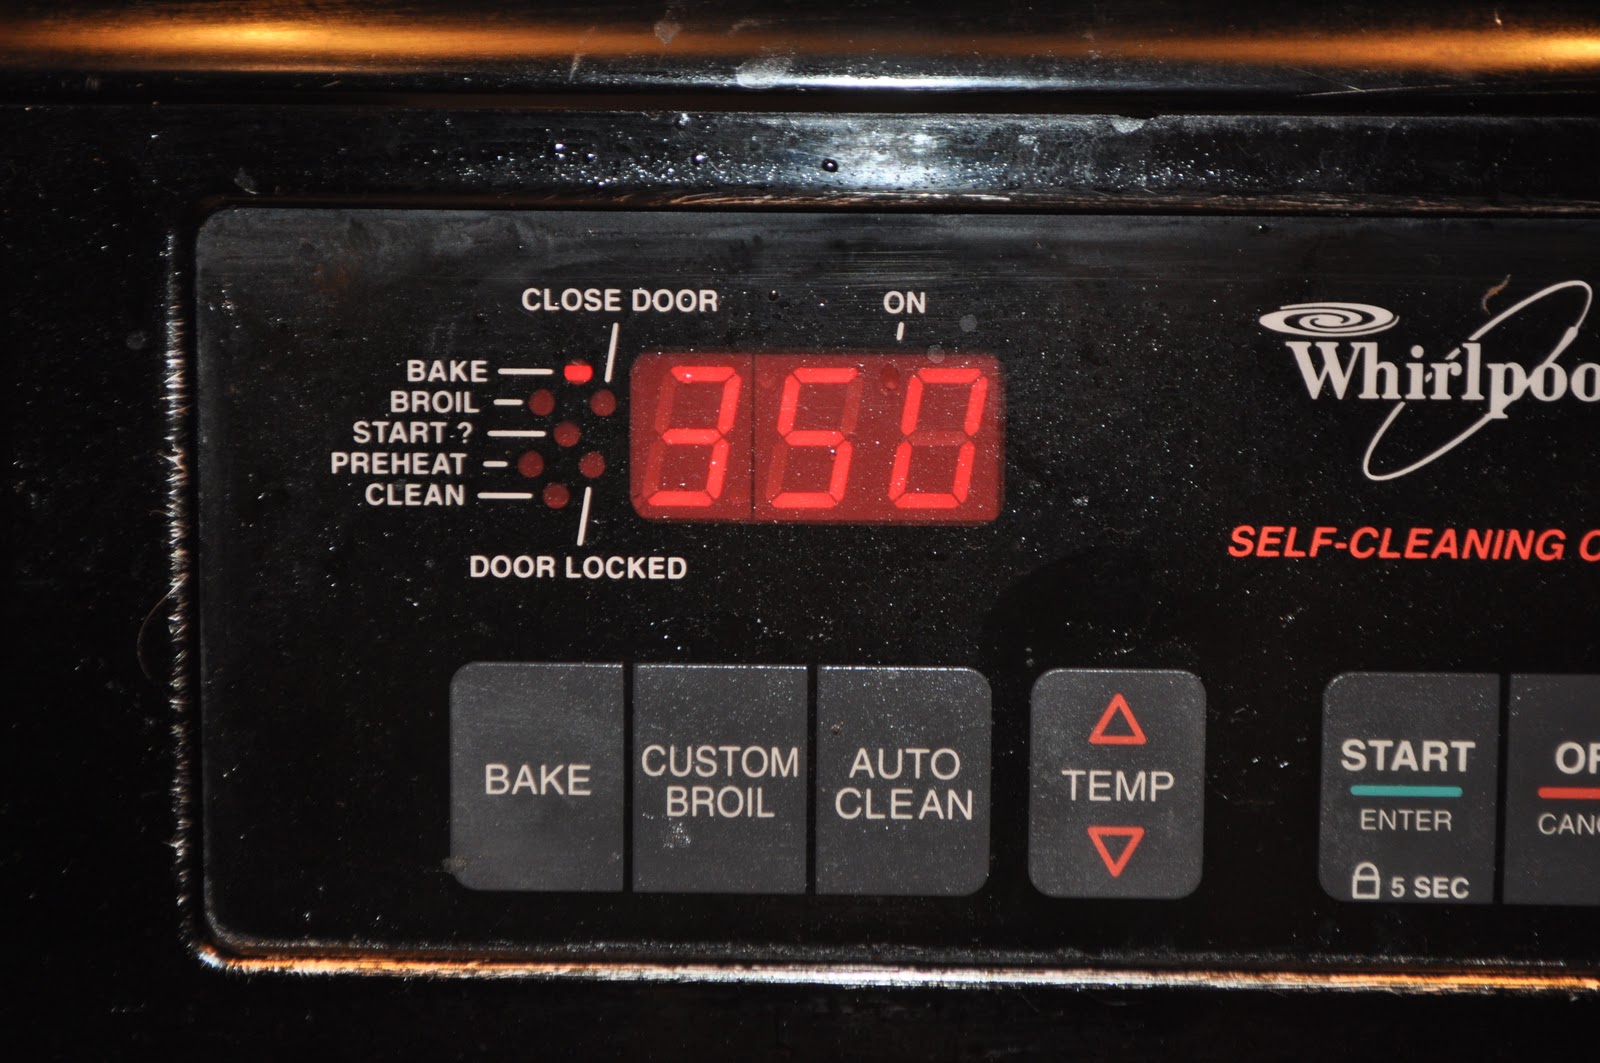
- Preheat oven to 350 degrees.
- Prepare pasta according to package directions. Drain Well.
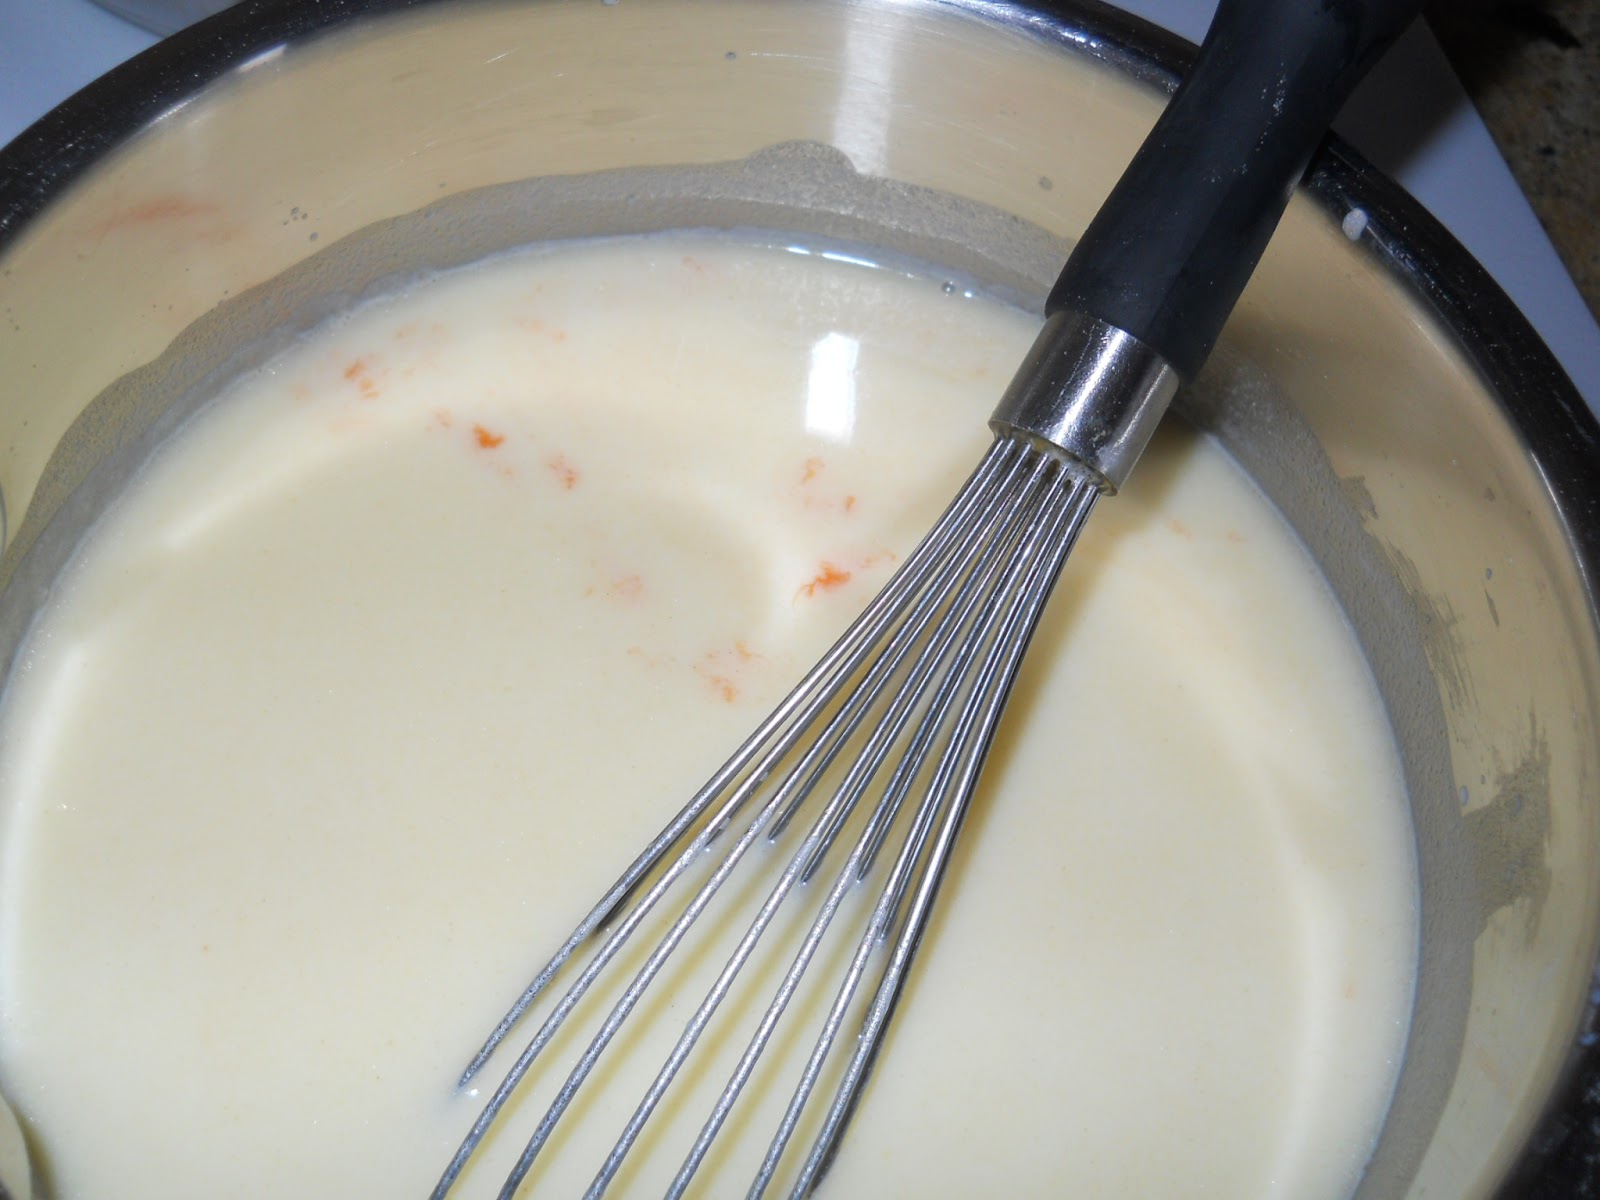
- Melt butter in a medium saucepan. Add salt.
- In a small food processor pulse bleu cheese crumbles until fine. Set aside.
- Add flour and whisk constantly over medium heat until smooth.
- Gradually add milk, whisking constantly.
- Add hot sauce. Bring to a slow boil. Simmer for 5 minutes.
- Remove from heat and whisk in all cheeses, salt and pepper to taste until smooth.
- Mix pasta and cheese mixture together until well blended.
- Scoop into a casserole or ramekins.
- Bake 15-20 minutes.
- Top with chopped chives.


DANISH CUBE STEAK REVISITED
3 ounces bleu cheese crumbles
3/4 cup mayonnaise
1/4 cup minced green onions
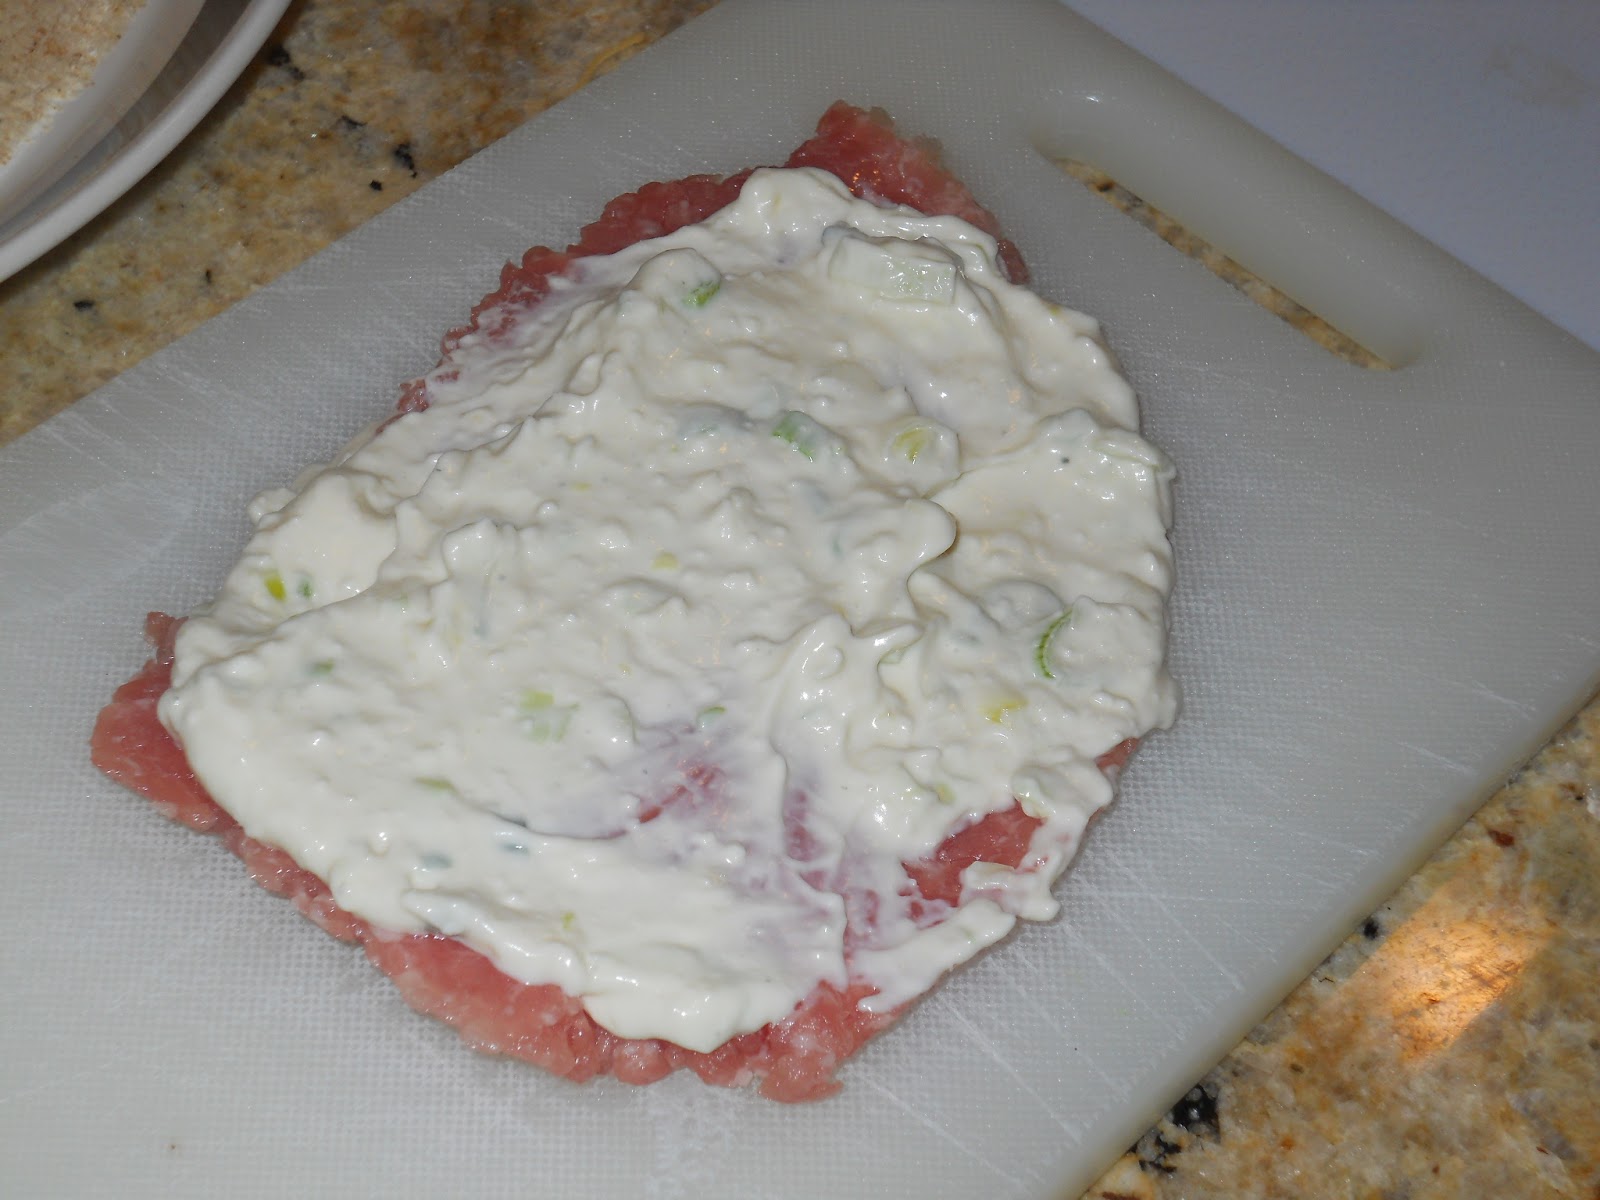
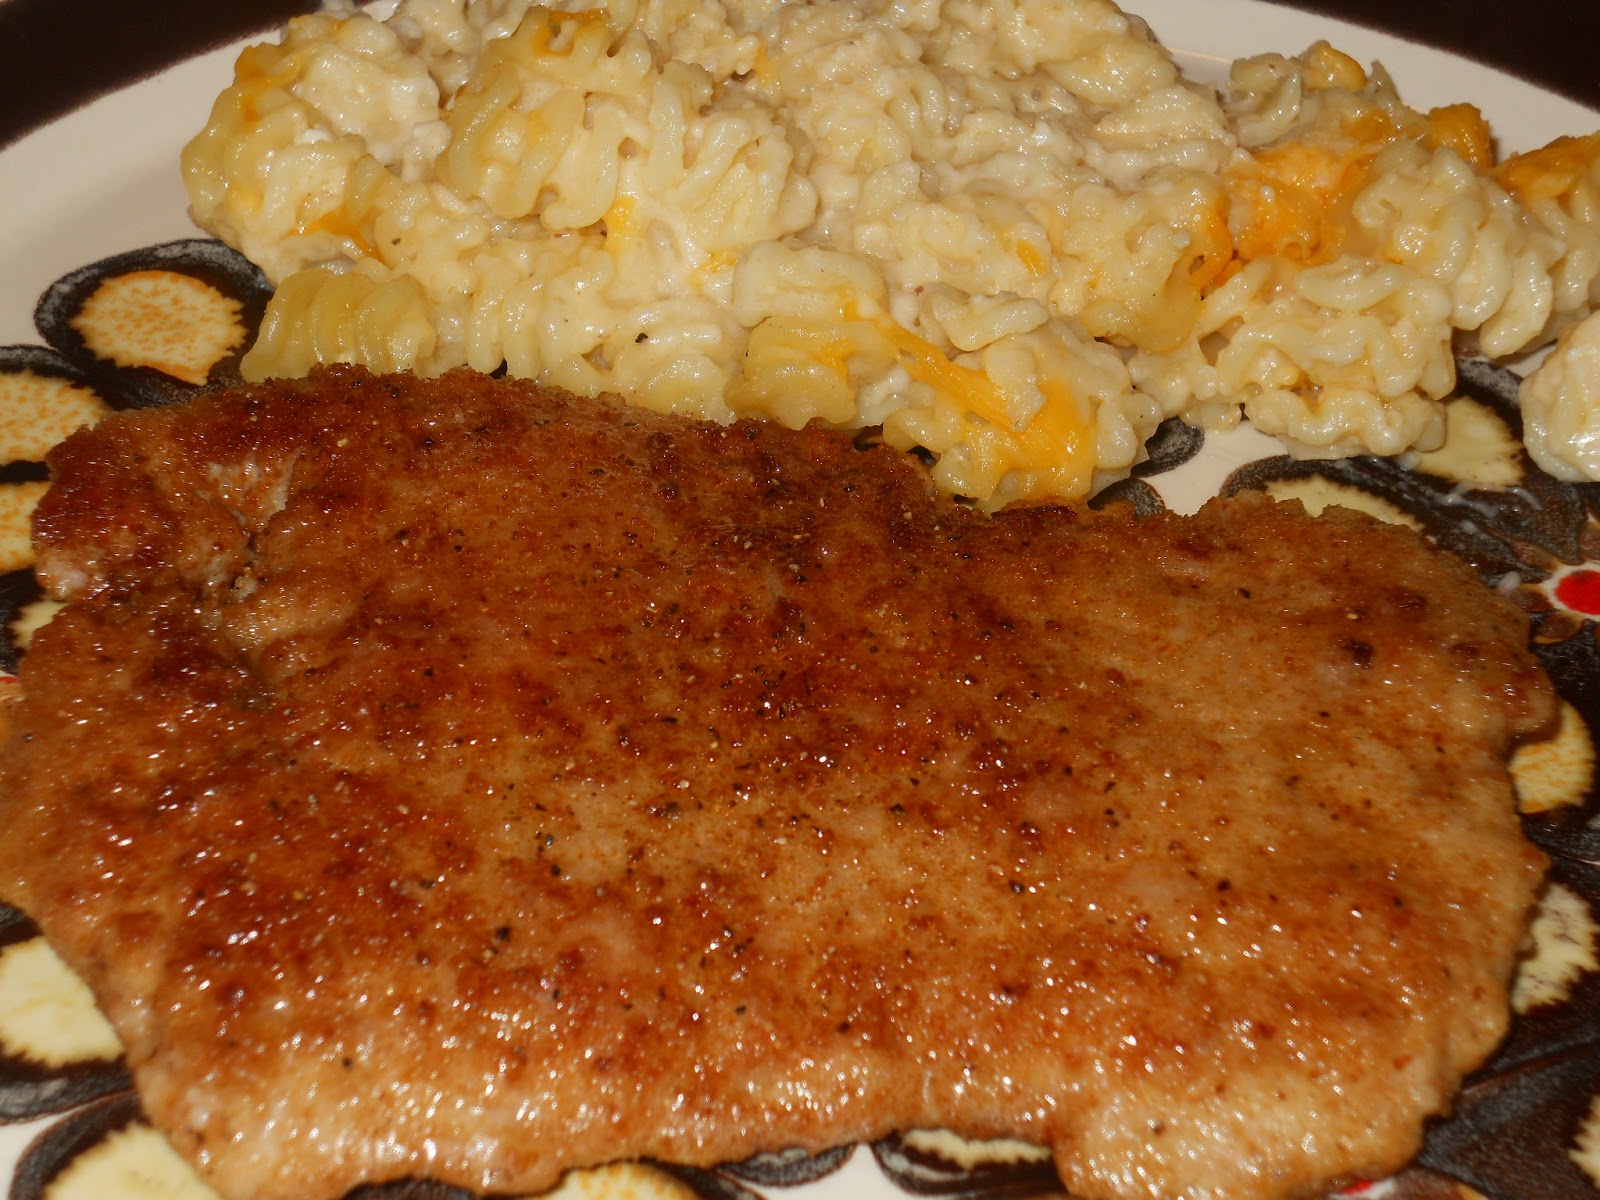
6 pork cube steaks
1/2 cup panko crumbs
2 tablespoons butter
- In a small food processor blend together the mayonnaise, bleu cheese crumbles and green onions until smooth.
- Coat steaks on both sides with mayonnaise mixture.
- Dredge through panko crumbs.
- Melt butter in a large skillet over medium heat.
- Add cube steaks and brown on both sides.