I LOVE adapting old historical recipes to a modern day scratch cook. Many times I already have a version of the recipe in my own stash. But, using the older recipe as a guide I can pick and choose ALL of the best ingredients to make an even better recipe.
This hot potato salad is another from my antique recipe box purchase. It is a pre-printed recipe glued to a recipe card labeled “Good Old Pennsylvania Dutch Recipes” that I can only assume is Amish and originally from the Good Old Pennsylvania Dutch Cook Book.
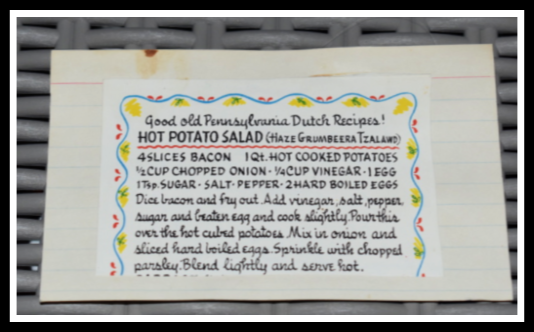
I had to “adjust” the recipe to include actual amounts and specified ingredients as the recipe card is vague. I left the ingredients with approximate amounts to account for personal tastes. My grams referred to it as a German potato salad, though I think this is more Amish in nature. I highlighted my adaptations in blue so you can see the differences from the original recipe.
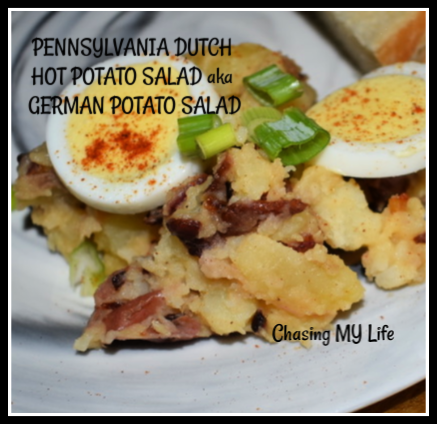
PENNSYLVANIA DUTCH HOT POTATO SALAD aka GERMAN POTATO SALAD
1 pound small baby red potatoes
1 cup chicken stock
2-3 hard-cooked eggs, peeled and sliced
4-6 slices bacon, diced
1/4-1/2 cup small chopped red onion
1 tablespoon brown sugar
1 egg, beaten
1/4 cup apple cider vinegar
FRESH ground sea salt and black pepper, to taste
- In a large stock pot add potatoes with skins on, chicken stock and enough water to cover potatoes.
- Cook until fork tender, drain, and cube while hot.
- Fry bacon and onion until a delicate brown.
- Add brown sugar and stir to dissolve.
- Drain, reserving bacon fat.
- Add onion and bacon to the potato mixture.
- Add bacon fat slowly to beaten egg, beating well.
- Add vinegar to the egg mixture and pour over potato mixture, gently to coat well.
- Fold in sliced eggs.
- Adjust seasoning. This recipe really LOVES salt.
NOTE: If you would like you can skip cubing the potatoes and do a rough chop leaving “LARGE” pieces instead.