Alexis started a new job at a hospital a few weeks ago and is starting to fit in with her coworkers. You know how it is when you start a new job. You start to figure out who you like and those you realize, “Man, he wasn’t just having a bad day….he’s always an a**hole!”
Anyway, the other day she wanted to surprise them by bringing in a breakfast treat. She took the Zucchini Bread recipe from the Better Homes & Gardens New Cookbook (10th Ed. 1984) and changed it into something entirely different.
Alexis’ Mini Apple Bundt Cakes
Yields: 4 dozen
1 1/2 cups all-purpose flour
1 tsp cinnamon, fresh grated
1/2 tsp baking soda
1/4 tsp salt
1/4 tsp baking powder
1/4 tsp nutmeg, fresh grated
1 cup sugar
1 cup fuji apple, peeled and finely grated
1/4 cup canola oil
1 egg
1/4 tsp lemon peel
Garnishes: Agave nectar and powdered sugar
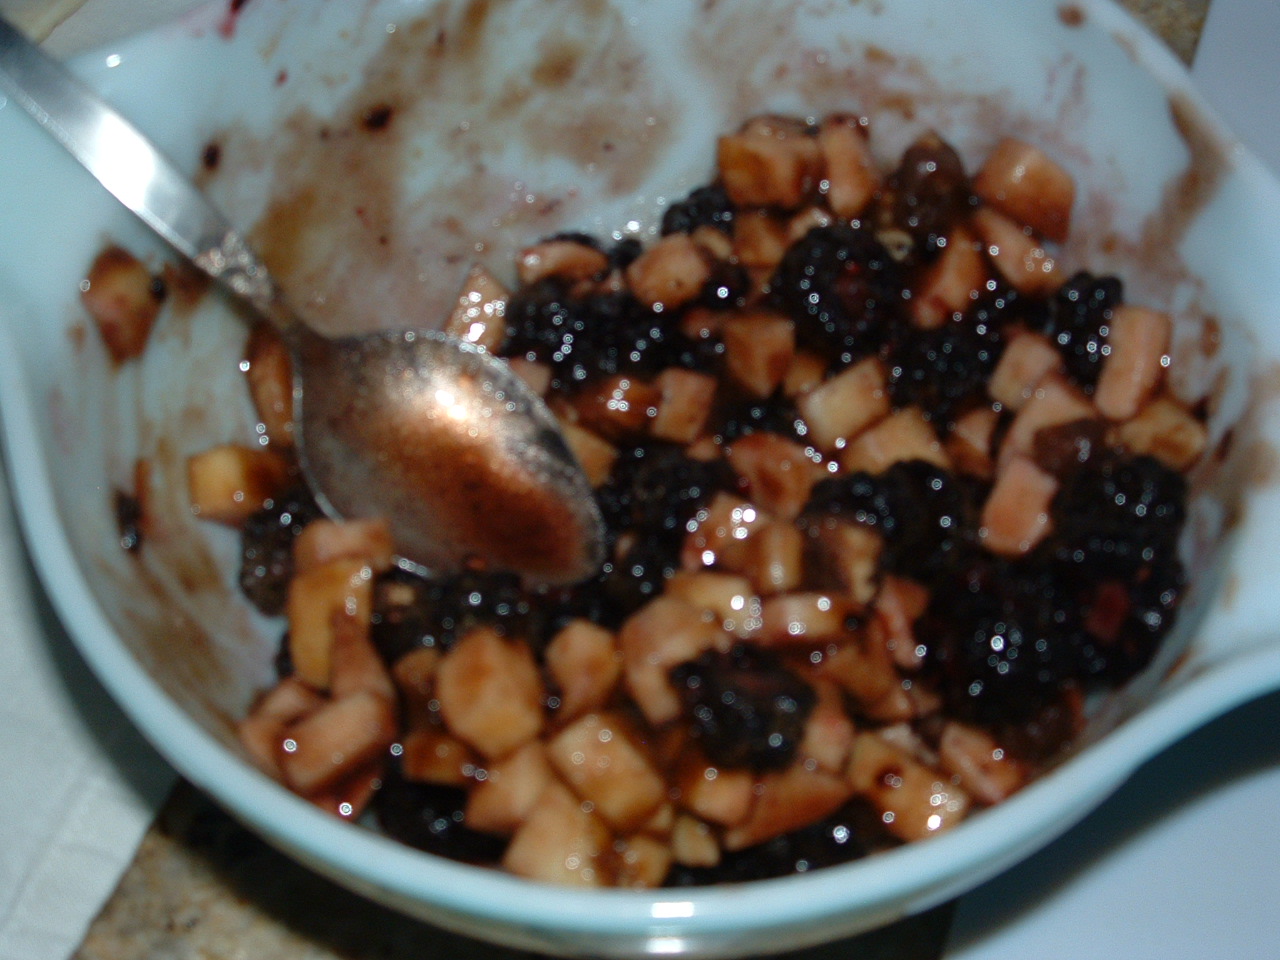
Mix the first 6 ingredients together in a mixing bowl. In another bowl, mix the sugar, apple, oil, egg and lemon peel together.
Mix the two bowls together just long enough to get them combined. Then walk away and let it sit for 10 minutes (The walk away tip courtesy Alton Brown’s waffle recipe).
Preheat your oven to 350f. Using a greased mini bundt pan (or a cup cake tin), fill each cup a little over half full with the batter. 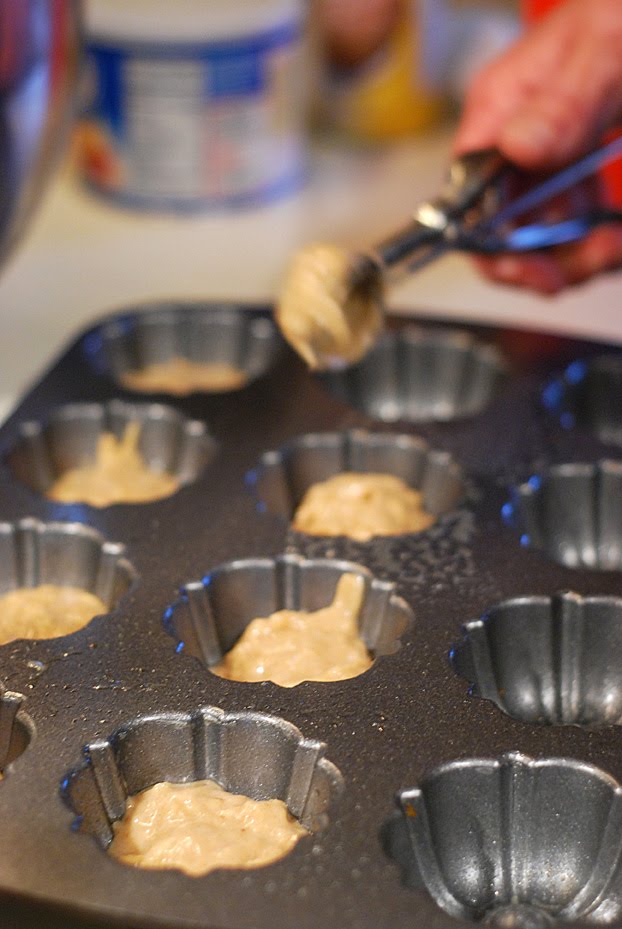
Bake on the middle rack for 20 minutes or until a toothpick/cake tester comes out clean. Remove to a cooling rack and let rest for 10 minutes.
Drizzle with agave nectar.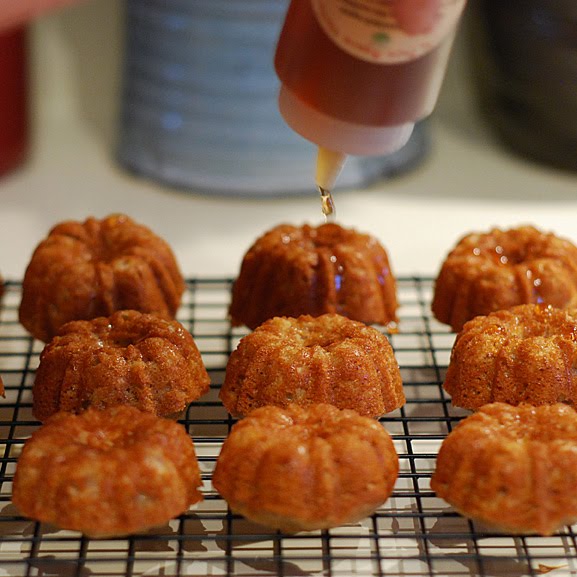
Sprinkle with powdered sugar.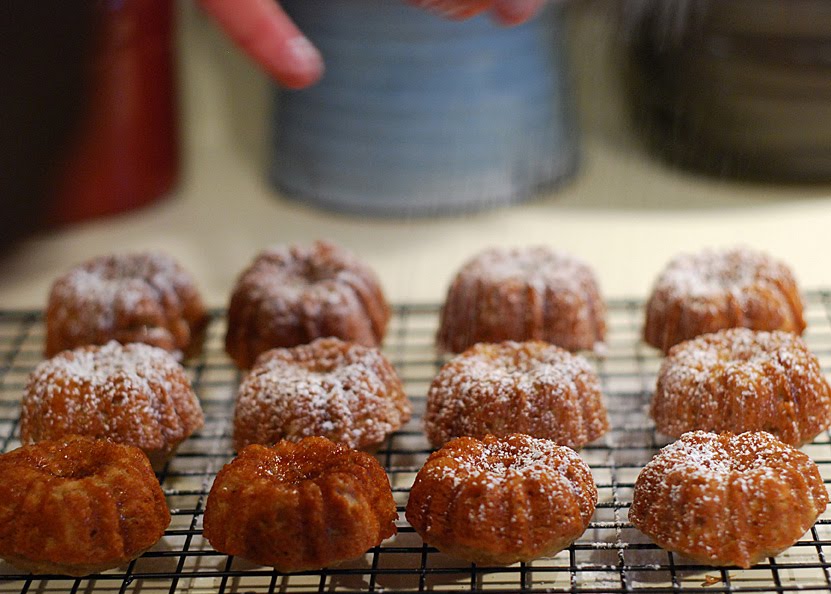
And then try to hide them from your family until they are cooled because they tend to disappear quickly even if you ARE cooking them for SOMEONE ELSE!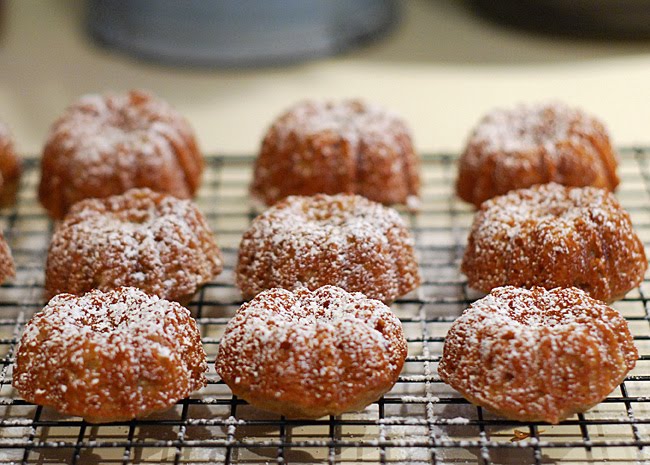
If you follow my blog at Nibble Me This, you know I am NOT a sweets kind of guy. I don’t eat much pie or cake. These little beauties were good and I MIGHT have taken one or four before Alexis started packing them up 🙂 But in my defense, you get to pop a whole (mini) bundt cake into your mouth, how could I resist that?
(Side note: If you have a round grill or know someone who does, enter my cast iron grate giveaway on my blog. It should be delivered by Christmas if you win and makes a ‘GRATE’ gift for the griller in your life. It’s over a $100 value and is one of my favorite grill tools.)