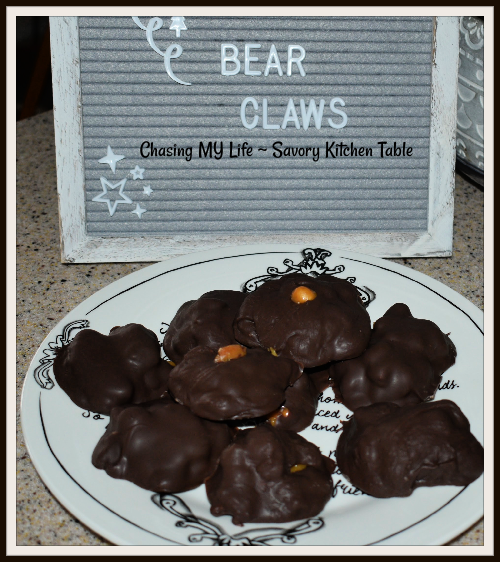
BEAR CLAWS OR PAWS ~ See’s Candy COPY CAT – 12 servings
30 KRAFT caramels (238 grams) or 1 (11 ounce) bag KRAFT Caramel Bits
3 tablespoons heavy whipping cream
1 tablespoon butter
1 teaspoon PURE vanilla
1/2 teaspoon sea salt
1 cup peanuts, salted roasted or honey roasted
12 ounces vanilla almond bark for polar or milk chocolate for regular
COARSE sea salt (optional)
holiday sprinkles (optional)
- Line a large cookie sheet with Silpat mats or parchment paper and grease it with butter or spray with non stick cooking spray. Set aside.
- Melt caramels with butter and cream in the microwave in 30 second increments, stirring, and repeating until completely smooth.
- Fold in vanilla, salt and peanuts. Let it sit in the bowl to cool for about 15 minutes, stirring every few minutes.
- Spoon onto the mats with a small cookie scoop into mounds. Chill in refrigerator for an hour or until set.
- Place almond bark in a bowl and melt in the microwave on low in 30 second increments and stir until melted and smooth.
- Dip each caramel cluster in the chocolate to coat.
- Holding it over the bowl, tap on the edge to let any excess chocolate drip back down.
- Place cluster back on the parchment lined pan and repeat with remaining clusters.
- Put the pan back in the refrigerator for an hour or until chocolate is set.
- Remove from parchment.
- Store in a cool place.


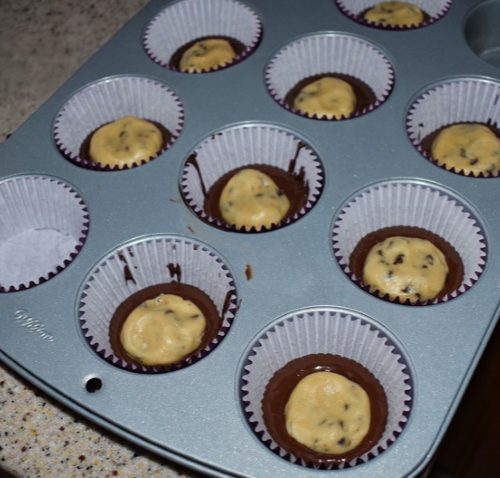
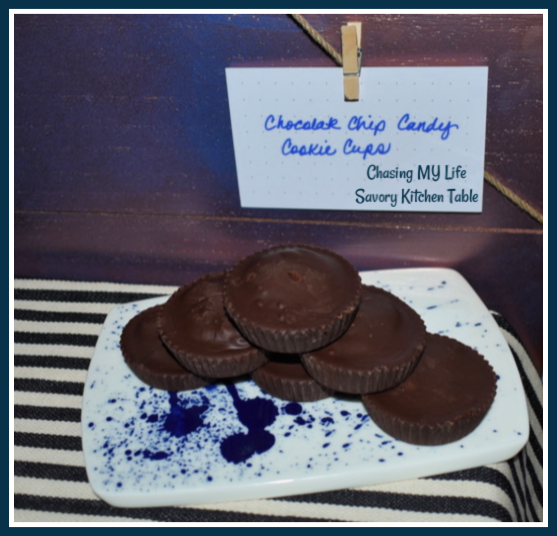 CHOCOLATE CHIP CANDY COOKIE CUPS yields 24 cookie cups