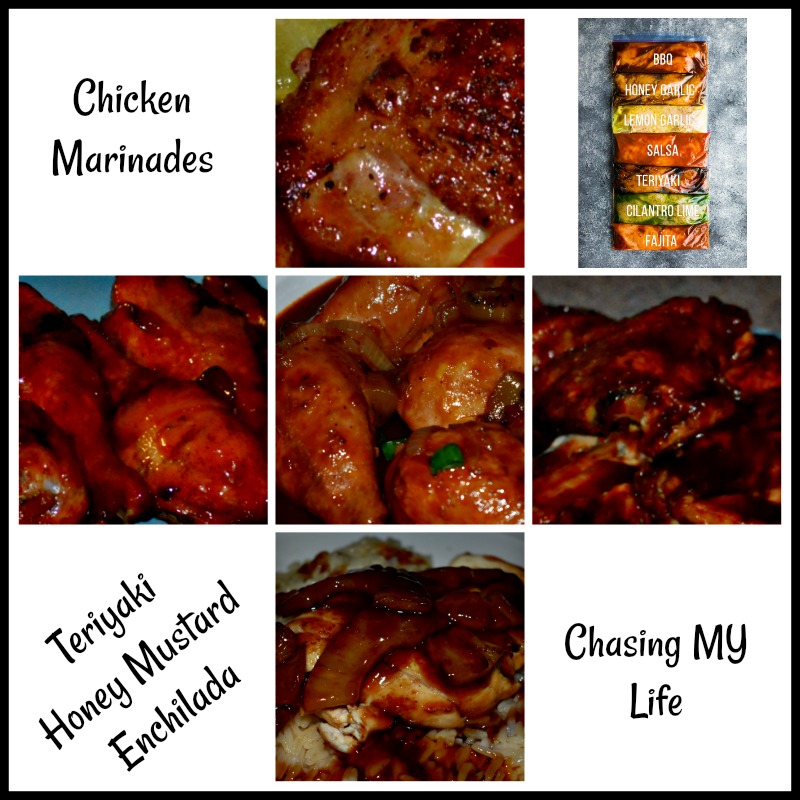
CHICKEN MARINADES adapted from ala Gimme Some Oven
These easy chicken marinade recipes are VERY simple to make, freezer-friendly as well as dependable and delicious too! AND they are perfect for ANY cooking method whether it’s baking, slow cooking or grilling.
Teriyaki Marinade:
1/3 cup BRAGG’S LIQUID AMINOS
1/3 cup rice wine vinegar
2 tablespoons honey
3 tablespoons peanut oil (or avocado oil)
1 teaspoon sesame oil
1/2 teaspoon garlic powder
1/2 teaspoon ground ginger
- Whisk all ingredients together in a small bowl until combined.
Enchilada Marinade:
3/4 cup chicken or vegetable stock
2 tablespoons enchilada seasoning (see below)
2 tablespoons avocado oil (or avocado oil)
- Whisk all ingredients together in a small bowl until combined.
Enchilada Seasoning
1/2 cup chili powder or chipotle (not cayenne)
1 teaspoon garlic powder
1 teaspoon salt
1/2 teaspoon ground cumin
1/2 teaspoon dried oregano
- Whisk all ingredients together in a small bowl until combined.
- Store in an airtight container for up to 1 year.
Honey Mustard Marinade
1/4 cup apple cider vinegar
1/4 cup Dijon mustard
1/4 cup honey
1/4 cup avocado oil
- Whisk all ingredients together in a small bowl until combined.
NOTE: Cooking times will vary depending on the cut of chicken that you use. Be sure and test your chicken temperature to be sure that it reaches a safe 165°.
These are basic recommendations for 8-ounce boneless skinless chicken breasts.
BAKING
- Heat oven to 425°.
- Place chicken on a baking sheet or in a baking dish.
- Bake for 10 minutes, flip the chicken and bake another 8-10 minutes until it is cooked through (165°) and the juices run clear.
- Remove from the oven, and loosely tent with aluminum foil.
- Let the chicken rest for at least 5-10 minutes and serve warm.
GRILLING
- Heat grill to medium-high.
- Oil chicken breasts.
- Grill for 10 minutes, flip the chicken and grill another 8-10 minutes, until it is cooked through (165°) and the juices run clear.
- Transfer the chicken to a plate, and loosely cover with aluminum foil, letting the chicken rest for at least 5-10 minutes and serve warm.
SAUTEING
- Heat 1 tablespoon oil in a medium sauté pan over medium-high heat.
- Add chicken breast and cook for 5-6 minutes, flip and cook another 5-6 minutes, until the chicken is cooked through (165°) and the juices run clear.
- Transfer the chicken to a plate, and loosely cover with aluminum foil.
- Let the chicken rest for at least 5-10 minutes and serve warm.
SLOW COOKING
- Add chicken and marinade to the bowl of a slow cooker.
- Cover and cook for 3 hours on high or 6 hours on low, until the chicken is cooked through (165°).
- Serve warm.


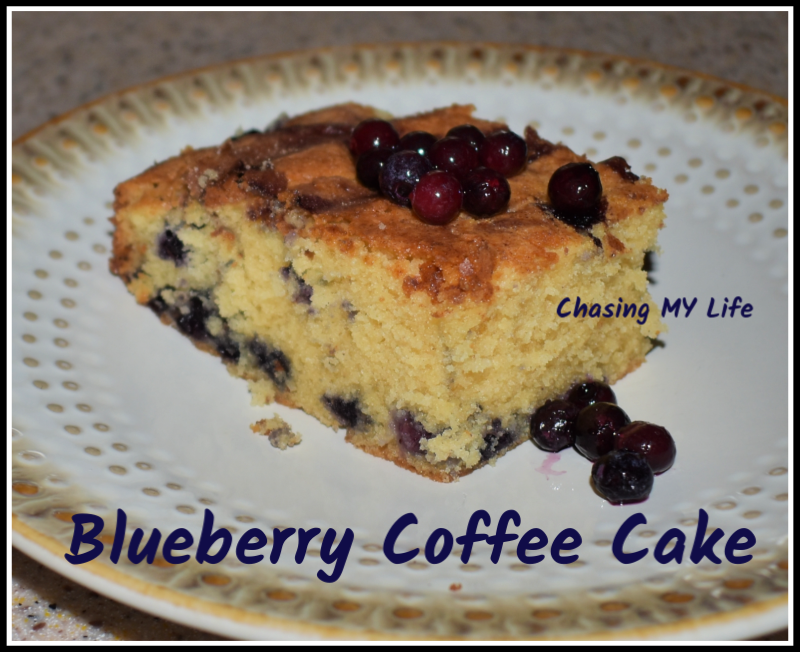
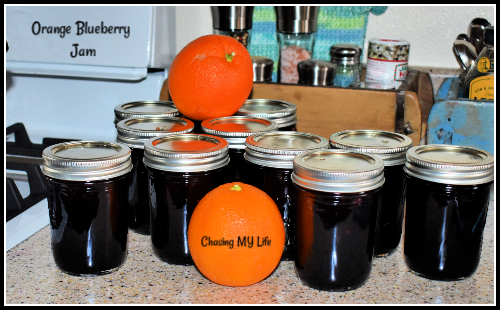 BLUEBERRY-ORANGE JAM yields about 12 half-pints


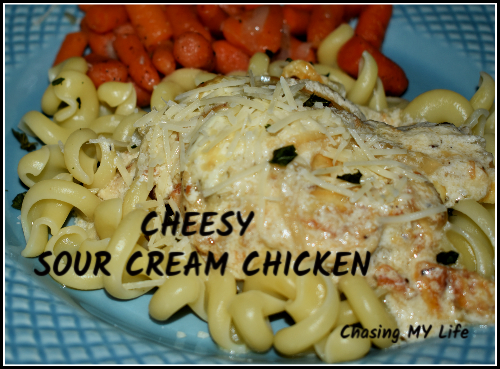 CHEESY SOUR CREAM CHICKEN adapted from
  KOREAN FRIED CHICKEN


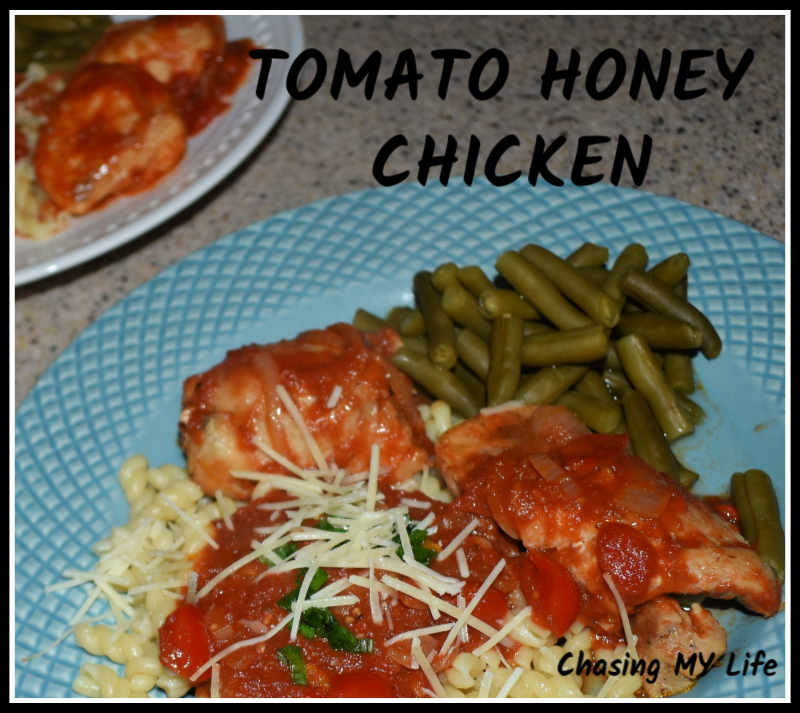 HONEY TOMATO CHICKEN

 This recipe is for recipe experiment night. I was looking for a tasty alternative that I could also use as leftovers for my lunches. I am happy to report that it was a success!
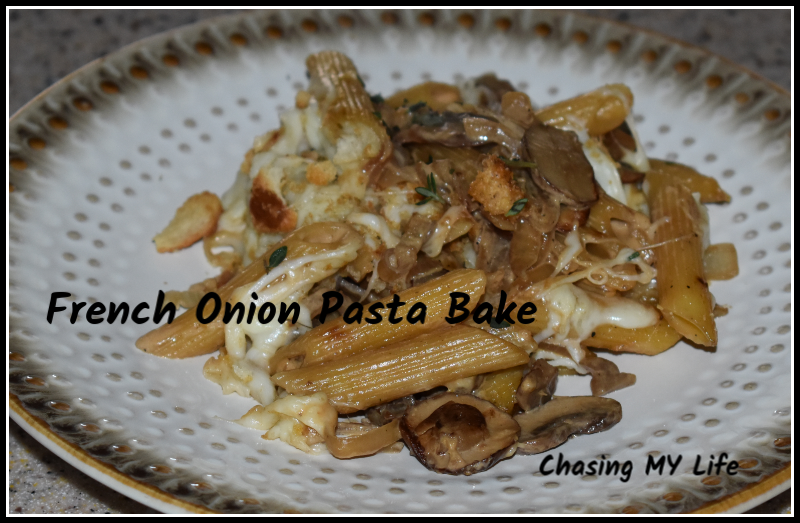 FRENCH ONION PASTA BAKE