Recently a friend and I were debating the flavorings I was going to use in an upcoming recipe and it led us to question a couple definitions, specifically for extracts and emulsions used in baking.
The main difference between emulsions and extracts are that the emulsions are water based and not alcohol based. Yet they can be substituted 1:1 in a recipe. So how do you choose which to use and when to use it when so many meet your flavor needs while cooking and baking? Best answer: you should choose an emulsion when you’re concerned about the flavor baking out of a recipe. Because they are water-based, bakery emulsions don’t evaporate as quickly as extracts, resulting in stronger aromas and tastes.
EXTRACT – an extract is a preparation containing the active ingredient of a substance in a concentrated form such as vanilla extract used in many cakes and cookies. SYNONYMS: distillation, distillate, concentrate, essence, juice
EMULSION – I found SEVERAL definitions for emulsions:
- A system (such as fat in milk) consisting of a liquid dispersed with or without an emulsifier in an immiscible liquid – liquids not forming a homogeneous mixture when added together.
- A fine dispersion of minute droplets of one liquid in another in which it is not soluble or miscible.
But for me the most accurate definition I think is:
- a mixture that results when one liquid is added to another and is mixed with it but does not dissolve into such as mixing oil and vinegar together which produces an emulsion.
Extracts and Flavors are great for both cooking and baking applications. Most extracts and flavors contain 45% alcohol by volume and require sufficient cooking time to evaporate the alcohol.
Use an extract or flavor in cookies, cakes, brownies, muffins, and other baked goods. You can also use extracts and flavors in homemade chocolates and candies.
Bakery Emulsions are water-based and alcohol-free versions of extracts. Use them the same way you would an extract but they are also especially great for flavoring frostings and other no-bake applications.
Bakery Emulsions have the same strength as extracts, so they can be substituted one to one in recipes. But conversely because they are water-based, bakery emulsions aren’t suitable for flavoring hard candies or chocolates.
I like the brands Cook’s and Lorann’s extracts and emulsions because they are fairly readily available in most specialty grocers.

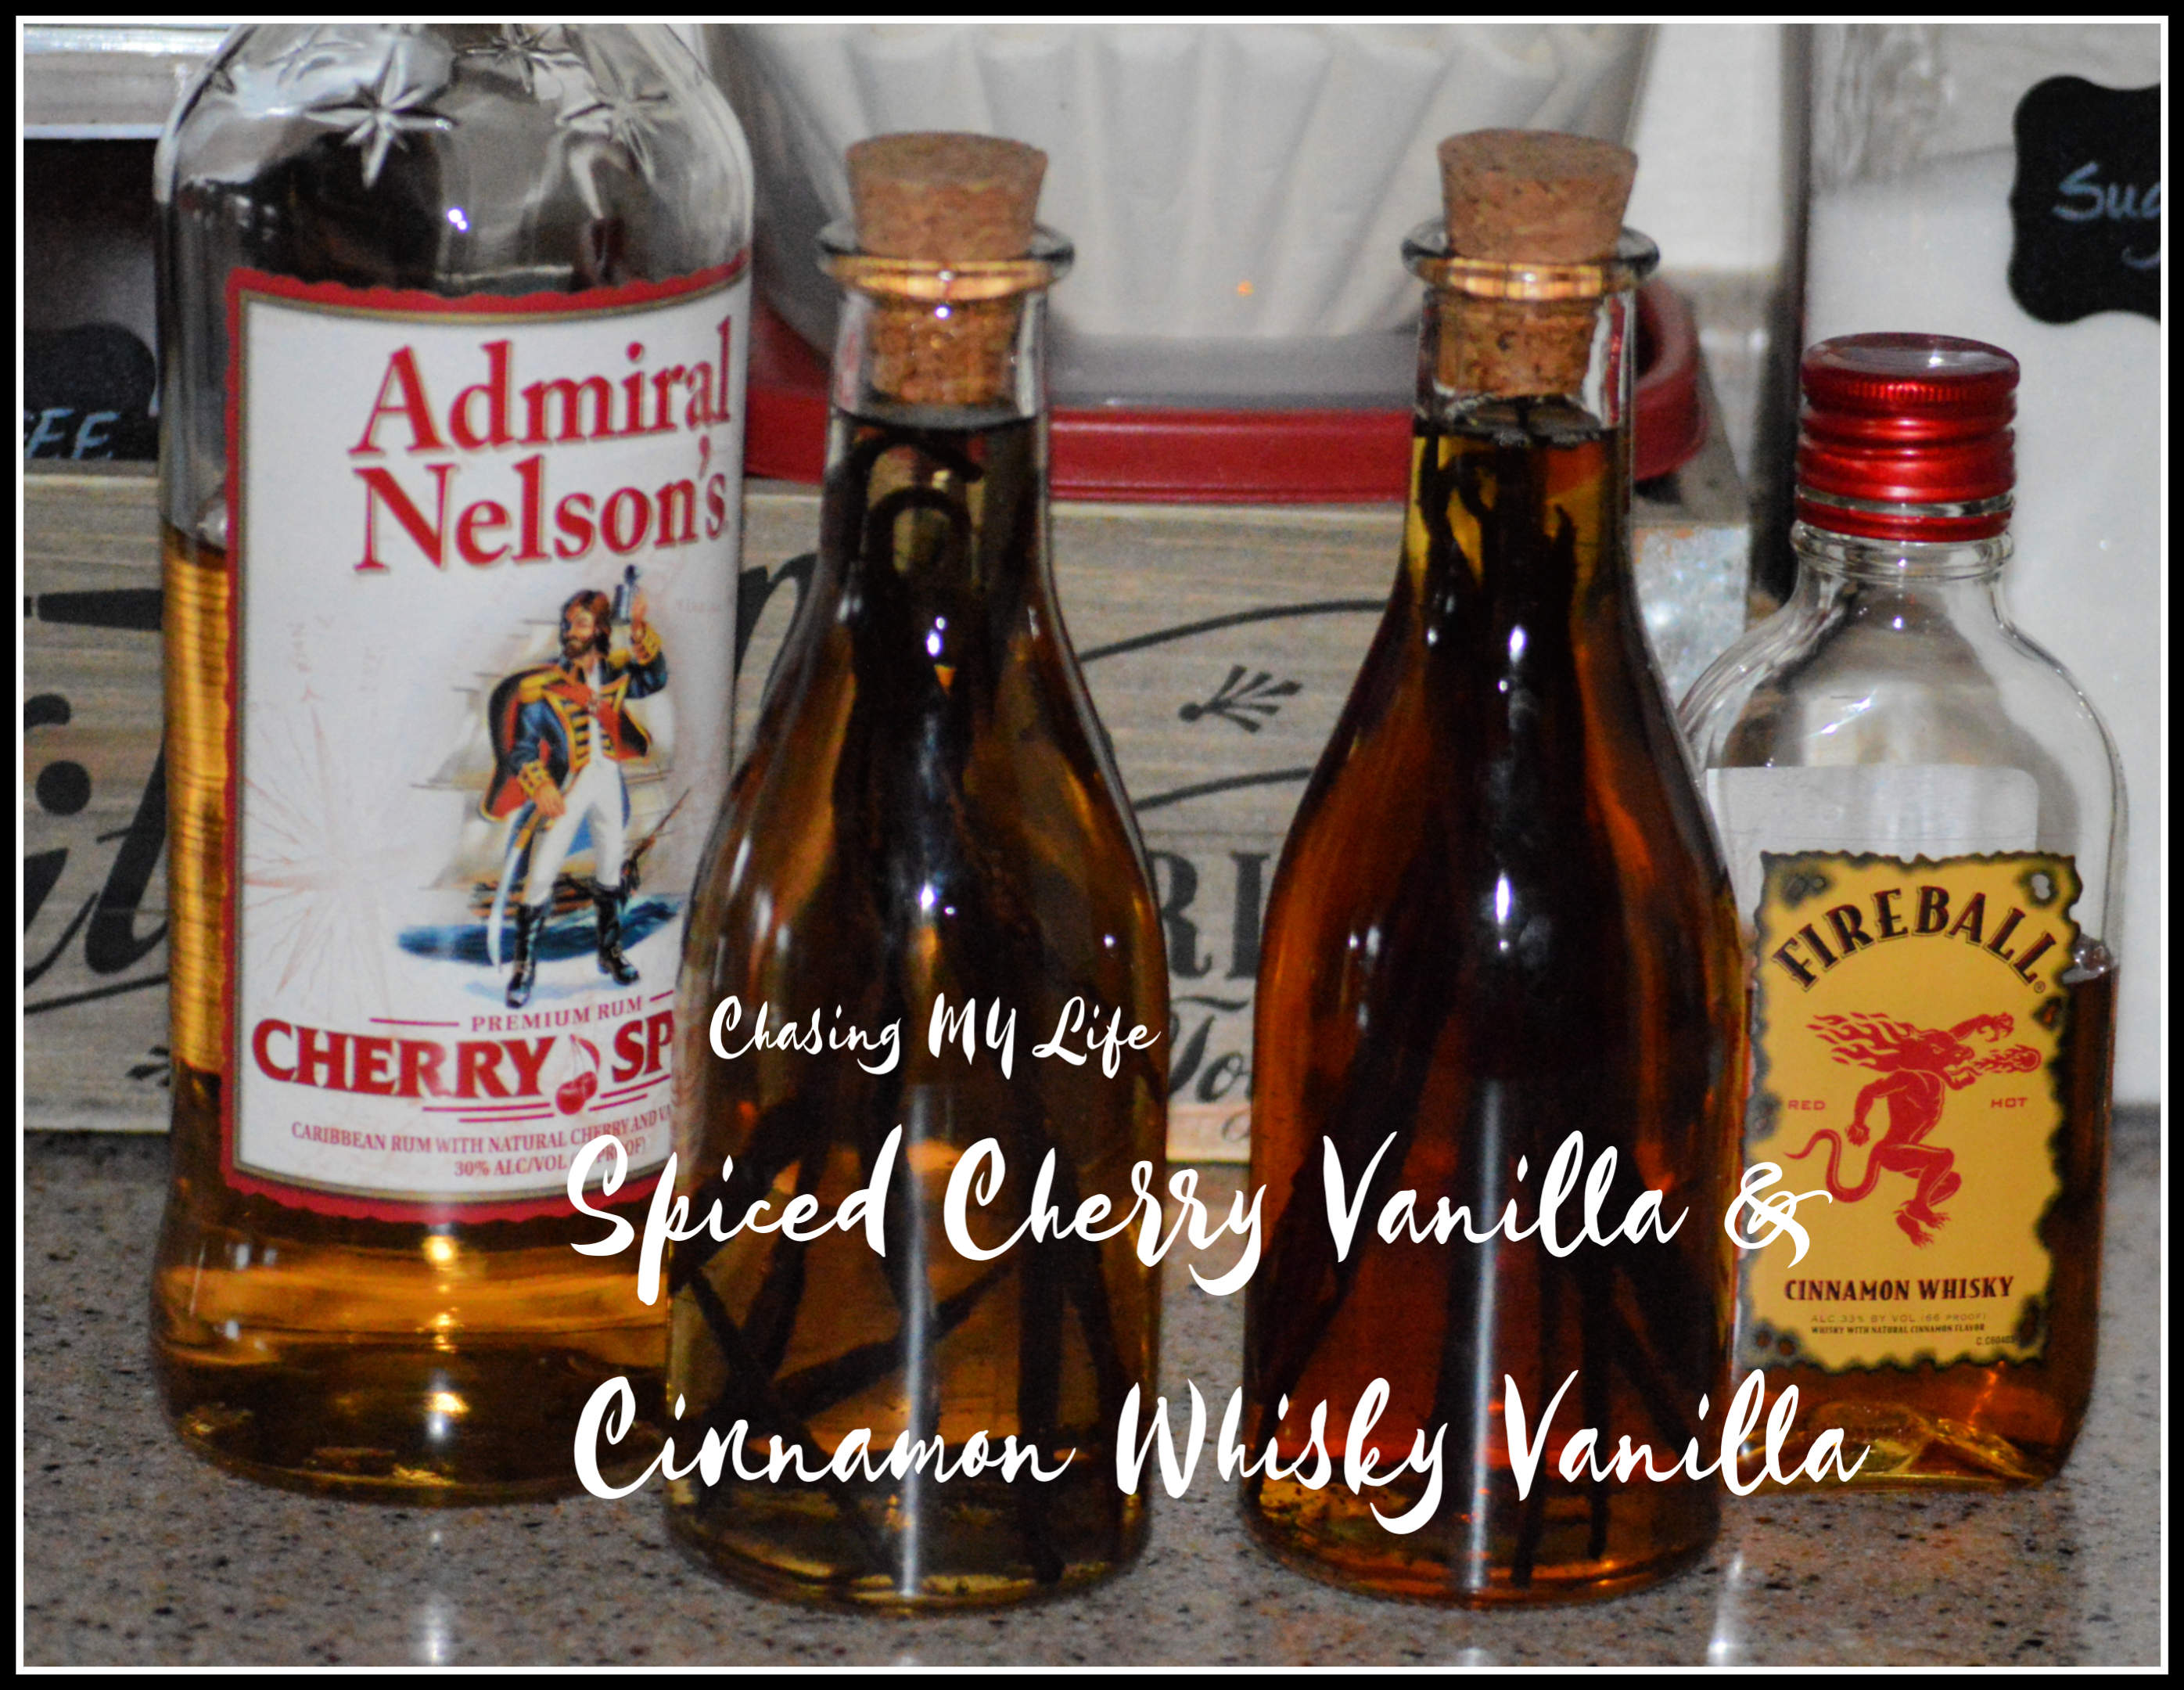
Making your own vanilla extract is easy too. Most recipes call for vodka, but I find flavored rums work really well to as do whiskeys.
VANILLA EXTRACT
6 whole Vanilla Beans
1 cup ALCOHOL of your choice
- Slice the vanilla beans in half lengthwise with scissors or a knife, leaving a bit intact at the end just to make it pretty. Cut the beans down to fit the height of your jar.
- Place beans in jar.
- Cover with alcohol.
- Screw the lid on tight or cork it and give it a good shake.
- Place in a cool, dark place for at least 2 months. The longer it sits, the stronger the flavor will be. Be sure and give the jar a shake every week or so.


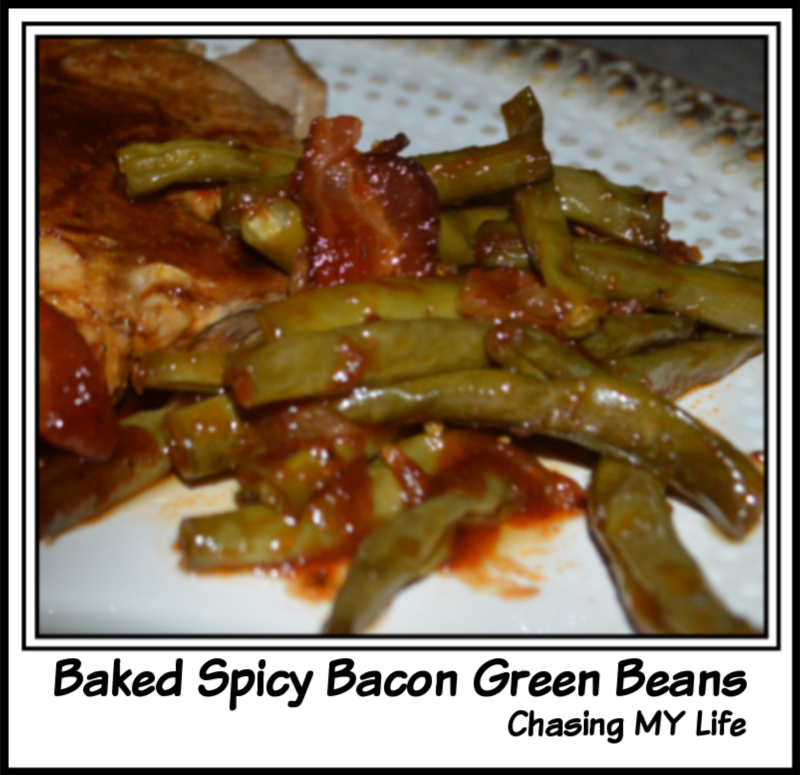 BAKED SPICY BACON GREEN BEANS
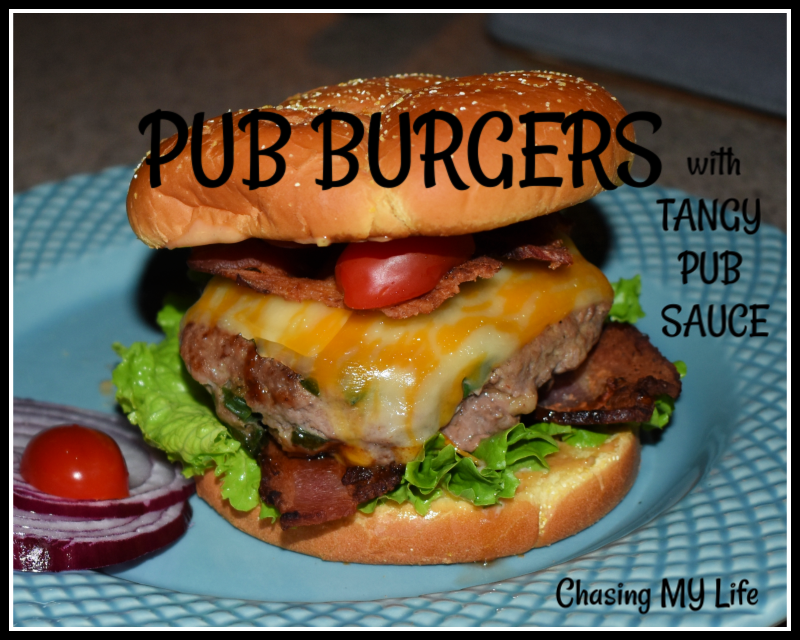 PUB BURGERS with TANGY PUB SAUCE serves 4
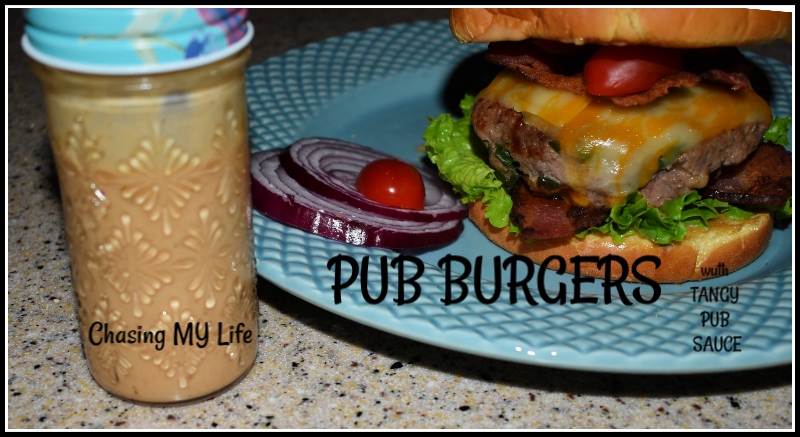

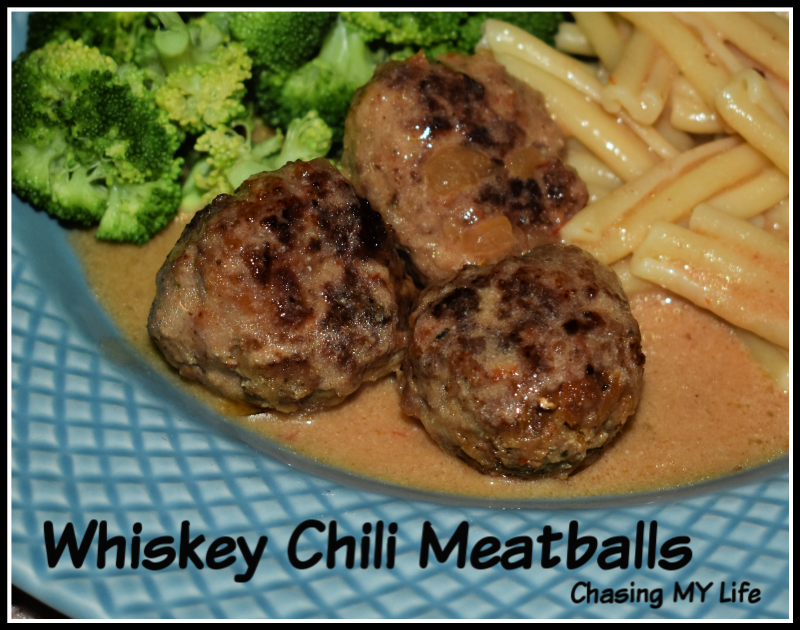
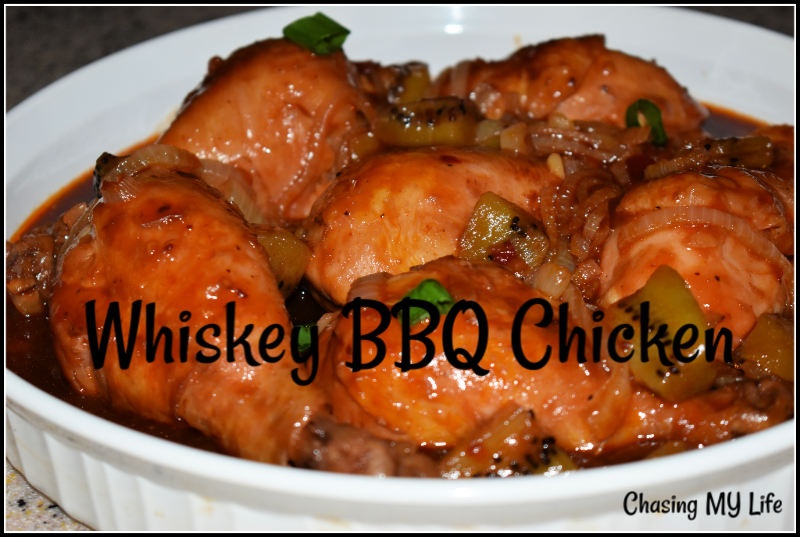 WHISKEY BBQ CHICKEN
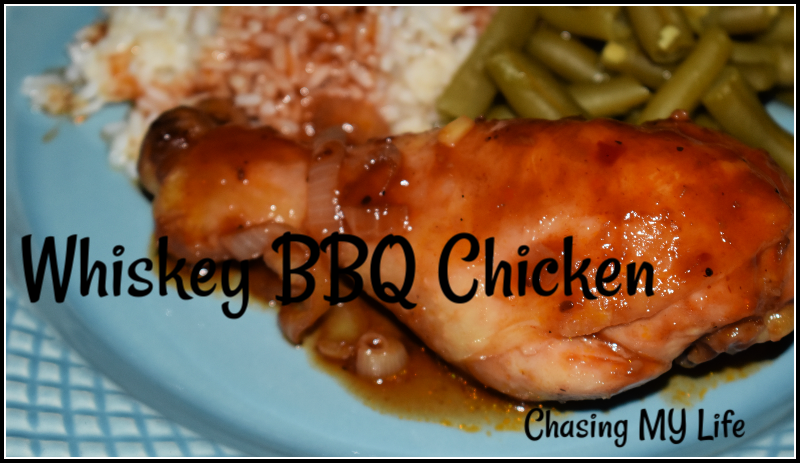


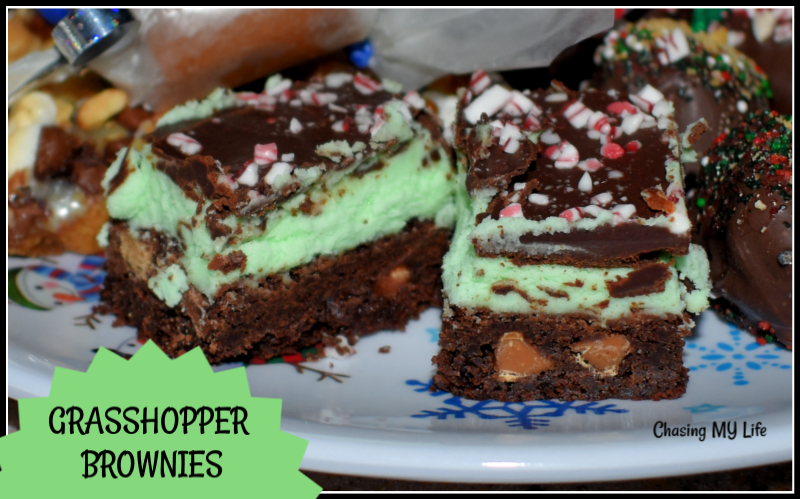 GRASSHOPPER BROWNIES
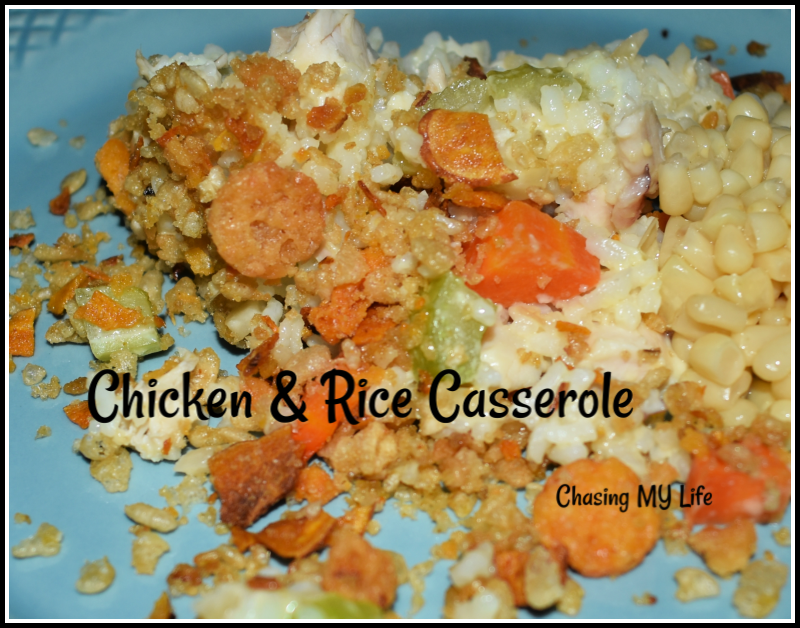
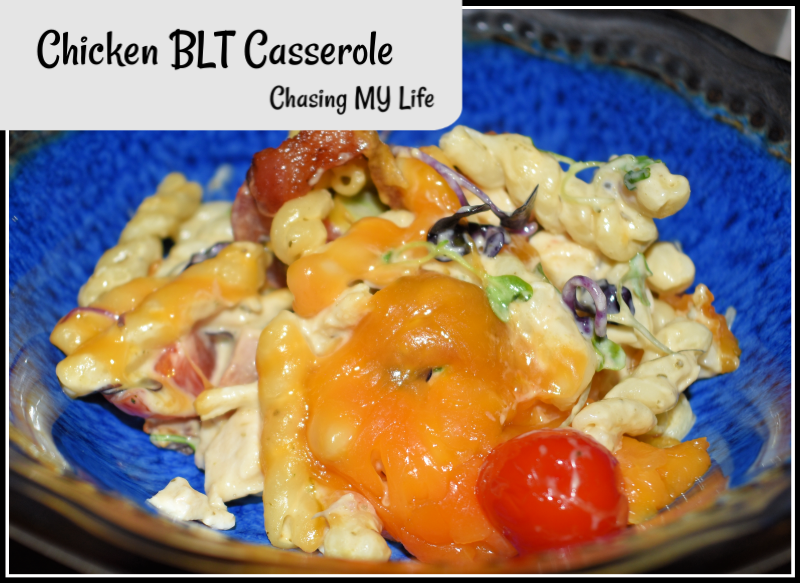 CHICKEN BLT CASSEROLE serves 6
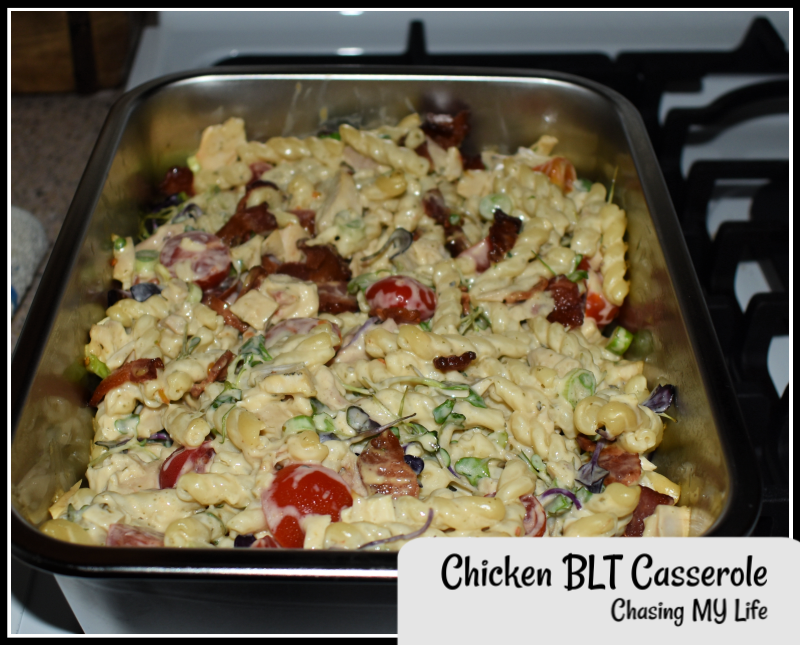
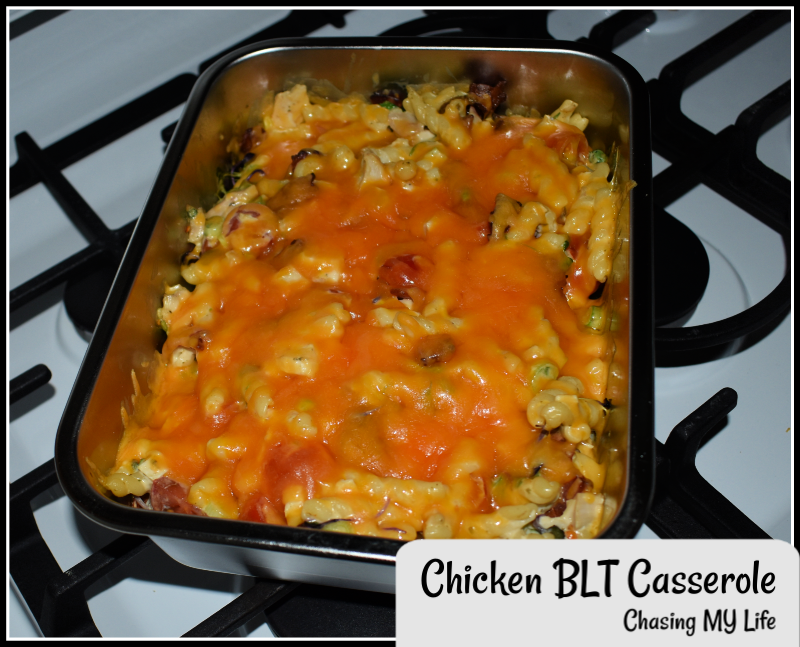