

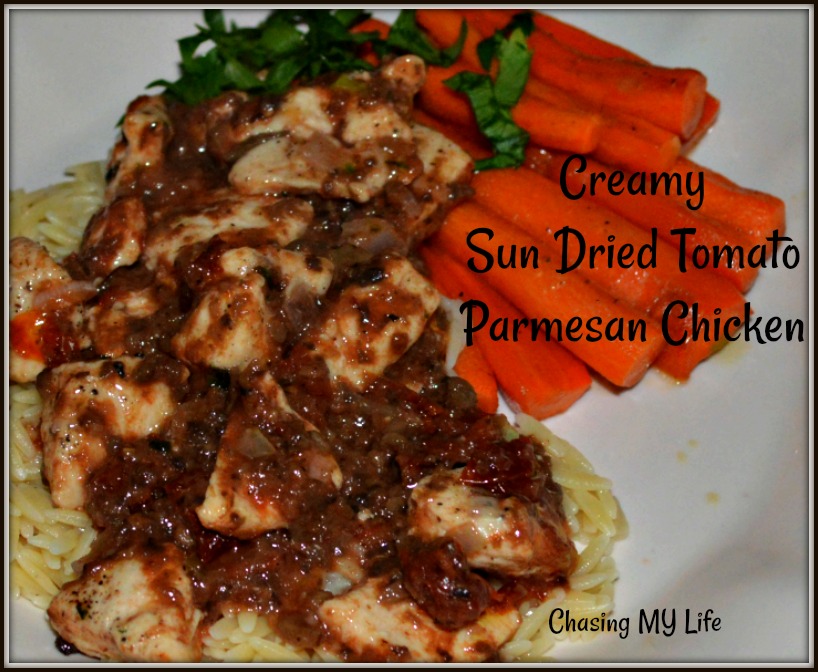
 CREAMY SUN DRIED TOMATO PARMESAN CHICKEN
1 1/2 pounds large THINLY sliced boneless and skinless chicken breasts
1 shallot, sliced thin
1 cup sliced mushrooms
6 cloves garlic, minced
1 teaspoon salt
3/4 teaspoon black cracked pepper (adjust to your tastes)
1 1/2 teaspoons paprika
1 teaspoon Italian seasoning
5 ounce jar sun dried tomato strips in oil drained (reserve 3 tablespoons of oil for cooking)
3 tablespoons reserved sun dried tomato oil or olive oil, divided
5-6 button mushrooms, diced
1/2 cup white wine
1 1/2 cups heavy cream
1 1/2 – 2 cups spinach (optional)
1/2 cup fresh grated Parmesan cheese
2 tablespoons fresh chopped parsley to serve
- Season chicken with salt, pepper, paprika and onion powder.
- Heat 2 tablespoons of the reserved sun dried tomato oil in a large skillet over medium-high heat.
- Sear the chicken for 2 minutes or so each side, or until golden and cooked through.
- Transfer to a warm plate and set aside.
- Add the remaining oil to the pan.
- Add shallots and garlic, sautéing a minute or so until garlic is fragrant.
- Add in the sun dried tomatoes and mushrooms if using sautéing 1-2 more minutes to release their flavors.
- Add paprika and Italian seasoning, stirring to blend.
- Reduce heat to a medium-low.
- Add white wine and then the heavy cream, stirring to blend.
- Bring to a gentle simmer, while stirring occasionally.
- Season to taste with salt and pepper.
- Add the Parmesan cheese. Allow sauce to simmer for a few minutes until cheese melts and blends into sauce.
- Add in spinach leaves if using and allow to wilt in the sauce.
- Add the chicken back into the pan; top with parsley and serve over pasta.
 BALSAMIC BAKED MOZZARELLA CHICKEN serves 4
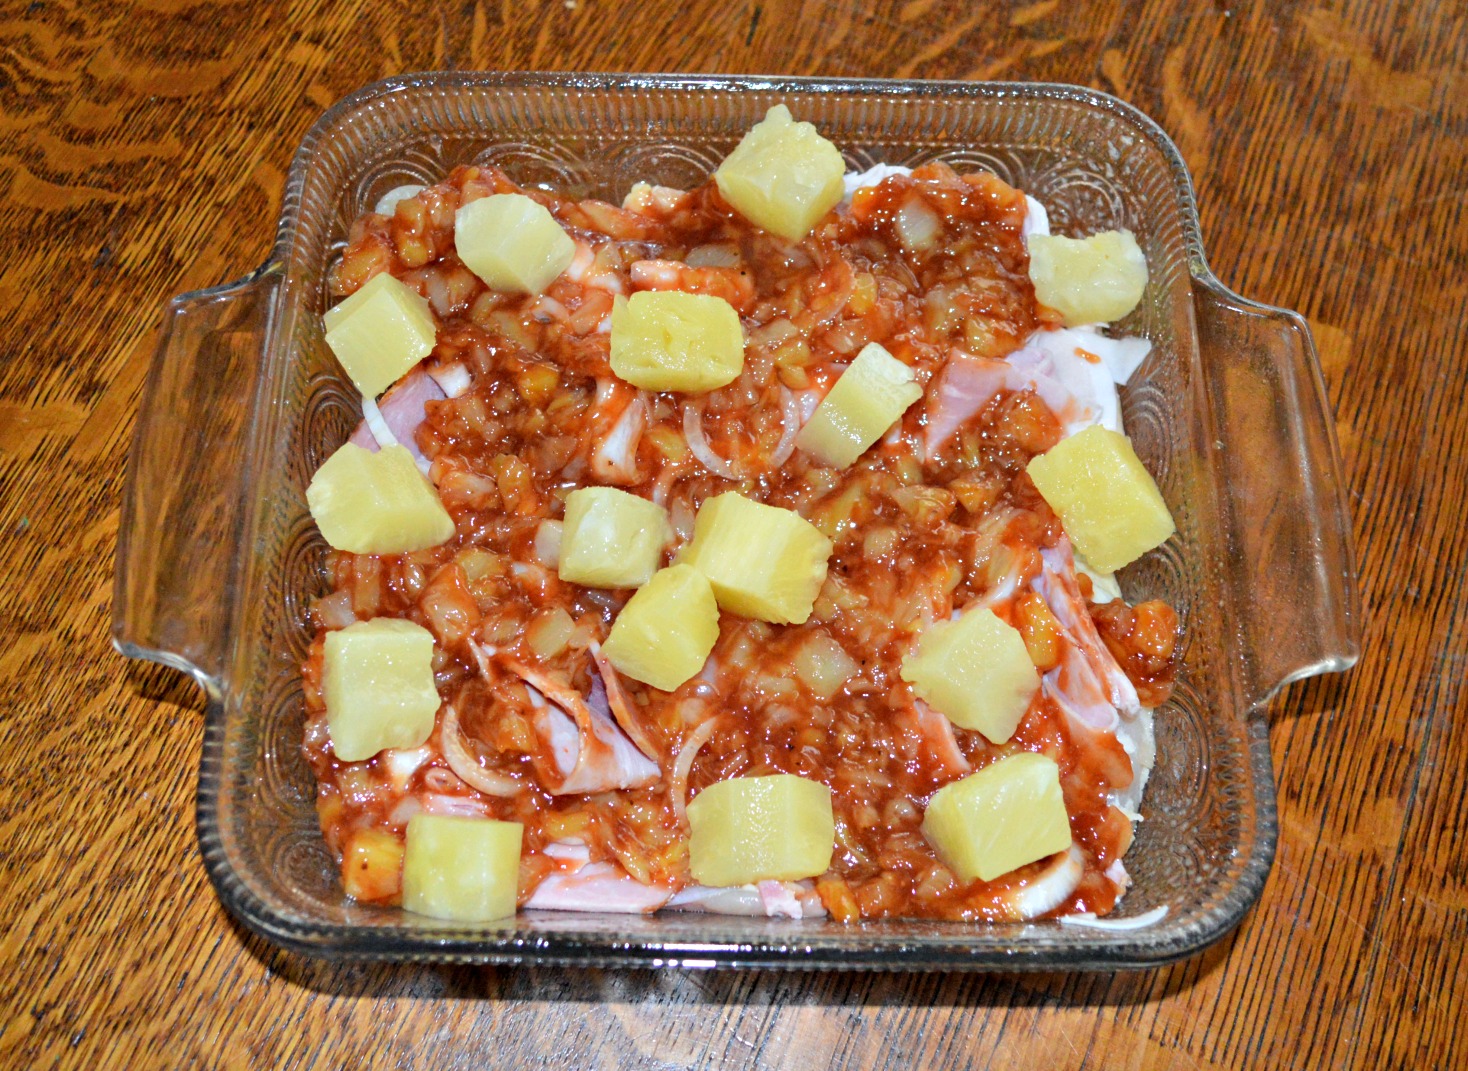
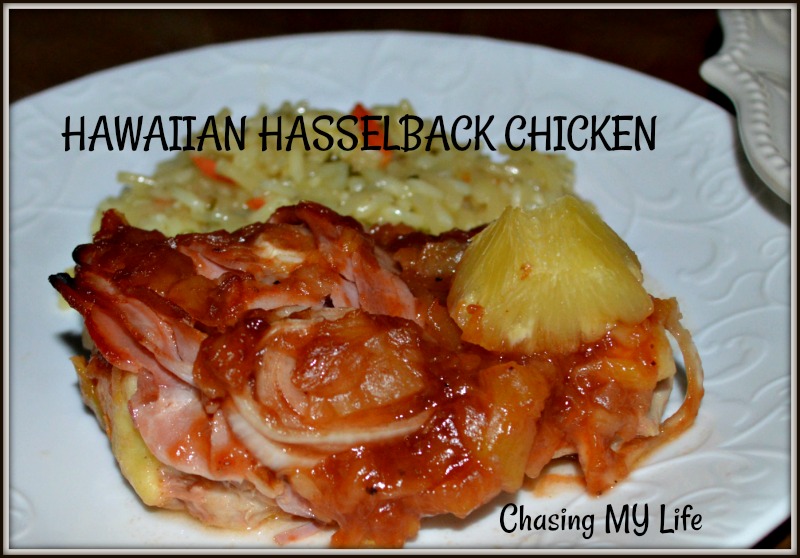 HAWAIIAN HASSELBACK CHICKEN adapted from
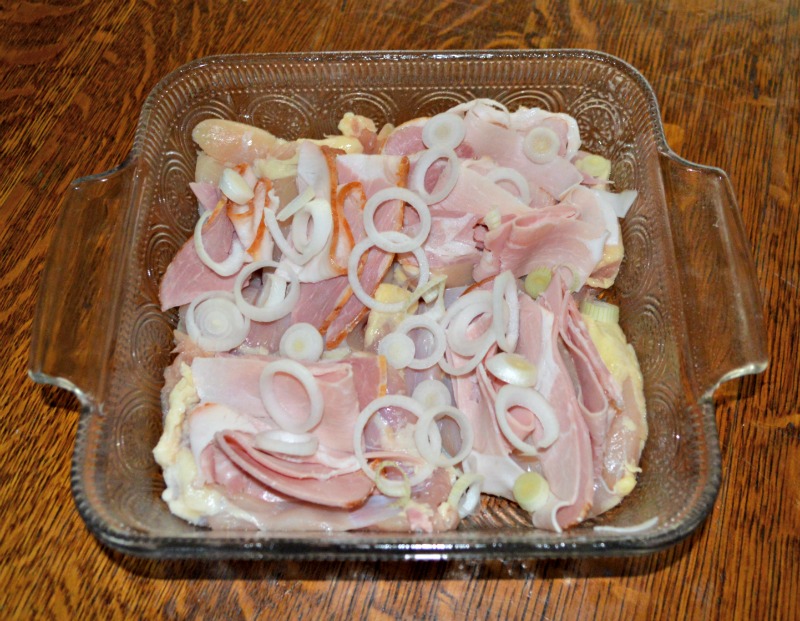


 Somehow in Chasing MY Life I got away from my actual description of the journey. My life became all about the kitchen, well at least primarily. One of the discoveries I’ve made with life altering surgery that changed how I eat is that my life is no longer just about the food and recipes.
 CHILI HONEY LIME SALMON
 PEACH CRISPS
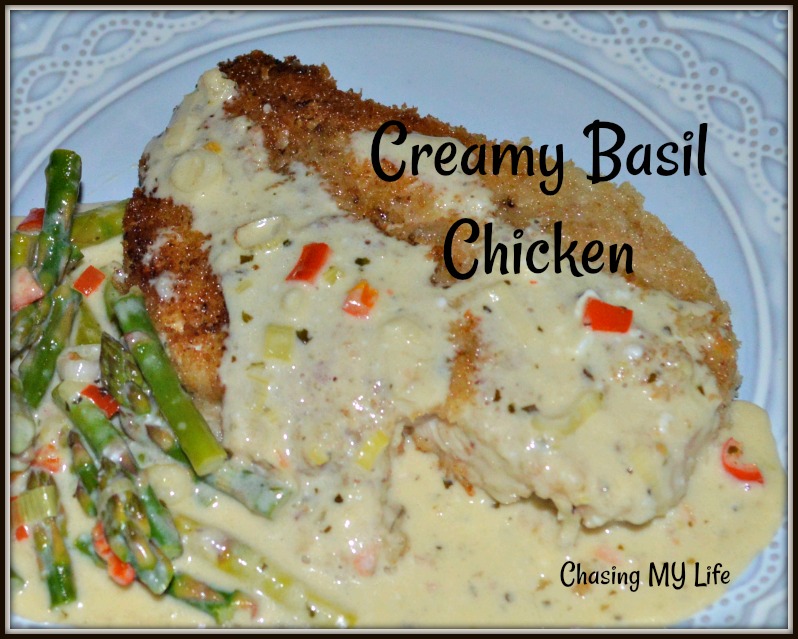 CREAMED BASIL CHICKEN
 BACON PICKLE FRIES – yields 12 “fries”