Fettuccine Alfredo in casserole form is a fool proof week night meal. I add pieces of rotisserie chicken to this no-boil, one dish method making it an easy AND complete meal all in the same baking dish. It will quickly become a family favorite. The pasta cooks in the broth and half-and-half as they bake and reduce into a traditional Alfredo sauce. Serve with a side of steamed broccoli or a Broccoli & Sun Dried Tomato Salad for a colorful and complete meal. This is a lightened up version of the recipe I used to make for Baked Chicken Fettuccine.
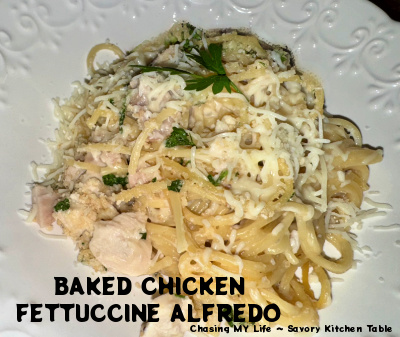
BAKED CHICKEN FETTUCCINE ALFREDO serves 4
8 ounces dry fettuccine, snapped in half
1 cup homemade chicken stock
3/4 cup water
2-3 cloves garlic, FINELY minced
Juice and zest of 1 LARGE lemon
FRESH ground sea salt, to taste
- Preheat oven to 400°.
- Lay pasta in the bottom of a 9×9 baking dish.
- Whisk together the remaining ingredients and pour over pasta.
- Cover dish with foil and bake 20 minutes.
- Uncover, stir pasta, recover and bake another 20 minutes.
1 1/2 cups half-and-half
1 cup grated Pecorino, Asiago or Parmesan cheese
FRESH ground black pepper, to taste
1 1/2 cups rotisserie chicken pieces
- Uncover casserole and stir in half-and-half, cheese and pepper.
- Re-cover and bake 15 minutes.
- Stir in chicken pieces.
- Remove foil, stir and bake 15 minutes more.
1/4 cup FRESH FINE bread crumbs
1/4 cup grated Pecorino, Asiago or Parmesan cheese
1/8 cup FRESH chopped Italian Flat leaf Parsley
- Remove casserole from oven.
- Increase heat to broil and place rack 6 inches from heating element.
- Stir together the toppings and sprinkle evenly over casserole.
- Broil 3-5 minutes until golden.
- Serve immediately.
NOTE: If you prefer, ANY pasta works as long as they are submerged under the liquid – fettuccine is just standard with Alfredo sauce 🙂
BROCCOLI & SUN DRIED TOMATO SALAD
8 cups broccoli florets
1/2 cup water
1 clove garlic, minced
FRESH ground sea salt
2 tablespoons sun-dried tomatoes in oil
2 tablespoons FINELY grated Pecorino cheese
- Whisk together water, garlic and salt in large sauce pan.
- Add broccoli florets and cook covered over medium heat 6-8 minutes until water evaporates.
- Stir in chopped sun dried tomatoes and season to taste.
- Garnish with cheese.
- Serve immediately.