Category: CHRONICLES OF A BUNGLED REAL ESTATE DEAL
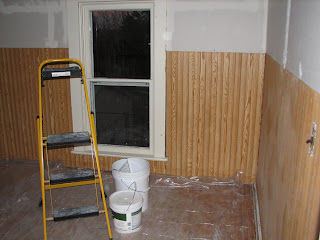
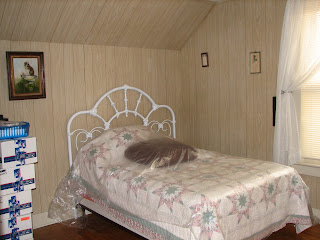
House Update – Chronicles of a Nightmare – Kathryn’s Room ~ Part 6
House Update ~ Chronicles of a Bungled Real Estate Deal ~ Stairway ~ Part 5E ~ Sneak Peek
House Update – Chronicles of a Bungled Real Estate Deal ~ Stairway ~ Part 5D ~ Anantomy of making something out of nothing at all
We created an anchor board to secure the top banister to the wall and make it secure once again.
We kept ‘building’ and arranging until it matched up with the old molding and covered the patch area securely.
House UPDATE ~ Chronicles of a bungled Real Estate deal ~ Stairway ~ Part 5C
House UPDATE ~ Chronicles of a bungled Real Estate deal ~ Stairway ~ Part 5B
House Update ~ Chronicles of a Real Estate Nightmare ~ Stairway ~ Part 5A
The banister spindles will also be painted with the semi-gloss BEHR Innocence White and the wood work cleaned and polished. It has been neglected for many years. The stairs are going to be sanded and painted brick red. Uh-oh I forgot to put the light back together.
House Update ~ Chronicles of a Real Estate Nightmare ~ Stairway ~ Part 5A
House Update ~ Chronicles of a Real Estate Nightmare ~ Amber's Room ~ Part 4
INTERIM BEFORE
House Update ~ Chronicles of a Real Estate Nightmare ~ Amber’s Room ~ Part 4
INTERIM BEFORE
Amber, your room is ready!
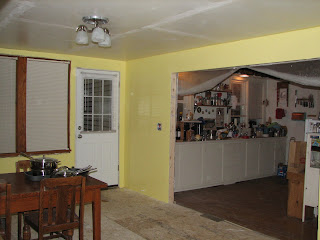
House Update ~ Chronicles of a Real Estate Nightmare ~ Kitchen Part 3


House Update ~ Chronicles of a Nightmare ~ Downstairs Bathroom Part 2
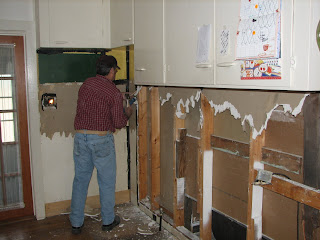
We took a sharp knife and peeled back part of the paint near one of the blotches and discovered our worst nightmare, black mold. Every spot we checked was the same. We took out an entire wall near the toilet and found it encased in mold.
We began the arduous task of tearing out the bathroom walls. We found what we believe 3 separate sources of the mold. Source number 1 was behind the shower head wall. Now this is the biggest reason in the world not to use on of those over the shower head hanging caddies for shampoo and such. We found that pipe that goes to the shower head had bent and cracked. They had tied a pair of red stripe cotton capris around the leak and left it. It evidently continued to leak into the wall for an extended amount of time.
Behind the fiberglass shower walls was a thick layer of solid mold. That wall backed up to the kitchen which would need to be removed also, but I’m getting ahead of myself. In this same bathroom they had repaired a corroded sink pipe with electrical tape and just left it to continue rotting, so here is source number 2. Source number 3 was on that same sink where the pipes went through the floor to the basement and here we found the matching top to the capris tied around an old leak.
So before it was over, the only things left standing in this room were the bathtub and structural 2x4s (and even some of these had to be replaced). This room has all new plumbing and fixtures as well as walls, floor, ceiling and paint. This was a blessing in disguise because we also found all the faulty electrical (you know where they just twisted the wires together, cut off the ground and threw them into the wall behind a ‘new’ switch) and hired a reputable electrician to bring the entire house to code.
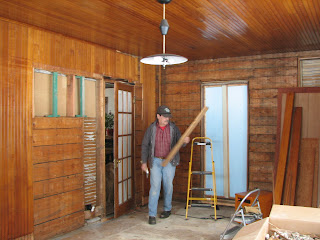
Since we had to do it anyway we decided to use bead board and old fashioned ceiling tiles to enhance the character of this old house.
It’s a hard room to photograph, but here’s the new bathroom:


