I saw a fun piece a couple weeks ago about roller coasters and thought I’d share the highlights with you for National Roller Coaster Day. If you want to read the entire article you can find it here.
The patent dates back to August 16, 1898, hence today being national roller coaster day, and was granted to Edwin Prescott from Massachusetts for the vertical loop. Many attribute the Coney Island Loop the Loop coaster as the first. It wasn’t the first, but it did offer a safer and more comfortable version of the loop with the elliptical shaped loop. Prescott’s loop was less successful, though the first. His loop only allowed a single car with four passengers to ride at a single time. His coaster closed after only 9 years in operation, but in honor of his pioneering spirit August 16th is celebrated as National Roller Coaster Day.
Here is a synopsis of the fun facts. Be sure to read the article above if you’re looking for more details.
1. The American roller coaster was invented to save America from Satan. In 1884 LaMarcus Anna Thompson invented a coaster on Coney Island called the Switchback Gravity Railway and you could ride for just a nickel. His goal was to create a diversion from the hedonistic appeal of saloons and brothels. He is often referred to as the “Father of the American Rollercoaster” because of the obvious connection to amusement parks. BUT, his rollercoaster was not like any rollercoaster we know today. A gravity based, slow moving coaster with cars that faced outward, not forward to enjoy constructed scenes or pretty pictures if you will, of scenes like the Swiss Alps or the Venetian canals and only traveled at less than six miles per hour.
2. One of the earliest coasters in America carried coal before it carried thrill seekers. In 1827, predating Thompson’s Satan distractor by several decades, the Mauch Chunk Switchback Railway in the Lehigh valley was used to haul coal between coal mines. It was a gravity based coal carrier that could reach fifty miles per hour in the morning and a joy ride in the afternoon. Mules would bring it back up the grade when empty.
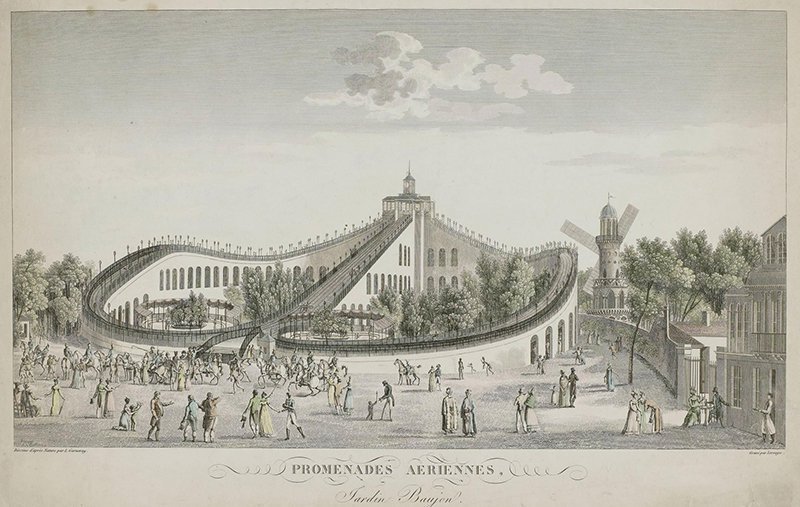
 Mount Pisgah with the Mauch Chunk and Summit Hill Switchback Railroad, 1846-47. Wikipedia
3. “Russian mountains” predated roller coasters—and Catherine the Great improved them. These are actually quite interesting to me as they deal with snow, but Catherine II popularized it for the “upper class” installing one on her property that could be used year round with sleds in the winter and wheeled cars in the summer.
4. Roller coaster loops are never circular. “Sure, some roller coasters can loop-the-loop, but have you ever noticed it’s never perfectly circular? To oversimplify things, the loop isn’t a circle itself, it’s roughly the part where two circles hypothetically overlap, sort of like the middle of a Venn diagram. Secondly, some physics: Centripetal force is what holds keeps you from falling out of roller coaster while it’s upside down. Simply speaking, this means when you’re traveling on a curved path and velocity is pushing you forward, you’re also being pulled toward the curve’s central point. When roller coasters are designed, the engineers’ first job is to establish how fast they want you to go. Taking centripetal force into consideration will dictate the shape and size of the loop.”
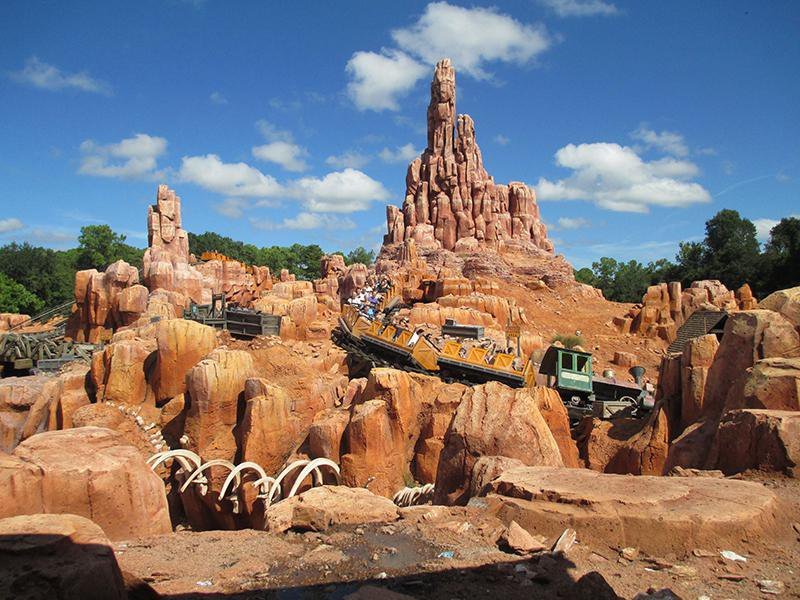
5. Riding Big Thunder Mountain Railroad at Disney World could help dislodge kidney stones. There have been studies done… and the short of it is that two-thirds of the time if you have a kidney stone it will be dislodged during this ride if you are sitting in the rear of the coaster.
6. The clanking powered chain lift allows roller coasters to climb those first big anxiety inducing inclines was invented by Phillip Hinkle. Up until 1884 when he invented this lift, riders would have to climb steep stairs or hills to board the cars. Gravity would take over from that point. Coasters like the Coney Island’s Gravity Pleasure Road, also known as the Oval Coaster could be built on an elliptical path because of Hinkle’s invention.
7. As of now, Kingda Ka at Six Flags Great Adventure in Jackson, New Jersey is the tallest roller coaster in the world. It climbs 465 feet straight up before descending rapidly from zero to 128 miles per hour in only 3.5 seconds in order to speed you up 45 stories high at a 90-degree angle. But, the rest of the ride is a 50.6 second blur.
8. The fastest roller coaster is Formula Rossa at Ferrari World Abu Dhabi. This coaster goes from zero to 149 miles per hour in just 4.9 seconds. It has a maximum height of 170 feet and an adrenaline rush of 4.8Gs. It’s known for making you feel like a race car driver, though some say it just leaves you feeling sick.
9. The Steel Dragon 2000 at Nagashima Spa Land in Japan opened August 1, 2000 and is the longest coaster (1.5 miles) in the world, but when it opened it was ALSO the fastest and tallest though other coasters have stolen the fastest and tallest crowns since.
According to Coasterpedia: The chain lift hill is an initial drop of 306.8 foot and a 252 foot camelback hill. The train subsequently rises up and into the figure-eight shaped helix. The train then passes through a mid-course brake run and over six more camelback hills, passing through two tunnels along the way before reaching the final brakes.
10. You know that gorgeous guy, Fabio Lanzoni, who is on the covers of so many romance novels form the 80’s and 90’s? Fabio was allegedly struck in the face by a goose when debuting the Apollo’s Chariot at Busch Gardens Williamsburg. Though he claims the bird struck a video camera that then struck him. Either way if you’ve ever been suspicious of boarding a roller coaster because it takes you awfully close to where birds are zooming around, your fears are not unfounded.
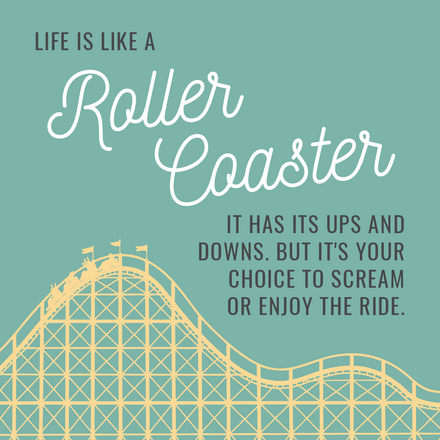
11. Brain chemistry is responsible for whether or not you enjoy roller coasters. Not everyone enjoys the loops, hills, turns, speed, dips, drops and spirals of today’s coasters.Higher levels of dopamine, which are neurotransmitters associated with reward-motivated behavior, are linked to many sensation seeking activities. Endorphins which lead to increased feelings of euphoria could also explain why you like the thrill so much.
12. Born to be wild are the future roller coasters that promise cars that rotate and roller coaster-water slide mashups. A few years ago the U.S. Patent and Trademark Office published five patent applications from Universal for amusement park technologies.
Two patents laid out ways for coaster cars to change direction while the coaster was moving, turning sideways as well as forward while the ride is in motion. Disney similarly applied for a patent that would allow a car’s seat to move while the coaster is cruising. But spinning cars aren’t the only thing coming. Also a German rollercoaster manufacturer shared conceptual renderings for what they called the “world’s first hybrid roller coaster and waterslide”. Others are after that title also as a Canadian company opened Cheetah Chase: the world’s first launched water coaster at Holiday World and Splashin’ Safari in Indiana.
13. Ron Toomer is an American engineer credited with pioneering steel rollercoasters, one of the most famous roller coaster designers had bad motion sickness and RARELY rode any of his rides. Just the thought of it would make him queasy. The bigger they were, they sicker he’d get. He designed the Runaway Mine Ride at Six Flags Over Texas in 1966 which was known for its “tubular track” and the “inverted helix-shaped” Corkscrew, which also sprung up at a number of parks, in 1975. He was also responsible for the first suspended coasters—where the car hangs like a swing. According to him in an interview with People magazine in 1989, he’s quoted saying, “They’ve gotten too big. And the bigger they are, the sicker I get. Just the thought of riding on one makes me queasy. I’d much rather sit at my drafting table and draw them.”.
14. If you like your coasters rickety, then Leap-The-Dips in Altoona, Pennsylvania, is the ride for you. This wooden rollercoaster was built in 1902, and, yes, 120 years later, it is still in operation. It only goes ten miles an hour and doesn’t have seatbelts, lapbars or headrests and was quite the innovation for its time. It is a side friction coaster, which means it has weight-bearing road wheels underneath the cars to guide it and side-friction wheels off to the side that employ friction to keep the cars on the track. The industry standard now is coasters with underfriction, or up-stop, wheels that keep speedy coasters from lifting off their tracks. This coaster is apparently still inspiring inventors today. Elon Musk’s HyperLoop first PROPOSED in 2013, is a theoretical form of transportation for a dream world traffic congestion solution that could be used to move vehicles (tubes) at speeds of 760 miles per hour per hour and is essentially a side friction coaster on steroids.


 Credit: Robert Moss
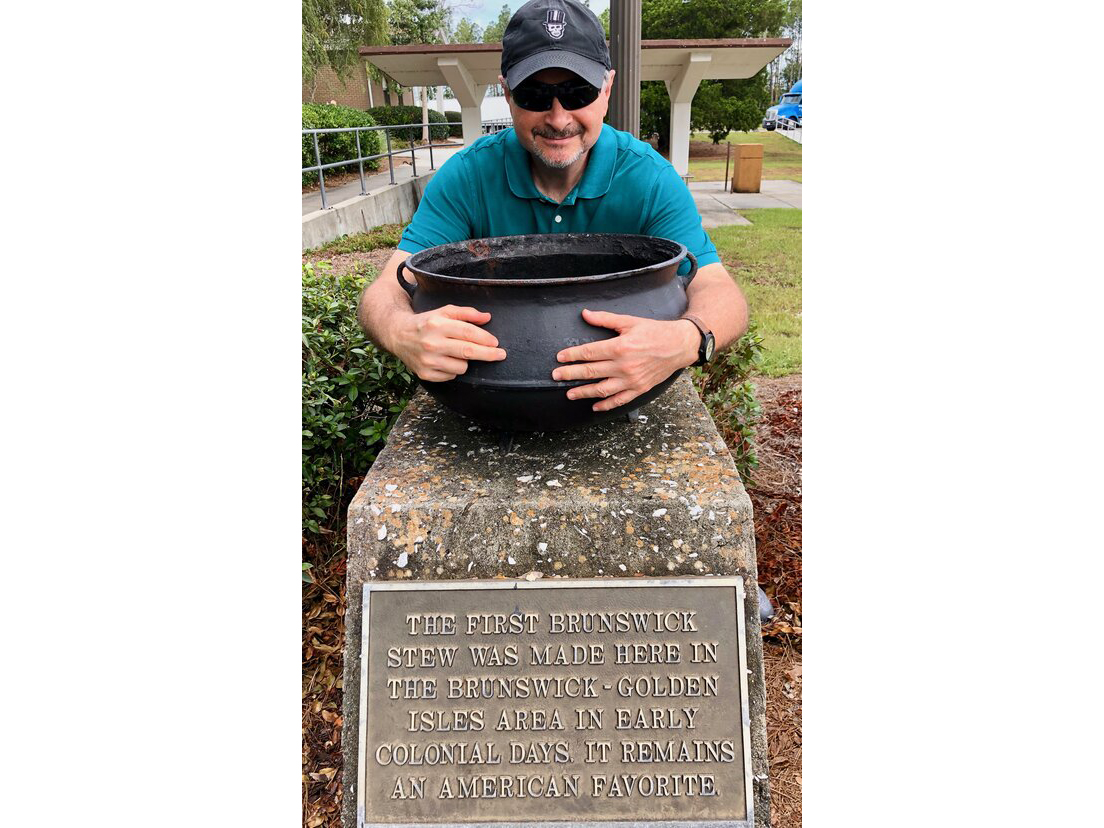
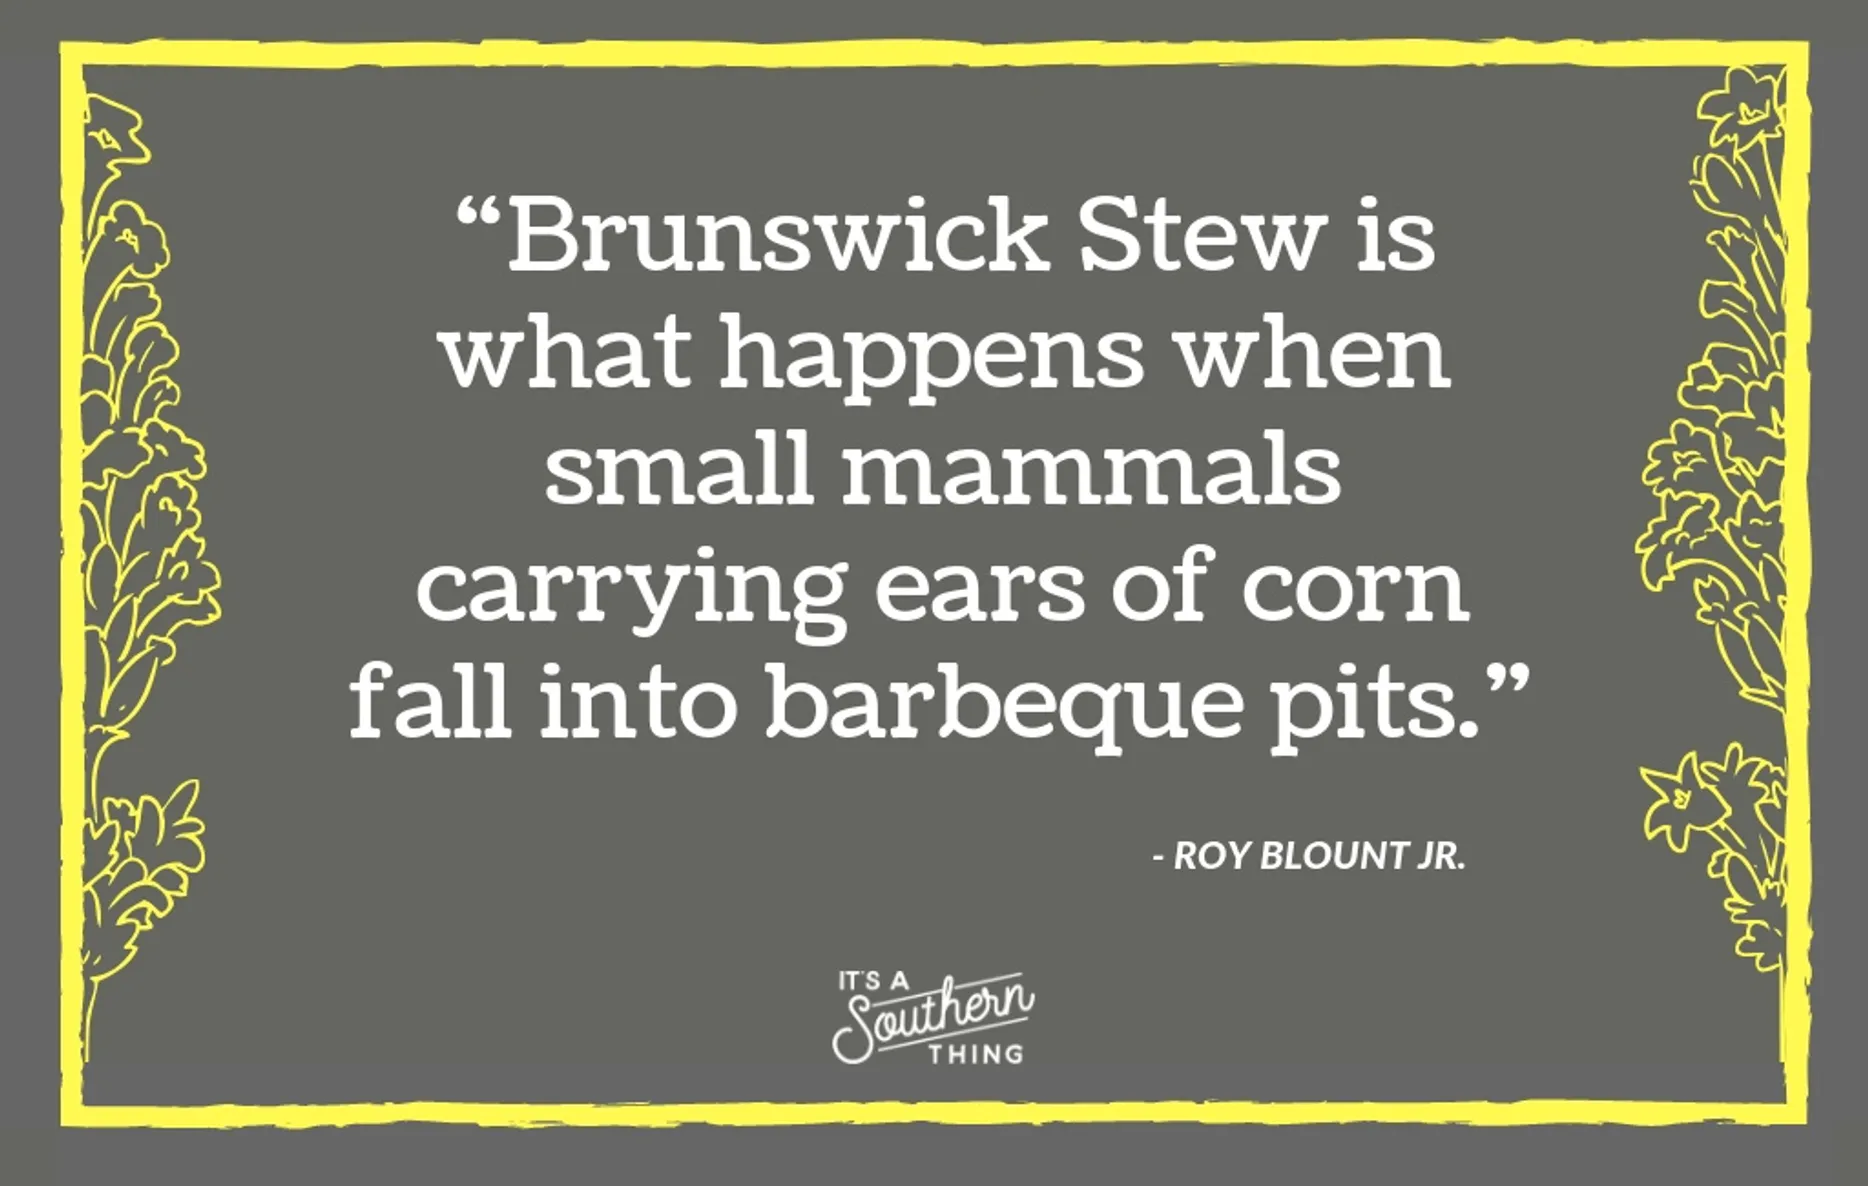
 Virginians think that Georgia’s stew is too spicy and Georgians think that Virginia’s stew is too mushy and thick. Also Georgian Brunswick stew almost always has peas and Virginian Brunswick stew