1. WEEKLY RECAP
I had a pretty good week and the weather was good. We did get a couple little half day trips for photos done and overall had a good time despite life being turned upside down right now. I did an inventory of my pantry back stock, freezer stock and menu planned through the 6TH of July so I could get a grocery list made for tomorrow’s grocery shopping. I was also able to get the recipes lined up to post on both this blog and my “recipe” only blog Savory Kitchen Table.
2. TO DO LIST FOR THE WEEK
- I have an early mammogram appointment and appointments for fingers and toes on Monday.
- Hubby has some VA labs on Thursday.
- Planning an upcoming trip to see friends in Montana – this requires so much planning to do it safely these days!
- Update some old files and a couple letters that need to be made besides a couple phone calls.
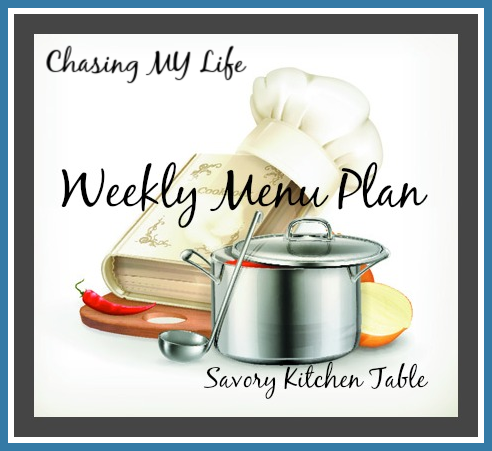
3. MENU PLANS
|
|
MONDAY
|
TUESDAY
|
WEDNESDAY
|
THURSDAY
|
FRIDAY
|
SATURDAY
|
SUNDAY
|
|
DINNER
|
CHICKEN CACCIATORE & SHEET PAN SCALLOPED POTATOES
|
VINEGAR CHICKEN & TURNIP POTATO GRATIN
|
STUFFED PEPPERS & CABBAGE SLAW
|
C.O.R.N. acronym for clean out refrigerator night
|
CHICKEN PEANUT STEW & CHEDDAR MUFFINS
|
CHICKEN FRICASSEE, CREAMED CORN, & SALAD
|
APRICOT BBQ CHICKEN & BUTTERNUT, BACON, APPLE HOT DISH
|
|
DESSERT
|
|
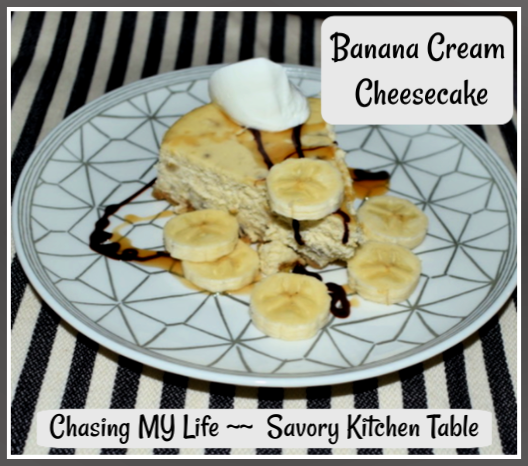
LIME AUSTRALIAN CHEESECAKE
|
|
|
|
|
|
4. SOMETHING I LIKE TO SHARE
Martha shared a new blog which reminds me I need to get back into finding new blogs. I hate that my favorite reader went away and then there were a bunch of changes to the new one and I hate to admit I lost interest in things when my schedule was so busy. I’m going to try and start seeking out new blogs this year! In the meantime, I’ll leave you with a funny as we approach a new month that is indicative of all that we’re going through in 2020. 😀
5. PHOTO OF THE WEEK
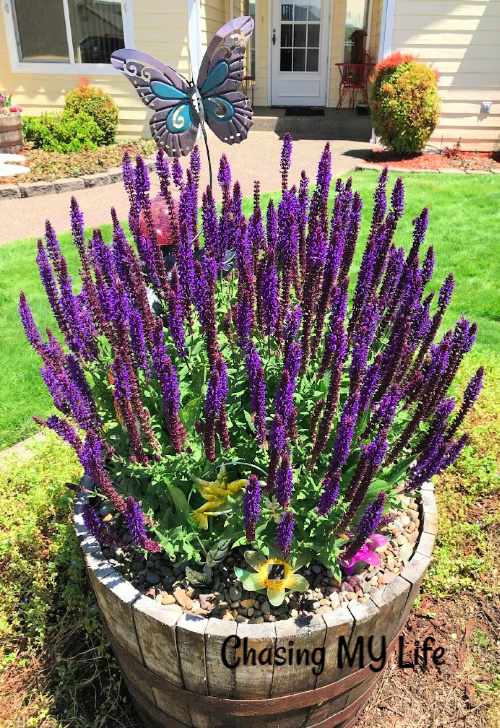
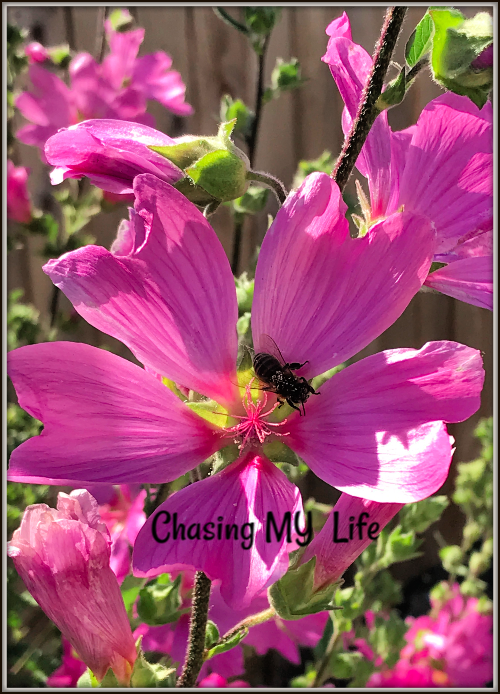
This was a hard category for me – I just had too many favorites from this week and if you follow me on INSTAGRAM you know what I mean! 😀 That said, I have to say this Bumble Bee picture is probably top of the list. I can’t believe I was able to actually get the veins in the wings even. I took this on the move with my iPhone.
6. CLOSING NOTES
Sunday 6, Happy Homemaker and Menu Plan Monday are something I need to do regularly. My Virgo organizational habits are well suited by it 😀 I find I do best when I have a plan, a list or at the very least consistent organization that surrounds me. I hope everyone is having a WONDERFUL and relaxing father’s day, maybe with some back yard BBQ or at least a couple drinks and a good meal.