Good Morning dear friends. I hope you are all enjoying your summer and have had a WONDERFUL weekend. Our weather has been absolutely beautiful and I’m really loving the sunlight late into the evening. Sad to think that in just a couple weeks it will already be time for it to get less and less. Seems like spring has just gotten here and yet summer is already so close. As much as I LOVE fall, after the horrifically long winter this past year and almost non-existent spring I’m actually looking forward to summer, my least favorite season.
I had worked most of Friday starting with helping hubby remove some extremely old, multi-rooted and stubborn bushes that seem to be the cause of the sprinkler issues and doing that night’s dinner prep, cooking and serving at the Eagles so was exhausted! We forced ourselves to take the weekend to do as we pleased on BOTH Saturday AND Sunday.
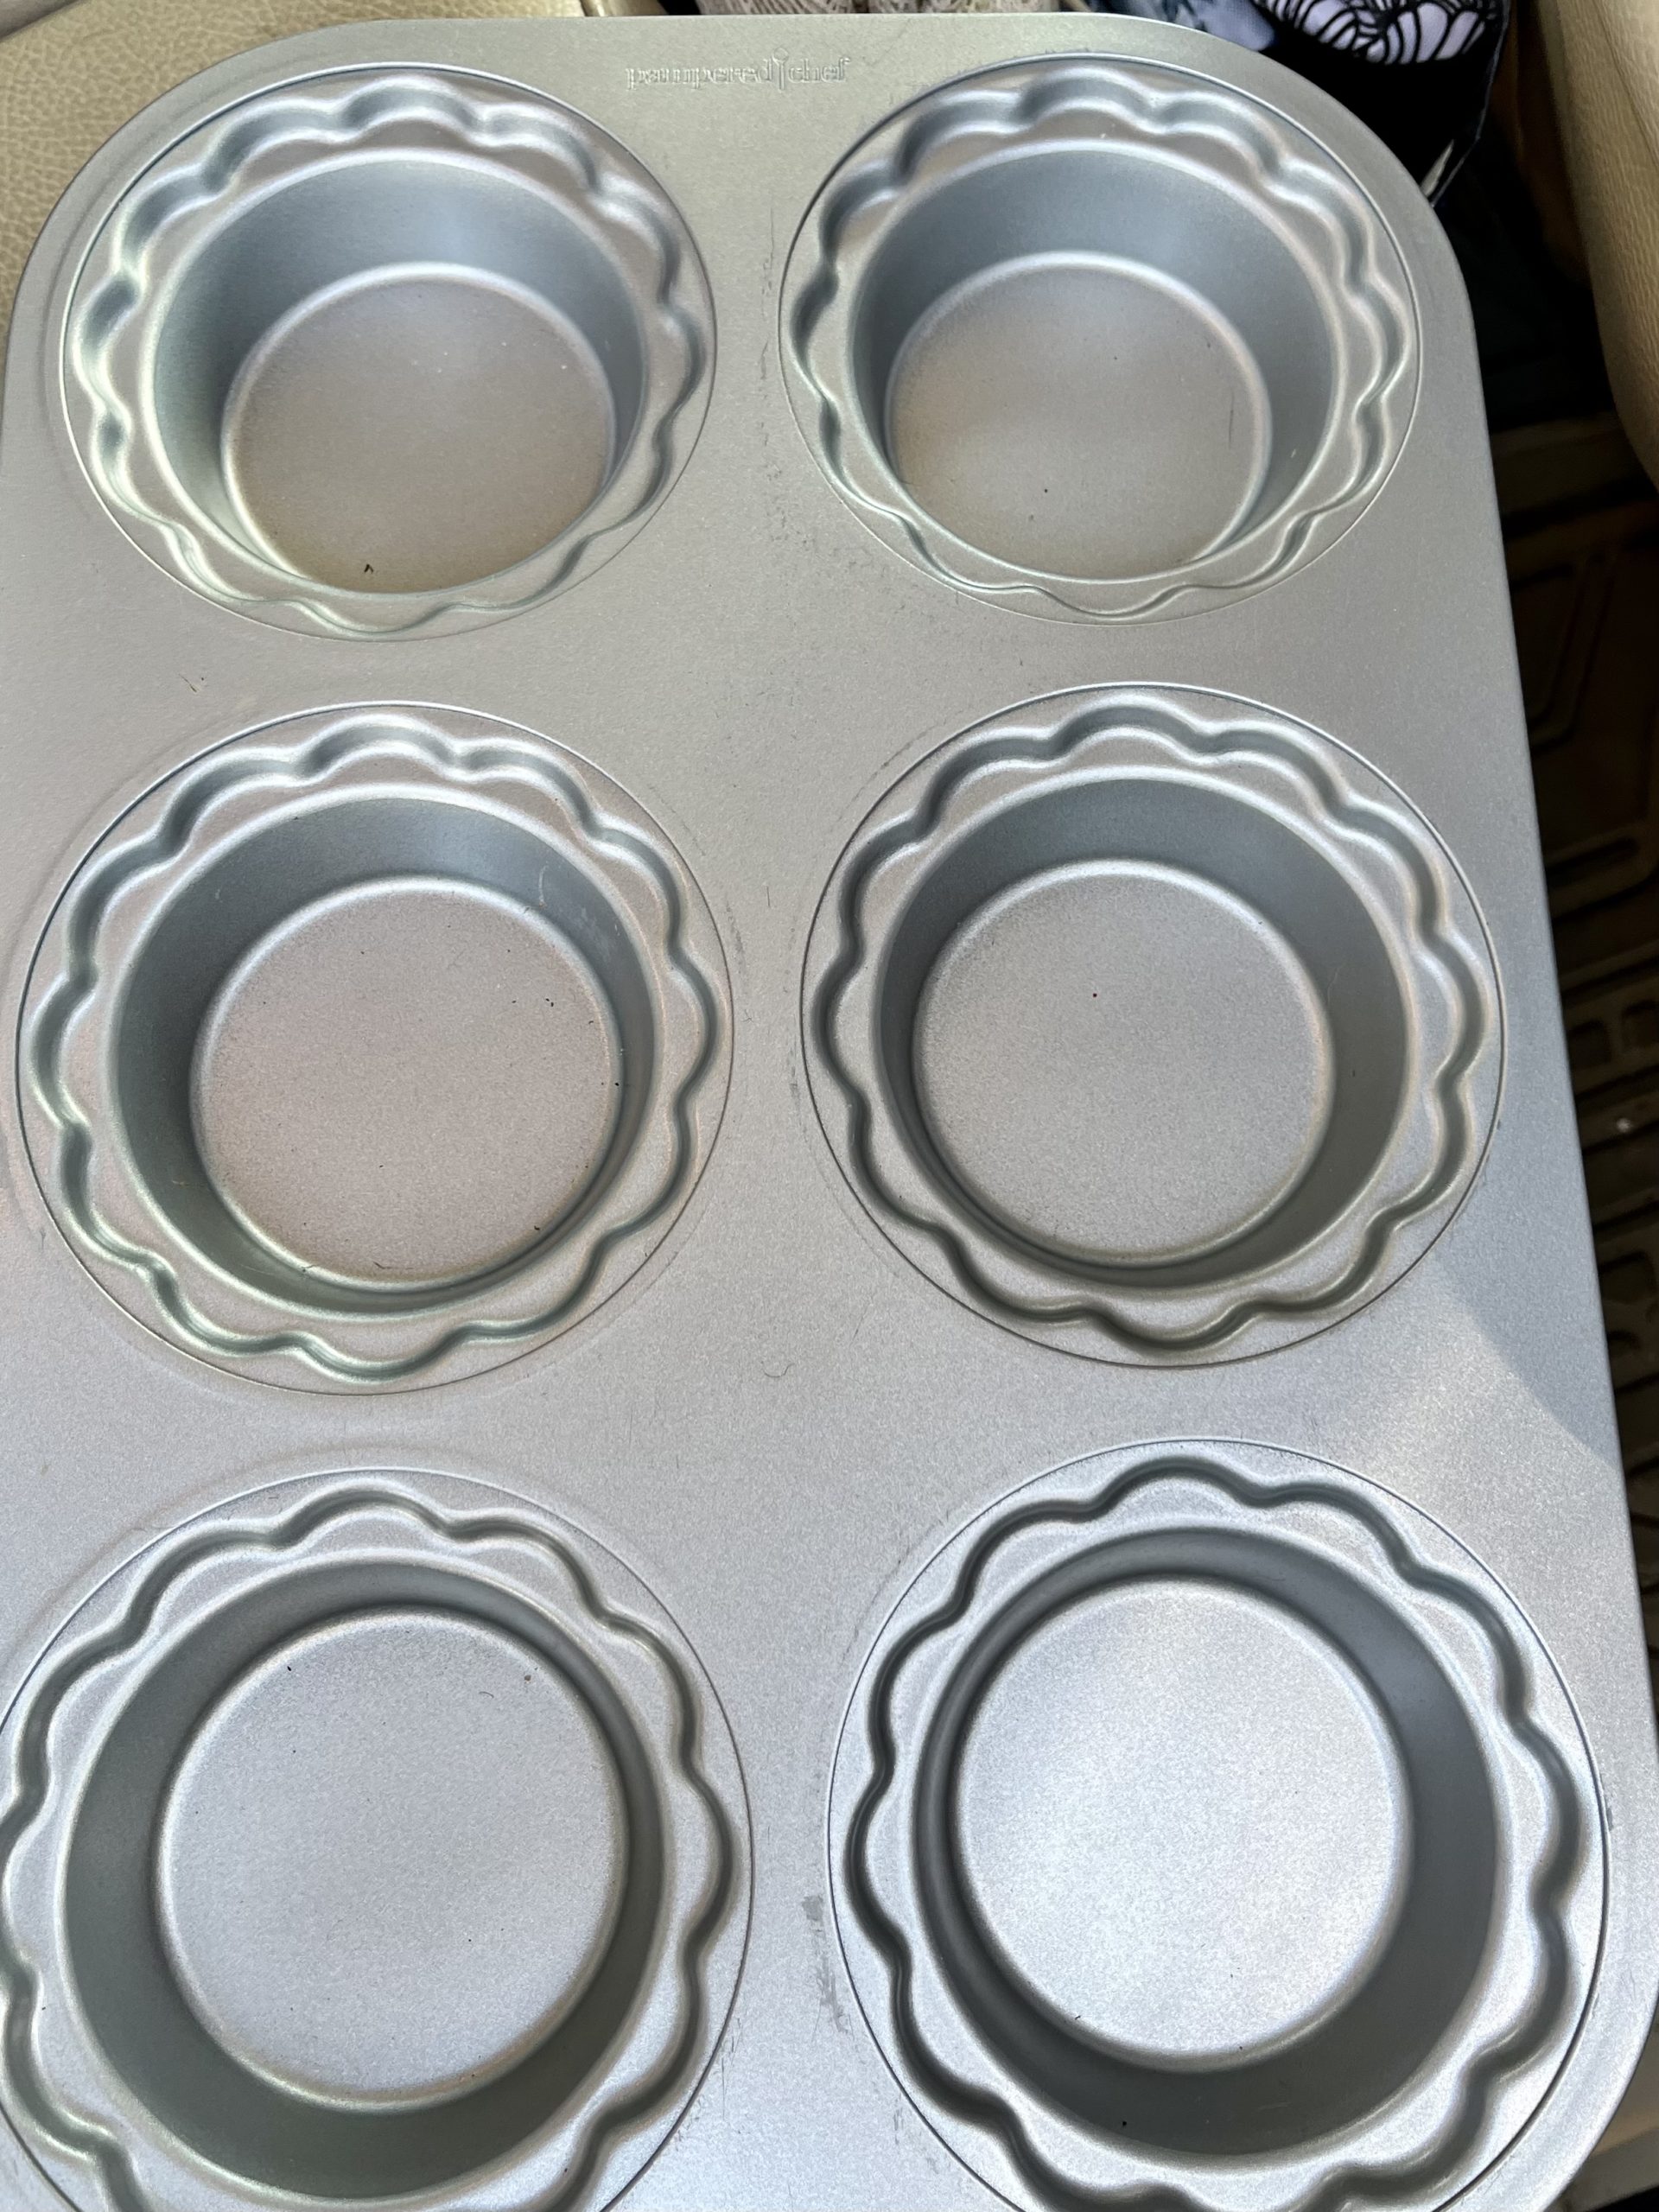
It was busy, but also quite relaxing and restful. We spent most of Saturday visiting garage sale after garage sale during the city wide garage sale day. We ran across MANY awesome deals (a brand new pampered chef mini tart pan for 50¢ and a brand new CROCK-POT®™ with the auto-stir feature for $20) and even a winter project for hubby on an antique table to refinish. Sunday was even more relaxing.
Be sure to join us for Happy Homemaker Monday and link up with our host, Sandra at Diary of a Stay at Home Mom

I have to add a funny for today too.


The weather has been believe ABSOLUTELY beautiful and is supposed to continue through this week. I can’t believe I’m saying this after our super wet winter and spring, but we NEED some rain if for no other reason than to keep fire season at a distance…
Days will be in the mid 70’s with an 80 or two and nights the nights will be the saving grace in the high 40’s 😀

I had my bi-annual follow up with the endocrinologist and all is as well as can be… we’ve determined that I have 2 major triggers that just flat out have to be managed! The first is how and when I eat coupled with what I eat. So if I’m home all day I can graze… eating all the proper foods in the proper proportions when I need them… but when we travel it makes it significantly more difficult to “graze”… the second trigger is stress which of course I am when we travel knowing I can’t “graze” eat the proper foods because eating out is extremely difficult to avoid trigger foods such as breads, lettuces, sugars in dressings and batters… so that is a cyclic thing… then there is the “experimental” factor.
After my surgery the doctor had me on a strict diet with the baby food, soft foods etc… in miniscule amounts and then had me begin experimenting to see which foods I could tolerate. The problem was that I might tolerate a certain food one time, but not the next so the whole process becomes a crap shoot leading back to the BIG triggers… timing and stress seem to be the culprits that are ALWAYS in the mix 🙁
We’ve tried many medications, only one of which helps regulate the sugar level and the others weren’t reliable and tasted terrible… so I’m still trying to manage everything with mind over matter…

a couple sips of coffee followed by ice tea and a banana

|
THIS WEEK’S TO DO LIST, PROJECTS & APPOINTMENTS
|
- LAUNDRY & CLEANING laundry is done and cleaning is good for now. Hubby removed the old stove yesterday and I cleaned the wall and sides of the cabinets and floor really well getting ready for today’s delivery.
- GROCERIES & ERRANDS I have to run to Costco for a few things this afternoon for dinner items and the Tuesday special I’m making for the Eagles. I also have my annual eye exam on Tuesday and am looking forward to new glasses and sunglasses this year. The ones I’m wearing have been hanging on by a thread.
- PAPERWORK, PHONE CALLS, PROJECTS & TRAVELS I have to call the resort AGAIN to finalize the family reunion for 2024 so I can get everyone settled for next year. Hubby and I are working with a friend at the Eagles this morning on some sail cloth and patio light installation for the back patio.
- RECIPE RESEARCH & MENU PLANNING When the stove took a dive I lost my MOJO for a bit, but will start working on menus again on Wednesday.
|

|
WHAT’S ON THE DVR/TV
|
- NETFLIX We’re in the last season on the 2nd Bob Newhart show at night as we fall asleep, not sure what we’ll watch next.
- TUBI As silly a show as it is, we’ve been enjoying DOC MARTIN and just started season 5
- CABLE Fear the Walking Dead, NASCAR, Alex VS America, Summer Baking
|


I just started ALWAYS, WITH YOU by Fiona Grace after finishing Katie Winters 5th booj in the Nantucket series.

The new stove is due to be delivered today, but until it is… I’ll assume that I still need recipes that don’t use an oven 😀

The new stove is due between 8-12 today, but you know how deliveries go with Murphy’s law and all so not planning on having to use it for a day or two…
|
|
MONDAY 6/12
|
TUESDAY 6/13
|
WEDNESDAY 6/14
|
THURSDAY 6/15
|
FRIDAY 6/16
|
SATURDAY 6/17
|
SUNDAY 6/18
|
|
DINNER
|
CHOPPED BACON SALAD
|
CHICKEN CRANBERRY SALAD CROISSANT SANDWICHES and WATERMELON
|
HONEY ROASTED RIBS & SATURDAY NIGHT BAKED BEANS
|
STICKY ASIAN CHICKEN with SALAD with SHALLOT VINAIGRETTE
|
YOYO YOU’RE ON YOUR OWN
|
CARIBBEAN CHICKEN with 3 CHEESE HASH BROWN BAKE
|
YOYO YOU’RE ON YOUR OWN |
|
DESSERT
|
|
|
CINNAMON STREUSEL COFFEE CAKE
|
|
|
|
FATHER’S DAY POTLUCK AT THE EAGLES
|

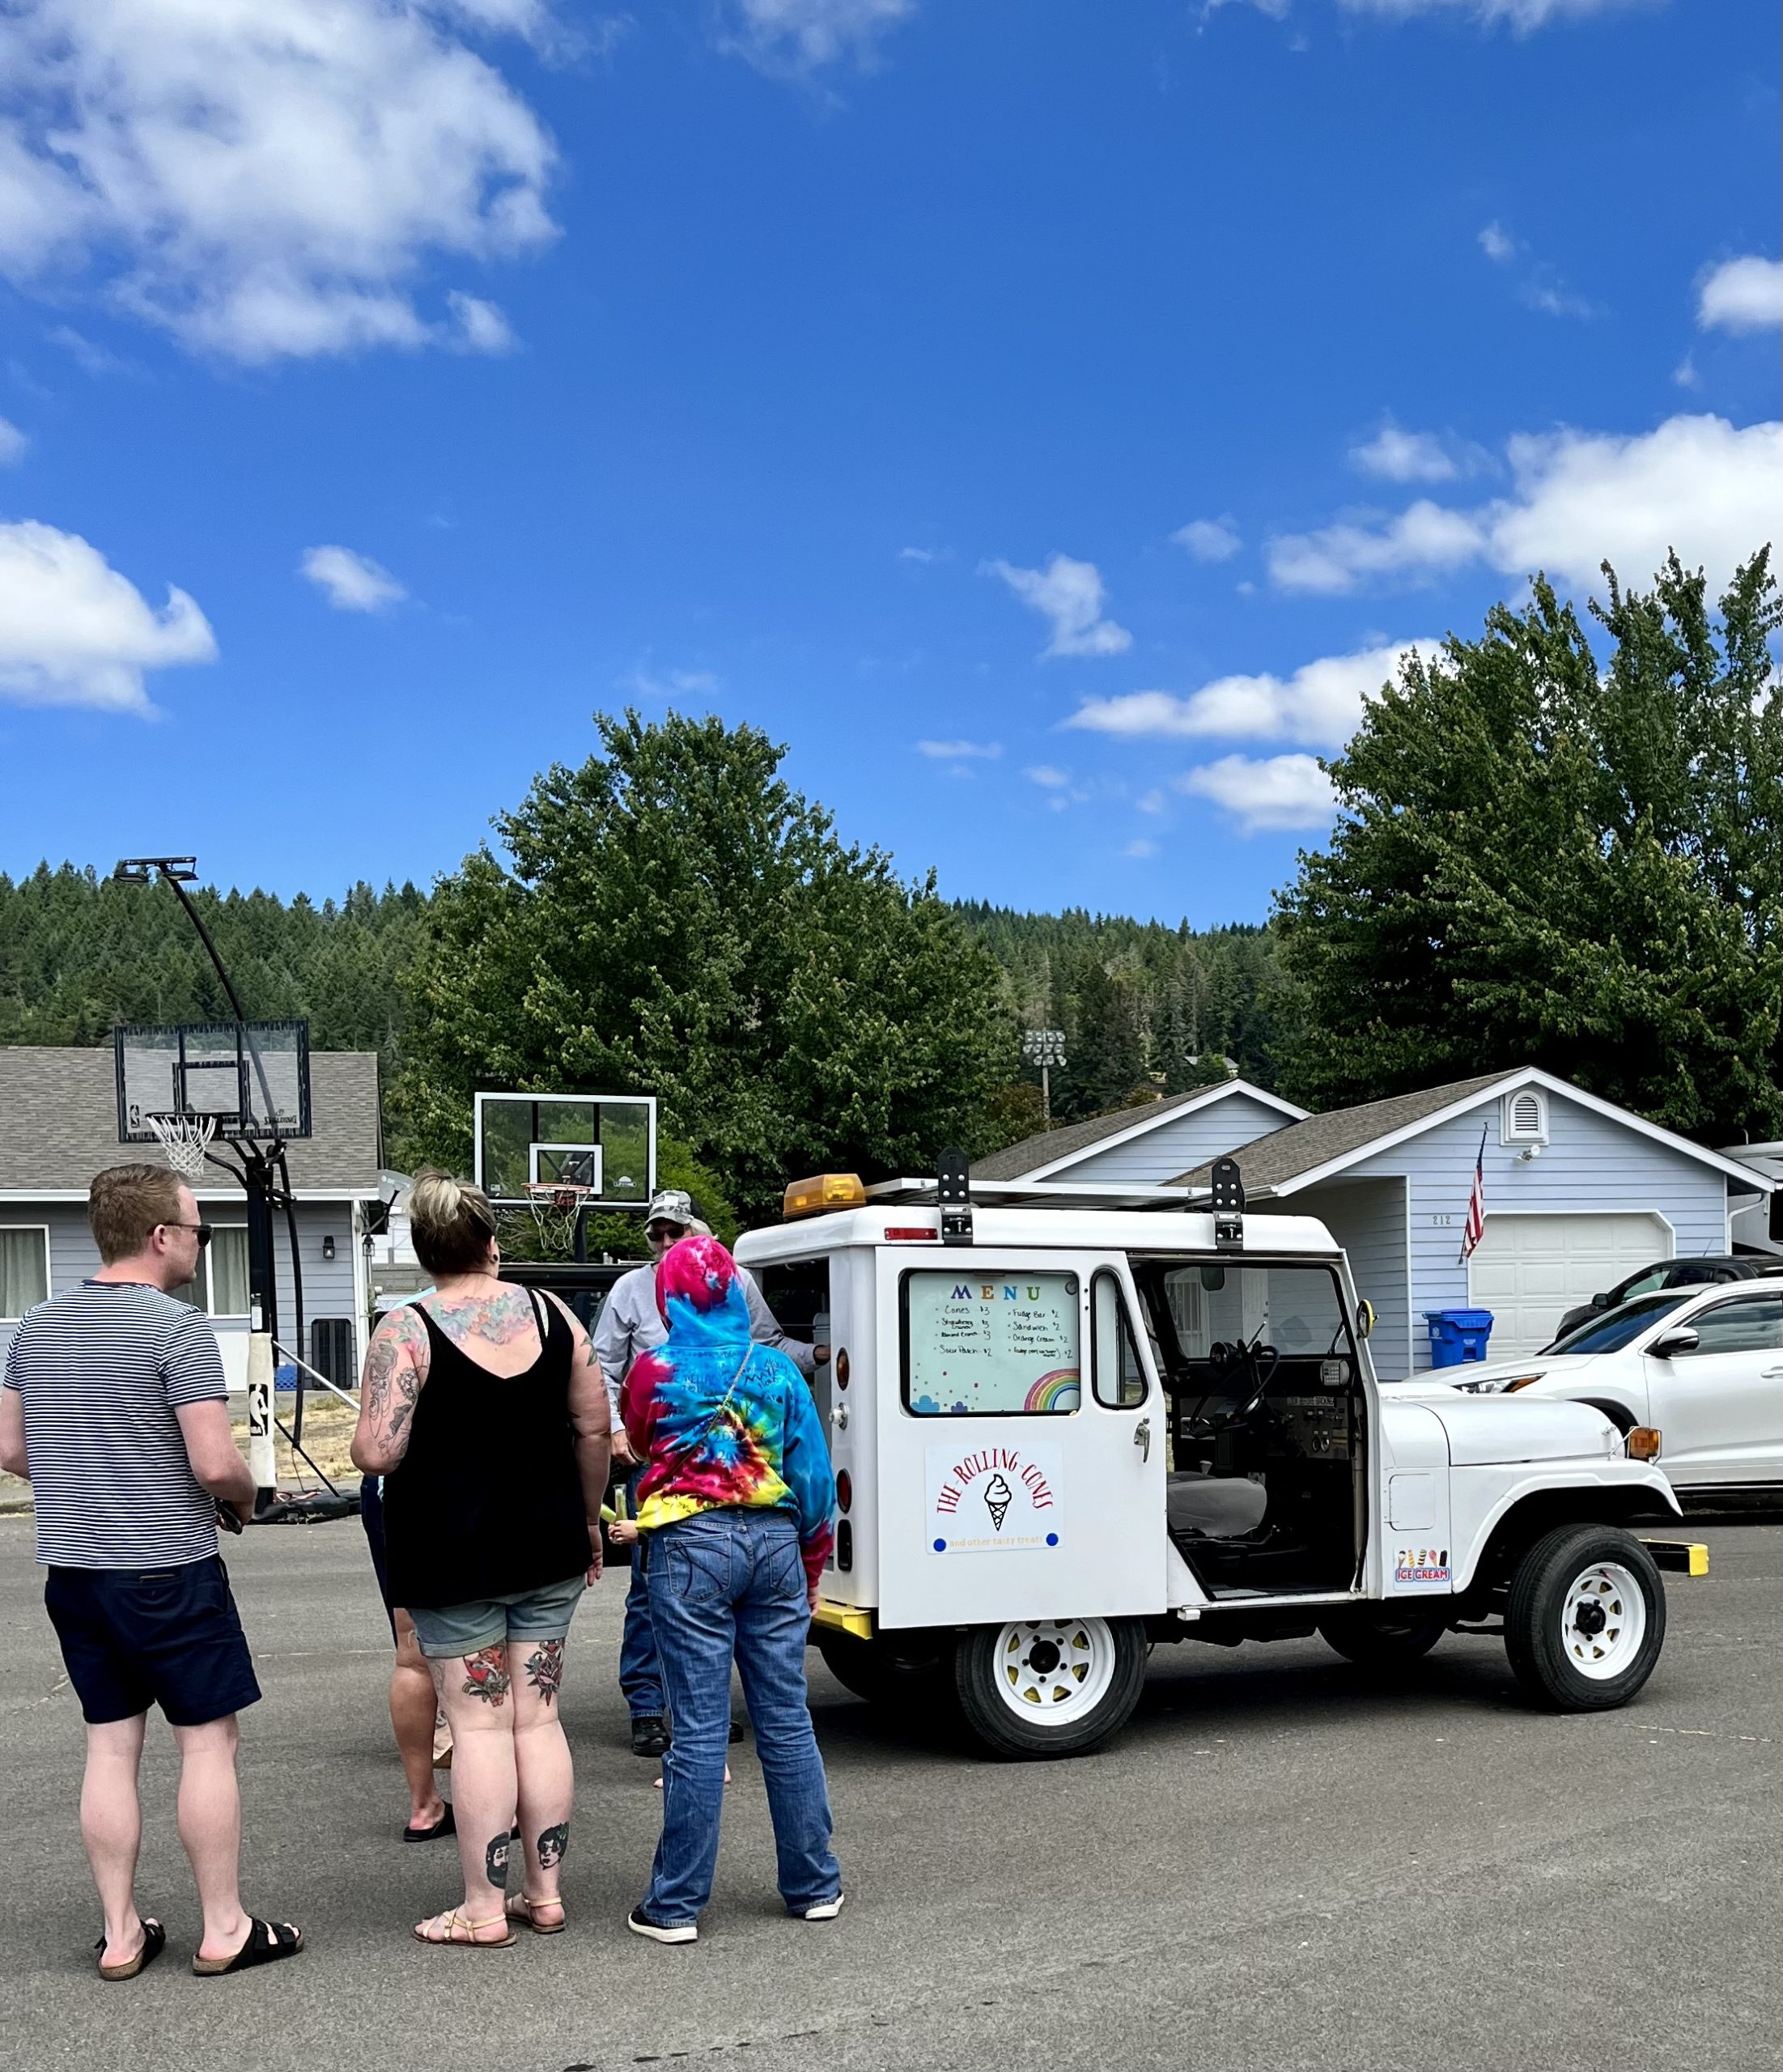
We had a successful day trolling the city wide garage sale and found many treasures, a fun new ice cream truck, The Rolling Cones, supported a little girl’s pop-up bakery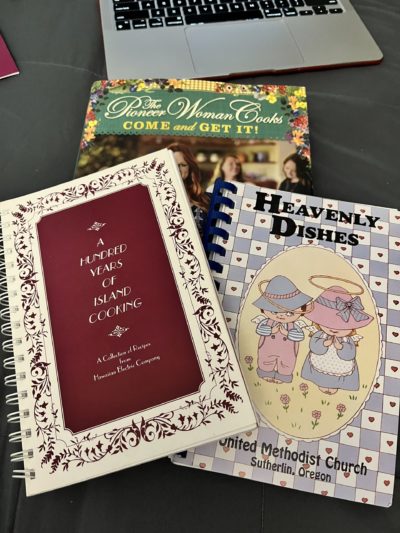

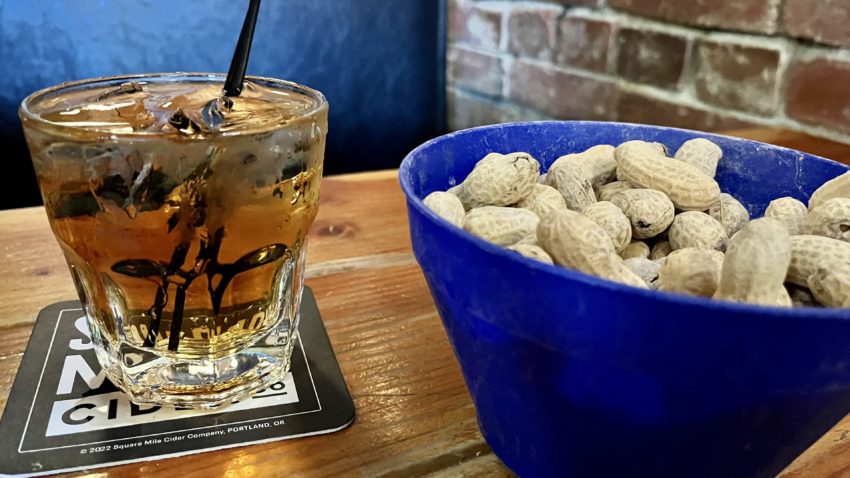
 and lunch at our favorite tavern starting with their roasted peanuts and a cocktail…and then there were 2 of our favorite bartenders, Pam and Trudy.